Documentation
Readme
View as plain text
KEYS PLAN
KEY .. FOUND WHERE? ,, FITS WHERE?
ornate Q Forest in Chest Q Beach W
ornate Q Forest West
mine Q Dungeon SW Q Tomb (Cursed)
mine Q Dungeon NE Q Mine
tomb Q swamp W Q Tomb (Cursed)
iron Q Dungeons W Q Dungeons Healing Crystals
ornate Q Dungeons W Q Dungeons W
ornate Q Dungeons W Q Dungeons W
Gear Q Dungeons W
gold Q Tomb W Q Castle Central (larder)
skull Q Tomb W Q Dungeon NE
brass Q Castle NE
SETTING
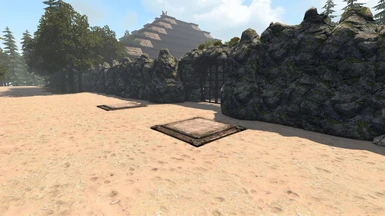
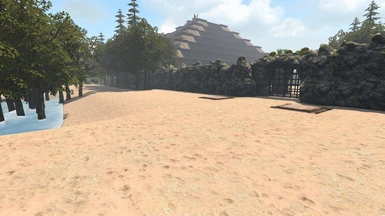
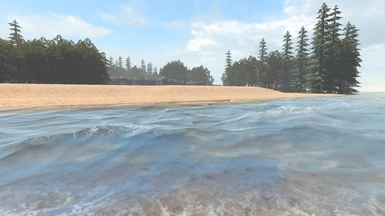
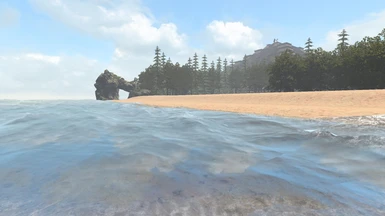
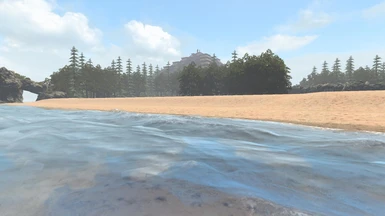
Your crew have washed up on a desolate island, in the distance you can see a huge building but is it inhabited? There are no signs of life! Nothing moves! Are there people on this island?
IMMEDIATE SCENE
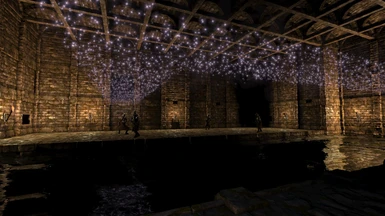
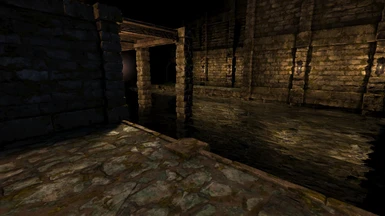
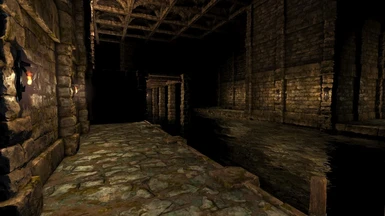
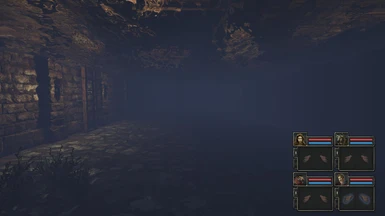
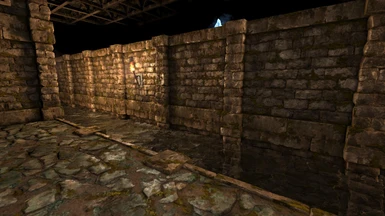
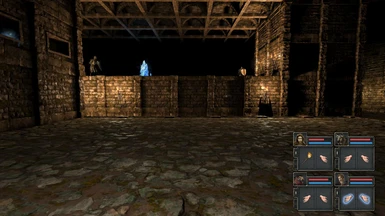
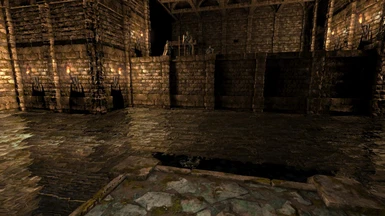
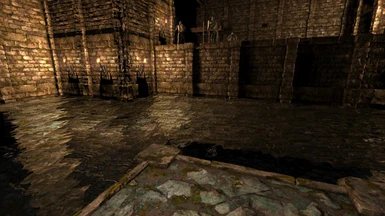
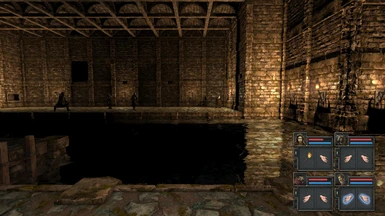
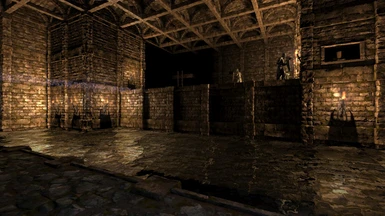
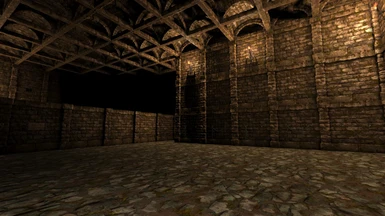
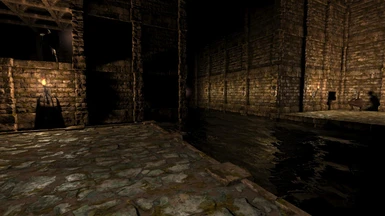
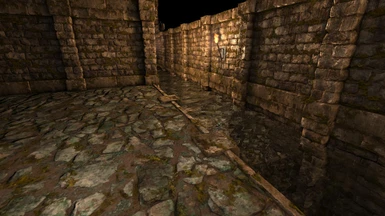
Your crew explore the immediate beach that they find themselves on and find nothing! One of your crew then see an opening in the rock wall towards the back of the beach, there are submerged stairs there going down into an underwater room! It looks pretty dangerous and dark! What should the crew do? Go down there?
GOOD TO KNOW
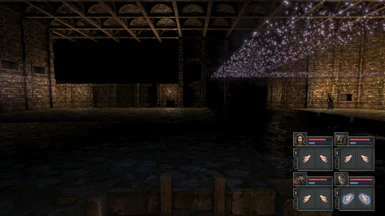
The one thing to bear in mind in this dungeon is that team members will drown. The first dungeon is water driven, you will arrive in a situation where only 1 or 2 members are still alive. Don�t panic, you should have or soon find a Resurrection Potion or two, these are just around the corner, keep moving on, you will survive!
DECISION TIME
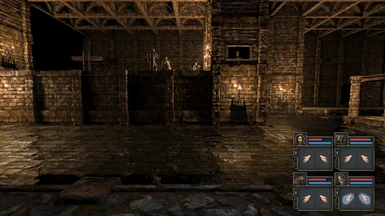
The first decision is which torch to grab? One is labelled �Blessed� the other �Cursed� so which goes first? Each torch is a great benefit to your team but once removed from the wall, opens a nearby trapdoor in the underwater dungeon. As always, save the game regularly.
SECRET CASTLE
If you see a big old castle in the distance and many soldiers to fight, zip around the soldiers! They are well spaced out! There is a mudroot herb on the ground in front of the castle, position yourself on that herb and keep moving forward, you enter the Castle!! PUZZLE AREA on top level. When you have opened the two doors STOP WHERE YOU ARE, look down! You see a pressure pad below each door. Drop any item down from where you are onto each pressure pad, this unlocks a stash room! If you can�t solve this puzzle then come back later, you can still solve it at a later stage.
FOOD
If you start running low on food it is always worth returning to the launch beach. There�s no guarantee there will be any food there, but worth a look!
QUICK GUIDE
A.. Exit the beach to the undeground stairs
B.. From water channel Ascend first ladder straight ahead, find a dart.
C.. Look for secret button, move onto magic bridge - find a dart.
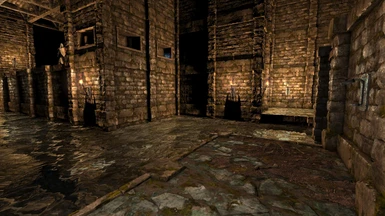
D.. Return to water, continue exploring, ascend second ladder, explore, check wall signs, one says "Blessed" take that torch from the wall and return to the water, explore and find nearby opened trapdoor, descend.
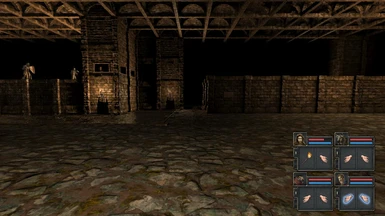
E.. Explore TOMB, find sandals, take them, now put them back on the alcove, a secret door opens, keep walking ahead now several paces, enter TOMB BASE.
F.. In the BASE take as many torches as you like, ascend to upper ledge, take the second torch along, this unlocks nearby gates.
G.. Move past the gates, leave the Tomb by the stairs to The Forest .
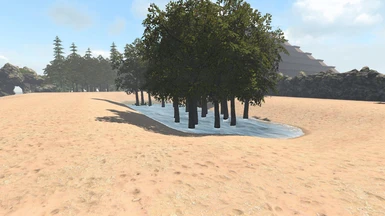
H.. In the Forest find the Treasure Chest which contains 1 Ornate Key. There is another Ornate Key in the Forest somewhere but you only need 1 at the moment.
I.. Careful, one exit from the forest leads to a heavy Castle mission that your team are not ready for yet! Save the game and then see what's happening in there, but there's a much easier exit from the forest back to the Dungeon!
J.. Find the exit frpm the Forest back to the Dungeon, pick up the blowpipe, you can use this to fire the darts that you have collected, SAVE THE GAME, figure out where you are in relation to the stairs back to the beach
K.. Now enter the water and head back to the BEACH, find the Mortar (there are two on the Beach, both slightly submerged in water)
L .. Back on the beach open the 2 portcullises and find the trapdoor marked with an Ornate Lock - descend the trapdoor, using the Mortar create "Healing Potions" for your crew if they are injured
M.. On the ledge note that there are two Ornate Locks, these energise a pathway to the Healing Crystals directly ahead. Jump into the water and find the two Ornate Keys but HURRY!
N.. As fast as you can move through the water channel back to the same ladder that you used at D... It's a fair distance back to the ladder so team members could actually drown, REMEMBER the healing crystals are virtually within your grasp now, you have 2 Ornate Keys, these will energise the Healing Crystals pathway, so even if you have 1 team member left, you can simply go to the Healing Crystals now and get the team restored!
O.. Back on the "Blessed" / "Cursed" dungeon platform you have a choice, go for the next mission, or return to the beach and drop down the Ornate Trapdoor again, NOTE do not attempt the "Cursed" mission without a full crew!
P... Return to the beach, drop down the Ornate Trapdoor from the beach, land on the dungeon ledge, insert both Ornate Keys, walk along the new pathway and restore your crew at the Healing Crystals!
Q... A second pathway is also visible but an IRON LOCK, blocks your way. Get the Iron Key from the "Cursed Mission" return to the ladder at D... remove the torch marked "Cursed" this unlocks a second trapdoor that leads to a heavy mummy battle, your team should now be up to winning this short fight but there are about 10 Mummies
R.... you then see a locked trapdoor with the sign "MINE" and further on two Tomb Locks either side of a stairs down, come back here with two tomb keys later but for now go down the stairs and find the IRON KEY guarded by 3 Archers
S... return to the beach with the Iron Key, drop down from the Ornate Trapdoor in the ocean waves and use the Iron Key by the Healing Crystals
T ... throw an item onto the opposite pressure plate, it triggers a magic bridge enabling 3 Archers to come across and fight your team, simply make sure the bridge is initiated the jump in the canal moving to the right, the pressure plate actaully unlocked a nearby portculis in the canal giving you access to a SWAMP
U... The swamp mission is a whole lot of fun but be careful. Lead the Skeleton Commander and his gruesome mates through some ruins and keep moving North, you see the Skeleton Commander carrying 2 swords? You are after getting those swords! so keep an eye on where that Commander gets taken out!
V... Grab the 2 swords where he cops it and then find the 2 Tomb Keys in the Northern section of the Swamp - return to THE TOMB and insert the two tomb keys as at R....
W... after inserting the two tomb keys this energises a magic bridge to the South Eastern quarter of the Dungeon. On arriving there you see a ladder to a high trestle bridge and signs "only the defeat of the crowern army will unlock the garden realm"
X.... at the end of the Trestle Bridge is a wooden entry door to the "Garden Realm" which lands you in a garden alright, it's the grounds to the castle! zip around the soldiers! They are well spaced out! There is a mudroot herb on the ground in front of the castle, position yourself on that herb and keep moving forward, you enter the Castle!! PUZZLE AREA on top level. When you have opened the two doors STOP WHERE YOU ARE, look down! You see a pressure pad below each door. Drop any item down from where you are onto each pressure pad, this unlocks a stash room! If you can�t solve this puzzle then come back later, you can still solve it at a later stage.
Y.... Note the two Wyverns positioned behind gratings, this is a key loot area of the game. Remove items from 2 round pressure plates to entice these Wyverns out, after grabbing slices of crystal from their cells COME BACK AGAIN LATER to finish the puzzle!
Z... note the GOLD LOCK on the larder store then leave the Castle back into the Tomb - ascend upper ledge where you removed the 2nd torch at F... Clear the ledge of mummies and note GEAR LOCK by sleep darts, move into Mummies Guard Dogs Barracks and find the ladder, secret button opposite allows access to Light Armour stash. Ascend ladder and find GOLD KEY
Q + A session
Q where is the Rope? A In the NW section of the Swamp
Q How do I get to the Swamp? A You need the 1st iron key from "after the Tomb"
Q where is Skull Key? A In Tomb move into Mummies Guard Dogs Barracks and find the ladder, secret button opposite allows access to Light Armour stash. in here is an Ornate Lock, past that is Skull Key
Q Where is Skull Lock? from Swamp where you saw the 1st Skeleton Commander (with 2 swords) find the 2nd exit back into the dungeon, here is Skull Lock, this gets you back to the Castle/ Castle Grounds
WEAPONS PLAN
WEAPON .. FOUND WHERE? ..... DETAILS?
blowpipe Dungeon South ... on exit from Q Forest
boneblade Castle Central .. on solving puzzle 1 in Castle (drop items from each open door onto pressure plates below)
sickle sword Mine South requires 2 mine keys + kill lava monster


