About this mod
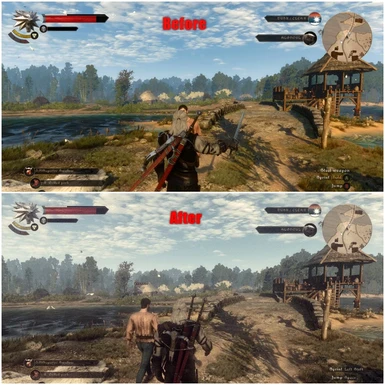
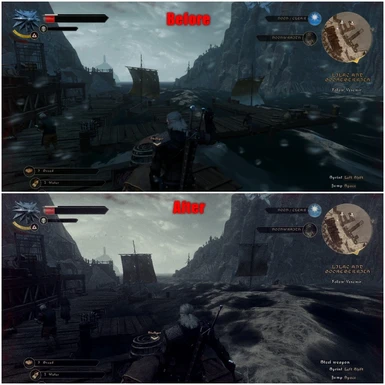
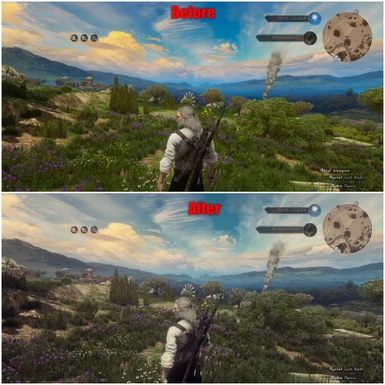
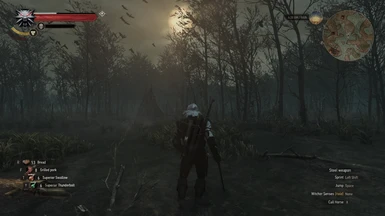
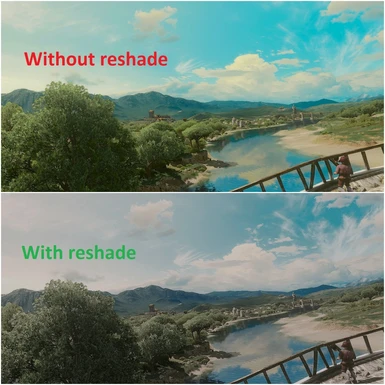
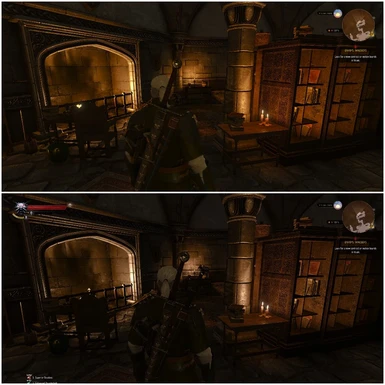
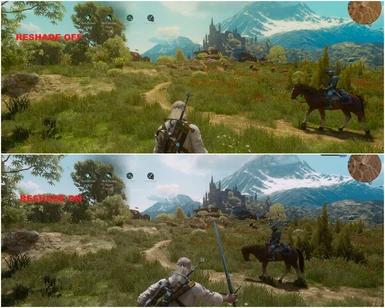
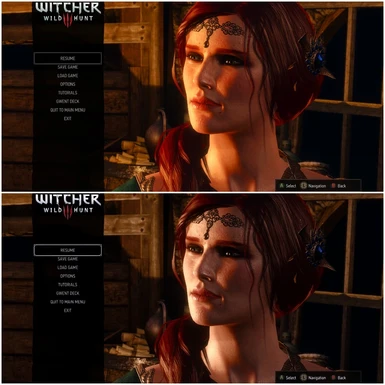
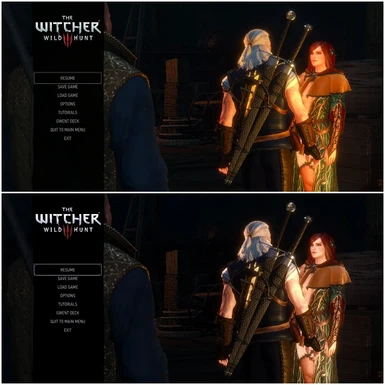
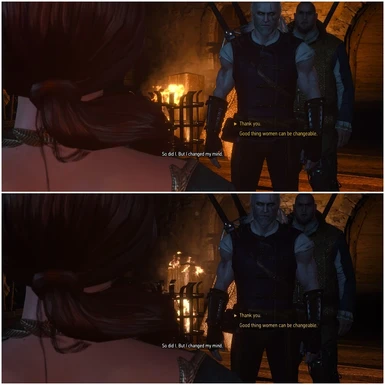
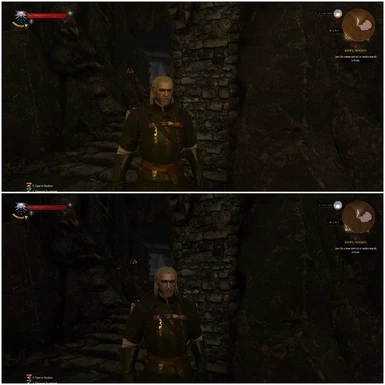
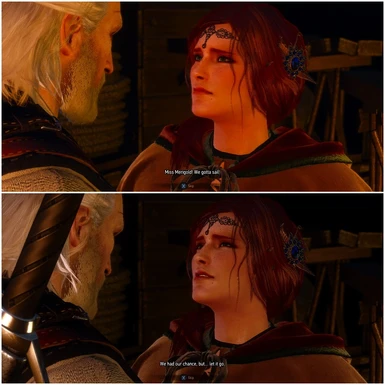
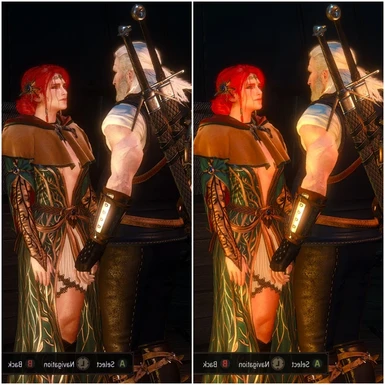
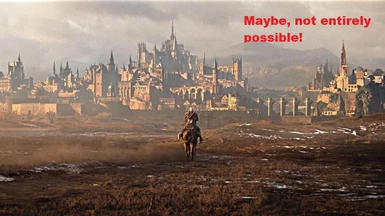
A reshade that makes everything more realistic and gritty looking, but without resorting to blue filters. Darks are darker and whites whiter, especially noticeable on Geralt. Removes the glowiness of vanilla Witcher 3 and makes everything look sharper and darker, but without completely consuming colors.
- Permissions and credits
- Changelogs
- Donations
Version 2 is now grittier, sharper and with better sky color (particularly for BaW)
***Check the videos and the pictures to understand better how this reshade looks in-game! - Many thanks to Mnbrba, cetrescher, kboylan86, corvah and itsagundam! Thanks for the appreciation! :)
------------------------------------------
Realistically Gritty Reshade
------------------------------------------
Are you tired from suffering from all the glowing emanating from everything in the supposedly dark and serious Witcher 3 where every character looks like they have eaten a bucketful (=contextually friendly) of firebugs? Are you bored with all E3 this and all E3 that stuff? Are you longing for a return to the gloominess, grittiness, desperation and exasperation (considering some wonky elements in the old masterpiece) of Witcher 1 ?!
Joking aside, If you answered yes to above questions and you are feeling adventurous, then keep on reading! I have written everything in a pretty straightforward and explicative manner so you can be all set, and playing the best game evah, in a matter of minutes and with a very lightweight reshade!
---------------------------------------------
Recommendations
--------------------------------------------
First of all, this reshade hasn't been made with colorful lighting overhaul mods such as STLM in mind. They are great mods on their own, but I was unsatisfied with how they altered environmental colors and complexions of main characters. If you want though, feel free to use them with my reshade and share the results. However, I have tried the reshade with vanila lighting and 4 particular lighting mods that manage to create a more homogeneous lighting experience in-game without undesired side-effects and which I can recommend. Just remember to endorse the authors for their amazing work! They are:
a) Custcene Lighting: Cutscene Lighting by KNGR (kindly reuploaded by DeathWrench)
b) No Custcene Lighting: No Cutscene Lighting by Karull
c) Extended View Distance (NO FOG with AO version): Extended View Distance by CertainlyStenchy
d) I'm currently using it with CSLM preset at 20% intensity, 30% fog intensity with neutral colorizer from KNG Ultimate Lighting Mod Reduxmod by KNG
*If you are interested in it and according to user feedback, WLM seems to work well too with my reshade.
After choosing ONLY ONE lighting mod from the above and installing it into your mod folder, you can combine it to wonderful (and tested as compatible) effect with the following mods:
e) Pollens (download the older Particles Extended v4.2.1 which is best compatible with vanilla type lighting) Pollens by Retroby51
f) Atmospheric Nights: Atmospheric Nights by olegkuz1997 (kindly updated to v1.31 and for unification patch by wghost81 in her page) at 10% intensity
Depending on what mods you choose/download from the lists above there may be need to use Script Merger (find it on Nexus) to avoid conflicts. Now, as to in-game settings, in post-processing I have everything enabled except Blur, Chromatic aberration, Vignetting. Sharpness is set to Low and HBAO+ is enabled. More importantly, Gamma should be at medium. Of course these settings are not set in stone, you can change them as you wish and depending on which lighting mod you opt to use.
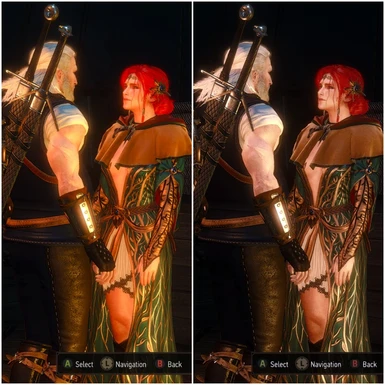
If you are curious about the changed appearance of Triss in the screenshots and want to try it for yourself, and don't want to search Nexus using keywords, then head over here and check my other mod: Realistically Improved Triss
--------------------------------------------------
Installation Instructions
--------------------------------------------------
IF choosing the file for Reshade V1
1) Select the contents of the Realistically Gritty folder (1 folder and 2 files) and copy-paste them into the following directory (will probably differ depending on where you chose to install the game): D>Arcade>Galaxy Client>Games>The Witcher 3 Wild Hunt GOTY>bin>x64
2) Create a folder named screenshots inside your game folder (or any of your choosing)
3) Right-click and open with Wordpad or (superior & freeware) Notepad++ the file ReShade.fx you just copy-pasted. Right near the top you will find a line named #pragma reshade screenshot_location "D:/Arcade/GalaxyClient/Games/The Witcher 3 Wild Hunt/GOTY/screenshots". It points to the location where the screenshots you can take with this reshade will be saved. So change it accordingly to point inside your previously created folder screenshots.
4) If everything was done properly, and I don't doubt it since it's pretty straightforward, when launching the game you will see on the top left corner of your screen some lines crediting crosire the creator of Reshade.
5) You are all done now! ;) To enable/disable the reshade while in-game you press the numlock/screelock button (together with fn if you are on a laptop). To take screenshots, you can press the printscr button.
IF choosing the file for Reshade V3
1) Visit official reshade website
2) Download program
3) Run executable and follow instructions
4) Unpack mod folder inside the bin>x64 folder
5) Start the game and after seeing the floating messages follow their instructions.
------------------------------------------------------------------------------------------------------------------------------------------------------------------------------
Have fun and share your best before/after photos and videos on the mod's page! They are much appreciated!!! :)
------------------------------------------------------------------------------------------------------------------------------------------------------------------------------
Check out all my other Improved Triss and Yennefer, New Boat, Unique Witcher Eyes, Magic Camel, Deus Ex or Angry Geralt mods here


