


0 of 0


File information
Created by
TheMercsAssassinUploaded by
TheMercsAssassinVirus scan
Some manually verified files
About this mod
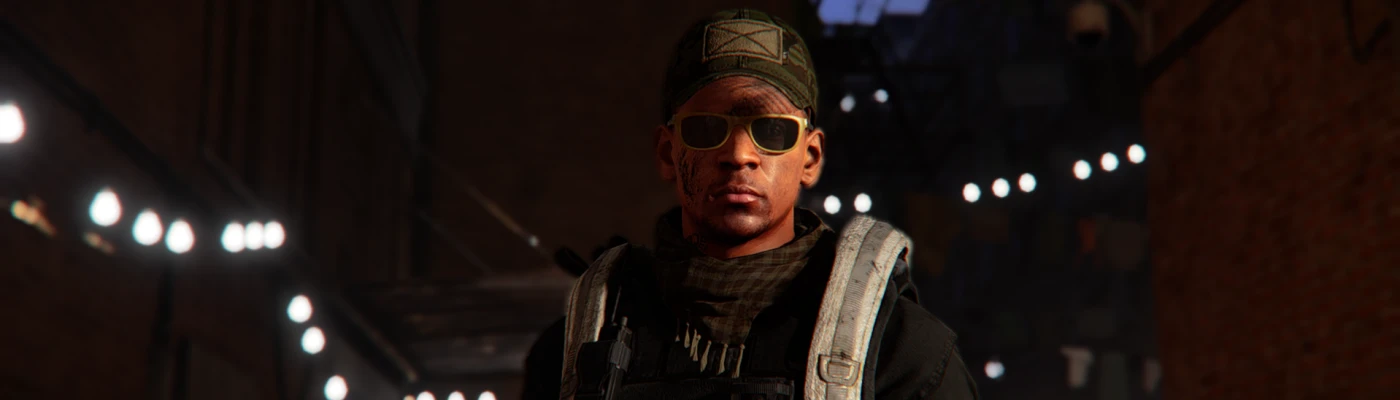
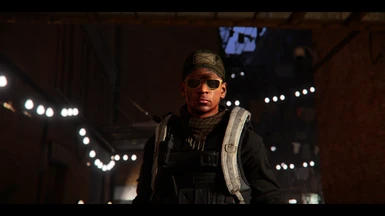
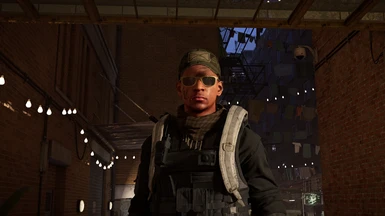
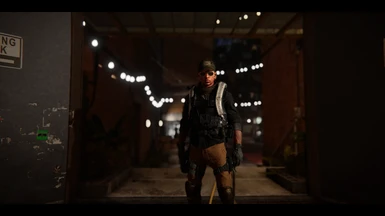
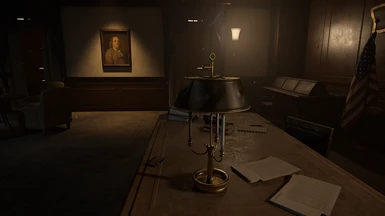
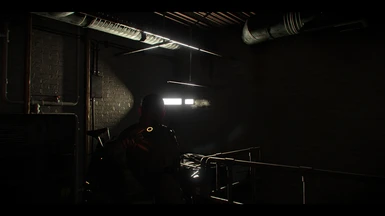
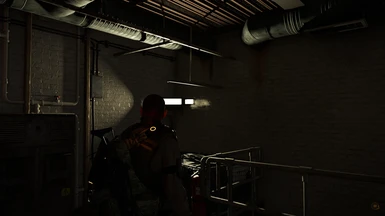
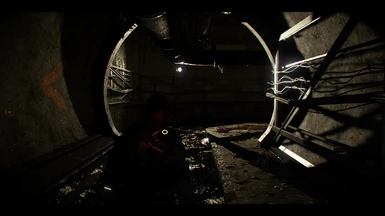
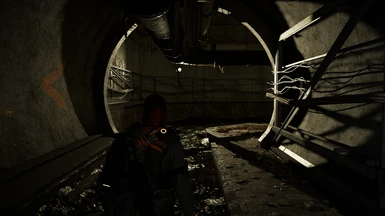
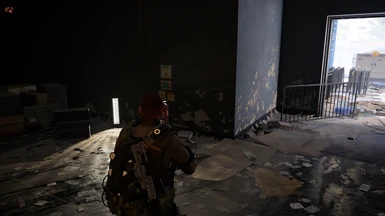
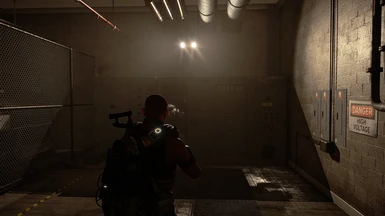
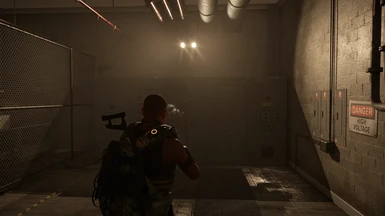
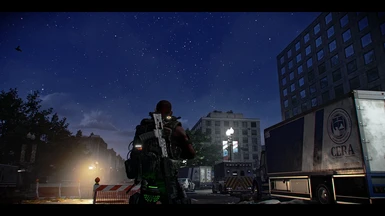
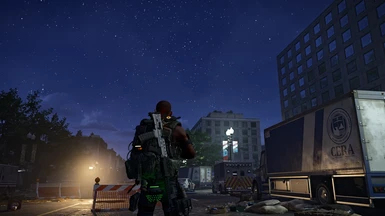
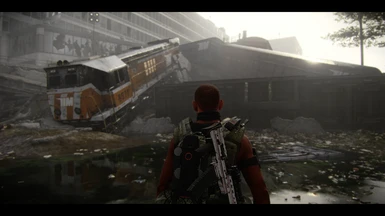
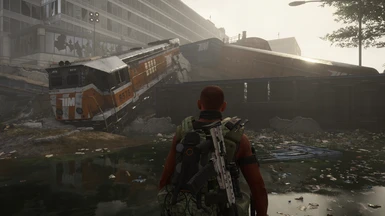
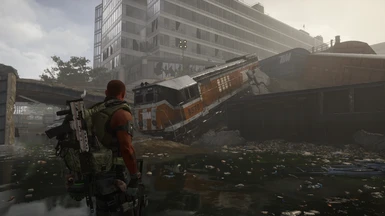
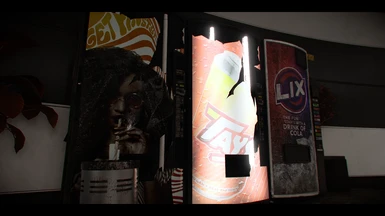
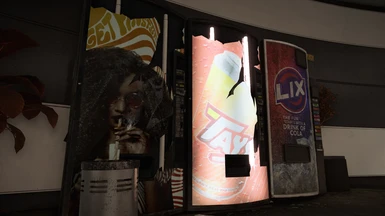
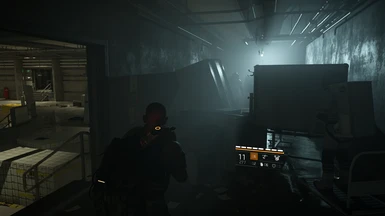
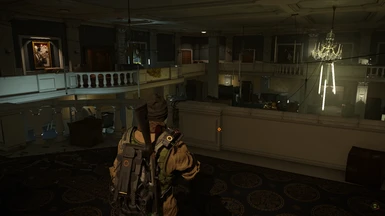
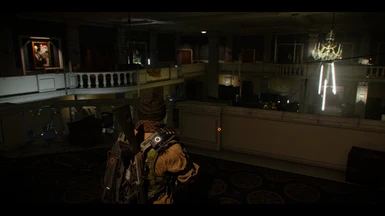
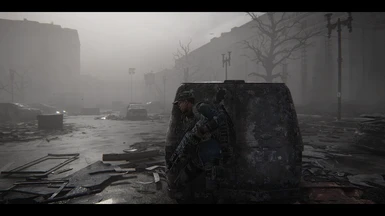
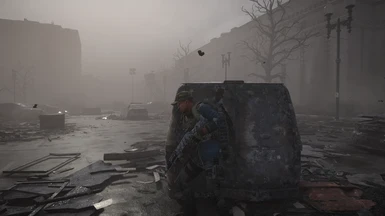
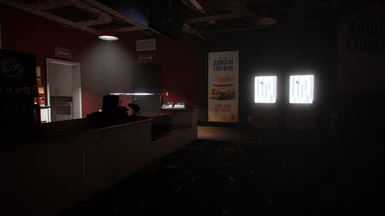
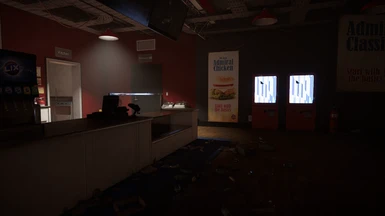
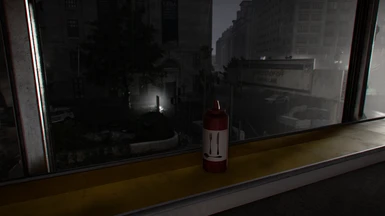
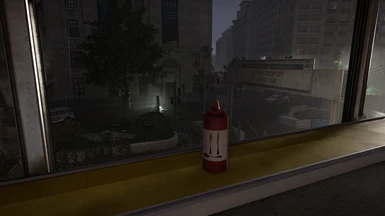
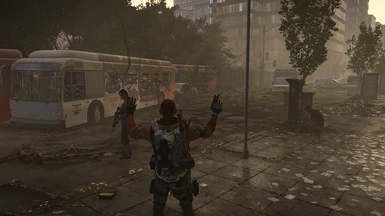
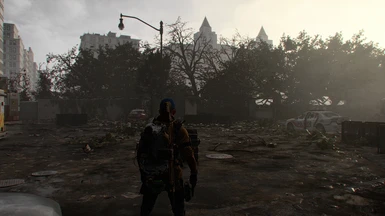
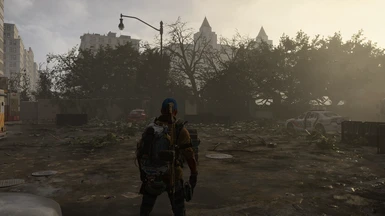
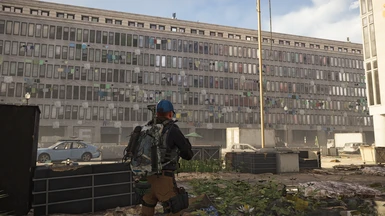
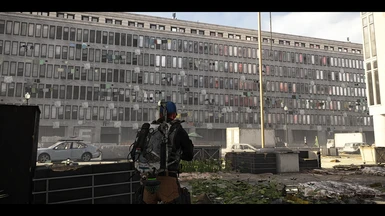
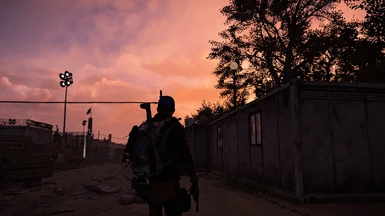
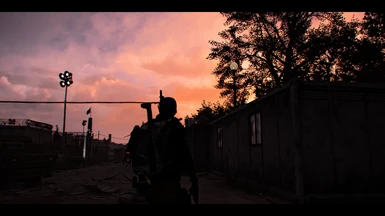
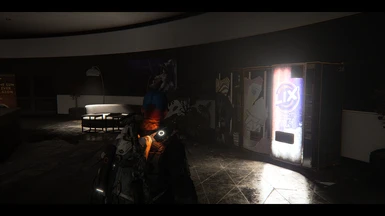
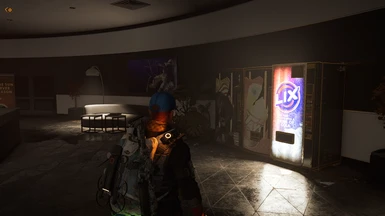
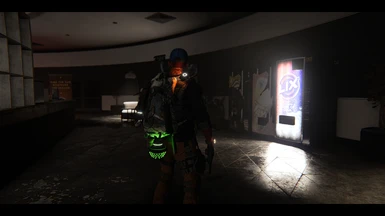
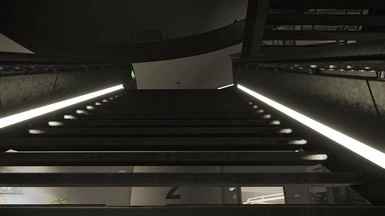
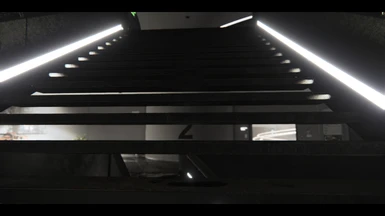
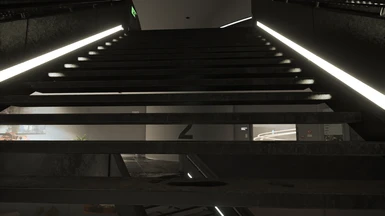
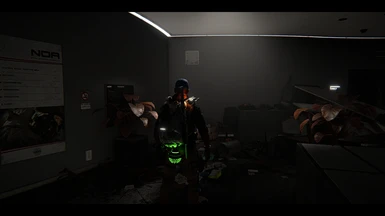
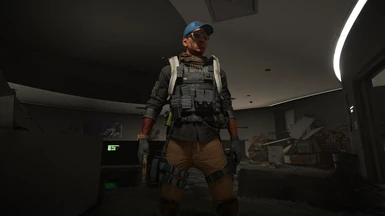
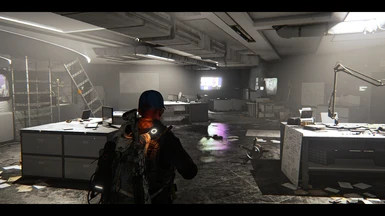
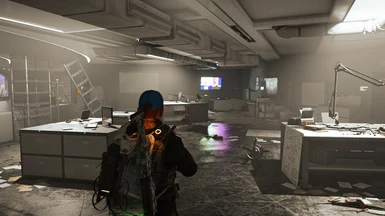
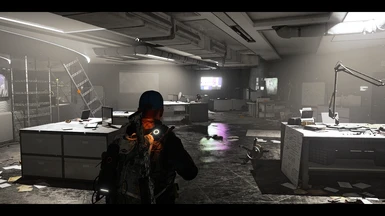
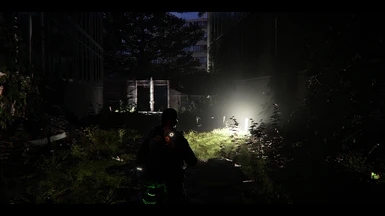
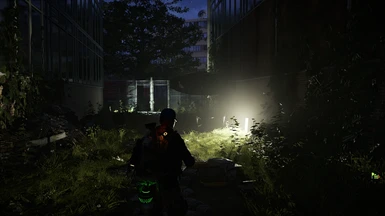
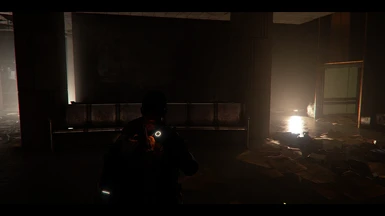
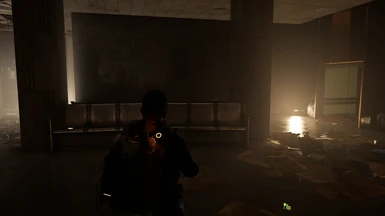
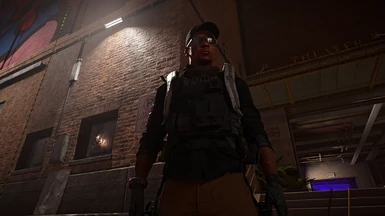
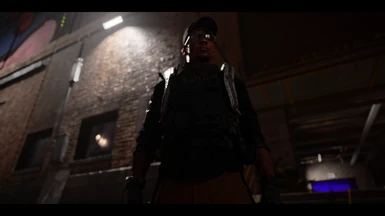
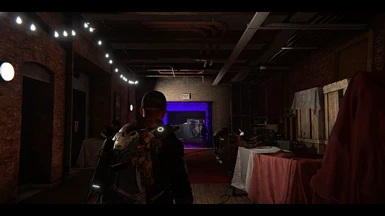
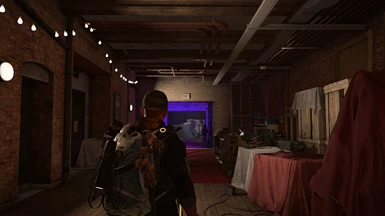
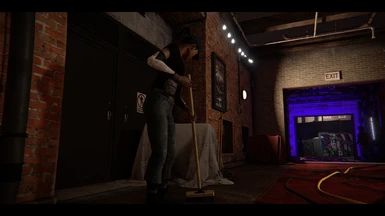
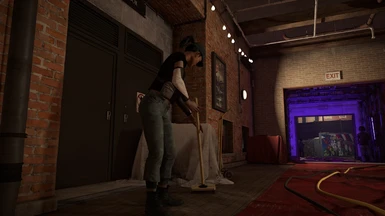
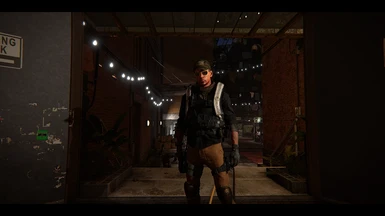
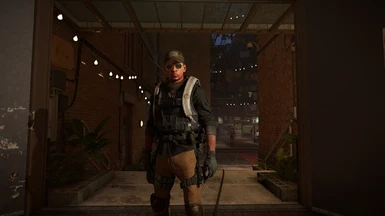
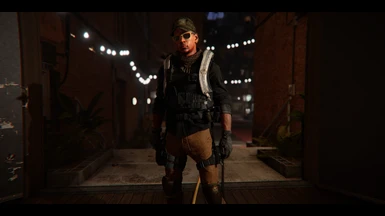
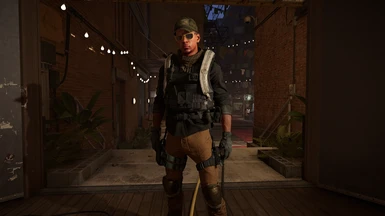
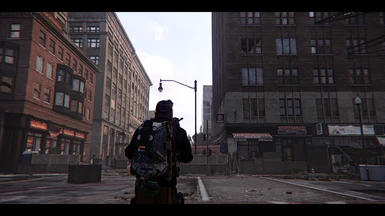
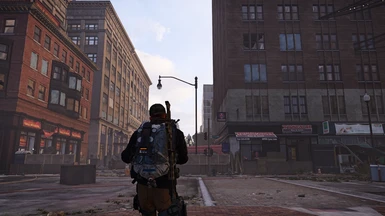
Project Liberty ReShade aims to overhaul the Division 2's visuals to mimic the feeling of viewing the game through a camera lens. In addition to color correcting the image by eliminating the vanilla yellow tint, Project Liberty also adds tons of OPTIONAL high-quality, fine-tuned cinematic effects. The optional effects include depth-of-field & m
- Permissions and credits
- Donations
Project Liberty | Photorealistic & Cinematic ReShade


*If you like this ReShade, please come back and endorse the mod. And, I would love too see pics of your agents and world in game, you can set up a screenshot hotkey and change the screenshot format to PNG in the ReShade settings menu, this will let you take pics that you can upload here on Nexus, post em in the images section :)


DESCRIPTION & FEATURES
Project Liberty ReShade aims to overhaul the Division 2's visuals to mimic the feeling of viewing the game through a camera lens. In addition to color correcting the image by eliminating the vanilla yellow tint, Project Liberty also adds tons of OPTIONAL high-quality, fine-tuned cinematic effects. These optional effects include depth-of-field, multiple choices of depth-of-field, bloom, lens flares for light sources, film grain, letterboxing (black bars), anamoprhic camera lens emulation, and chromatic aberration. Heck, I've even made the color and general lighting changes optional, so they can be disabled with a hotkey, like every other effect.
This reshade is a result of constant refinements and tweaks, as I've been working on essentially every day since the game launched into early access on March 12, 2019. Because of the modular nature and tons of hotkeys I've included for every effect, Project Liberty is built with gameplay and ease-of-use in mind. A lot of love and time when into this ReShade project as well as my companion Straight-to-VHS ReShade, which is fully compatible with this one and is available here: https://www.nexusmods.com/tomclancysthedivision2/mods/2. I really hope you enjoy it, and look out for further updates and improvements to come! I'm in love with this content-rich game from Ubisoft's Massive Entertainment, so look out for further ReShades from me as the months and years progress ;).
Cheers,
Merc

INSTALL INSTRUCTIONS
*Preliminary steps:
A) ReShade is often incompatible with the "fullscreen" settings in games so I recommend launching your game and setting it to borderless-windowed mode aka windowed-fullscreen mode before installing ReShade.
B) Also ReShade is generally incompatible with the Uplay overlay so you should disable it before trying to launch your game with ReShade.
C) Reshade does not support DirectX 12, so be sure DirectX 12 mode is not enabled in the game's options menu.
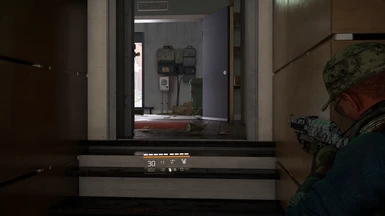
D) You'll need to move your hud elements to fit within the letterboxing, should you choose to use it. It only takes like 30 seconds and you never have to mess with it again. You can find the settings under the UI section of the game menu. I have two HUD setups I use personally; one where I push all HUD elements I can off screen, and the other where the HUD elements are greatly minimized and made to fit within the letterbox margins.*
1. Download ReShade framework 4.0.2 from here: http://www.mediafire.com/file/0xoi37xedib2uc1/ReShade_Setup_4.0.2.exe/file
2. Run the .exe, choose your Division 2 .exe, called "TheDivision2.exe", which is found in this subfolder path: "... Ubisoft Game Launcher\games\Tom Clancy's The Division 2"
Now choose the DirectX 10+ version when it asks which API to use.
3. Select yes when it ask if you want to download a collection of effects. Click "uncheck all" and just select "Border" (you'll be using the shaders and effects from my dropbox folder).
4. You should now have a file in your game's folder called "dxgi.dll", that is a ReShade file. Many people need to rename this file to "d3d11.dll" to prevent crashes on launch.
5. Download my zip file on the file page here on Nexus.
6. Open the zip folder and copy-paste the "reshade-shaders" folder, and the "My Little Apocalypse - Photorealistic Release 1.0.ini" file in your Division 2 folder, where you found your game's .exe, "... Ubisoft Game Launcher\games\Tom Clancy's The Division 2" folder. Overwrite all if it asks. Don't worry, you are only overwriting ReShade files, not any of your game's actual files.
7. Run your game and open the ReShade menu with Shift+Home and click the little arrow at the top of the reshade menu to open the drop-down menu. Select the preset "My Little Apocalypse - Photorealistic Release 1.0.ini" .ini file. (If you don't care about Depth of Field (DoF), then you can stop here and just delete all the DoF shaders from your reshade-shaders/shaders folder. If you want to use DoF, then please continue to step 9, it's not as intimidating as it looks, only takes about 10 seconds to do once in game).
8. In your in-game settings menu, under Gameplay, set your reticle opacity to 75 percent or lower to stop the lens flares from triggering when you aim. Don't worry, your reticle will still be plenty visible. I also set my reticle thickness to 0, which is still very visible, it doesn't make it disappear.
9. To get DoF working once you load into the game and can see your character model in D.C.,follow this guide. Basically, activate the Display Depth shader (press "+" on the numberpad) to see the depth buffer, then click the "dxll" tab and click the boxes (usually one of the bottom 5) until you see the image with your character displayed in one half and the other gray-scaled, as shown in the video. Then click the "reload" button on the bottom of the reshade "home" tab, as shown in the video: https://youtu.be/AbsLCo96ONY
10. Profit?


HOTKEYS
*Be sure your Numberpad is enabled or they won't work. All hotkeys remappable from the ReShade menu*
Open the ReShade menu - Home (modifiable in the ReShade's setting's tab)
Toggle the entire ReShade on and off - Scroll Lock (modifiable in the ReShade's setting's tab)
Chromatic Aberration - * (asterisks) on the numberpad
Anamorphic Camera Lens Emulation and Warping & Secondary Chromatic Aberration (off by default, best to use only one chromatic aberration shader at a time, but you can use them both to get a more cinematic look) - 2 on numberpad
Depth of Field [Strong/Heavy] (implementation 1, off by default) - division sign (/) on numberpad
Depth of Field [Soft/Light] (implementation 2, off by default) - minus sign (-) on numberpad
Letterbox (black bars) 0 on numberpad
Sharpening - 5 on the numberpad
Extra sharpening (off by default, mostly there for if you use the optional anamorphic camera lens emulation which distorts the image slightly around the edges of your screen like a real camera lens can. That lens effect also stretches the image slightly which blurs the image a little, hence the inclusion of this extra sharpening option. Can be used without using the lens emulation for those that just like a very crisp, albeit somewhat unrealistic, image) - 1 on the numberpad
Film Grain - 3 on numberpad
Bloom, lens dirt, and lens flares - 6 on numberpad
Bloom on Division agent devices and light bulbs - 8 on numberpad
Color and lighting changes (Lightroom) - 4 on the numberpad
Display Depth (testing tool for seeing if you set up the Depth Buffer correctly, image should be in a gray-scaled look on the right with objects clearly visible. If it's twitching around or it's just pitch black, it's probably set up wrong). - plus symbol (+) on numberpad

UNINSTALLING
1. Delete the reshade-shaders folder, d3d11.dll (or dxgi.dll if you didn't rename it), and reshade.ini from your game folder. That's it.


PERFORMANCE & OTHER STUFF
You may notice a slight decrease in performance, but it should be pretty close to what FPS you were getting before without ReShade installed, depending on your hardware. You can simply disable ReShade with the hotkey, restoring all your pre-ReShade performance.
If you like the added bloom and lens dirt, but don't like the lens flares, you can disable lens flare and keep the other bloom and lens dirt effects by open the ReShade menu and unchecking bLensEnable from under the Bloom section (bottom half of the menu).

CONTACT
-- Please subscribe to my YouTube channel for demos and previews of my upcoming and released ReShades: https://www.youtube.com/channel/UCn5KAZuLeVmeQLXSMJNBMcA -
-- Please follow me on twitter: https://twitter.com/MercsAssassin

MY MODS FOR OTHER GAMES
Exhaustive List Here, constantly updating it as I make new ReShades: https://www.facebook.com/MercsAssassin/
ps: I'm TheMercsAssassin on most other websites, including youtube, twitter and the nexus. Hence, the Merc thing.
ps+: Do not use any part of my ReShade in your own work. Make your own through hard work and lots of time, like I did, please. Thanks.

CREDITS
1) MartyMcFly - His Lightroom and Advanced DOF shaders are the backbone of this ReShade. They come from his qUINT collection.
2) Crosire - the original creator of the ReShade framework. Obviously none of this would be possible without him.
3) Luluco250 - his/her CRT shaders, MultiFX shader, and made this preset possible - https://github.com/luluco250/FXShaders
4) Myself (TheMercsAssassin aka Assassins Decree - For the many hours spent configuring and fine-tuning these effects in this ReShade preset
5) All other creators of individual ReShade shaders and effects
