


0 of 0


About this mod
Mod for Sun Haven, in order to simply create new skins. Also, you can use this mod for creating your own mods/skins packs.
- Requirements
- Permissions and credits
- Mirrors
- Changelogs
Mod for Sun Haven, in order to simply create new skins. Also, you can use this mod for creating your own mods/skins packs.
GITHUB
FULL USING GUIDE IN ENGLISH
FULL USING GUIDE IN RUSSIAN
For any questions:
Discord: stmihan
Installation
Adding New Skins
Creating New Skins
You can use the two skins that come with the mod as a basis
GITHUB
FULL USING GUIDE IN ENGLISH
FULL USING GUIDE IN RUSSIAN
For any questions:
Discord: stmihan
Installation
- Install BepInEx 5 on Sun Haven (just unpack all files from the archive into the game folder and run the game once)
- Download the latest release from the Releases tab
- Unpack the CustomSkins folder from the archive into
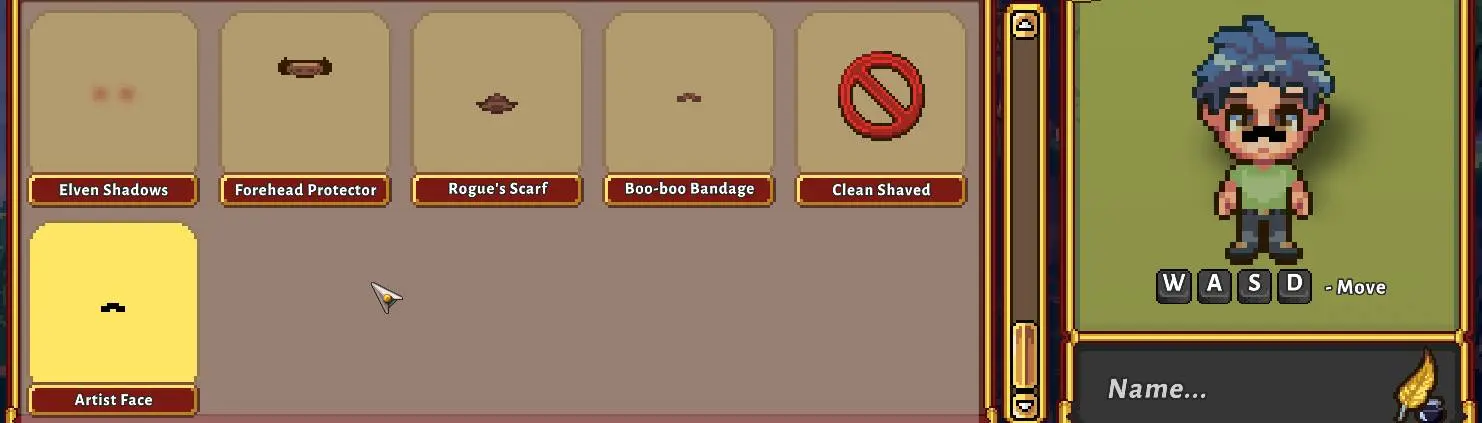
BepInEx\plugins - If everything is installed correctly, you should see new skins in the Face (Artist Face) and Chest (Shirt) tabs when creating a character
- To delete these skins (if you don't need them), just delete everything from the
BepInEx\plugins\CustomSkins\Resources\Items
andBepInEx\plugins\CustomSkins\Resources\Textures
Adding New Skins
- Move the JSON configuration file of the skin to
BepInEx\plugins\CustomSkins\Resources\Items - Move the PNG texture of the skin to
BepInEx\plugins\CustomSkins\Resources\Textures - IMPORTANT: Make sure that the names of these files and the Name parameter in the JSON file are the same
Creating New Skins
You can use the two skins that come with the mod as a basis
- To conveniently create new skins, you will need to install Plugin configuration manager for BepInEx (just place the ConfigurationManager.dll from the archive into the BepInEx\plugins folder)
- Open the game and press F1
- In the opened window, select the CustomTextures plugin
- In the search window, you need to enter the name of the skin you want to use as a base
- You can save it as a PNG file by clicking the Save button
- Also you can see the name of the skin there
- And the Layers used by the skin
- Then create your JSON configuration file for the skin according to the structure and place it in
BepInEx\plugins\CustomSkins\Resources\Items - Then modify the saved texture as you wish and place it in
BepInEx\plugins\CustomSkins\Resources\Textures - IMPORTANT: The name of the texture file, the name of the JSON file, and the Name parameter in the JSON configuration file must all match