About this mod
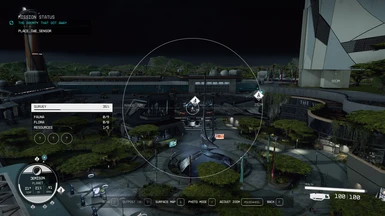
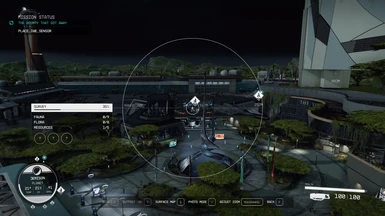
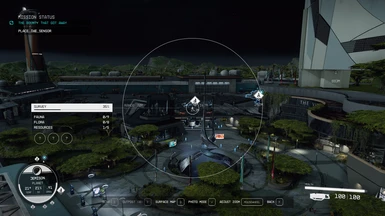
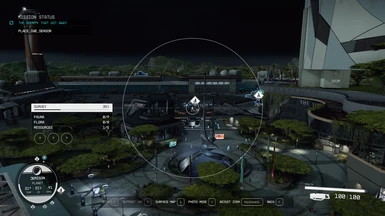
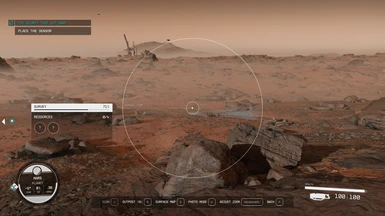
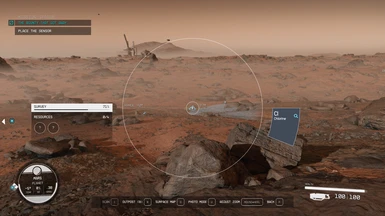
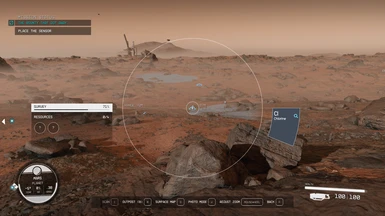
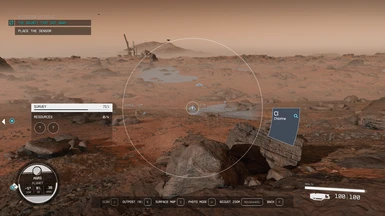
Increases the default distance of objects highlighted by the scanner.
- Permissions and credits
- Changelogs
- Donations
Increases the default distance of objects highlighted by the scanner. (3x, 5x, 10x)
ESM built with xEdit.
Note: This mod disable achievements.
INSTALLATION:
Default game location
Steam: C:\Program Files (x86)\Steam\steamapps\common\Starfield
Game Pass: C:\XboxGames\Starfield\Content
Plugin Version
Mod Organizer 2.5.0 Beta 11 or higher (Recommended)
- Enable Archive Invalidation.
- Download and install Plugins.txt Enabler.
- Install the mod via your mod manager.
- Open MO2 and go to Tools -> Settings -> Plugins.
- Search for Starfield Support Plugin, and enable the enable_plugin_management.
- Restart MO2 and select the ESM and ESP you want to use from the Plugins tab in the right panel.
Vortex
- Enable Archive Invalidation.
- Download and install Plugins.txt Enabler.
- Install the mod via your mod manager.
- Navigate to your %LocalAppData%\Starfield folder.
- Open Plugins.txt with Notepad (if it doesn't exist, create one).
- Add a # (number sign) to the top of Plugins.txt (do not add another # if it already exists).
- Under #, copy and paste the name and extension of the plugin you want to use with a * (asterisk) in front of it into your Plugins.txt, as shown below.
#
*IncreasedHighlightDistance.esm
Manual
- Enable Archive Invalidation.
- Download and install Plugins.txt Enabler.
- Navigate to your game's root folder (the folder containing Starfield.exe).
- Extract the ESM files into your game's root "Data" folder.
- Navigate to your %LocalAppData%\Starfield folder.
- Open Plugins.txt with Notepad (if it doesn't exist, create one).
- Add a # (number sign) to the top of Plugins.txt (do not add another # if it already exists).
- Under #, copy and paste the name and extension of the plugin you want to use with a * (asterisk) in front of it into your Plugins.txt, as shown below.
#
*IncreasedHighlightDistance.esm
CCR Version
- Download and install Console Command Runner.
- Navigate to your game's root folder (the folder containing Starfield.exe).
- Extract the SFSE folder into your game's root "Data" folder.
Batch Version
- Navigate to your game's root folder (the folder containing Starfield.exe).
- Extract the TXT file into your game's root "Data" folder.
- Navigate to your Documents\My Games\Starfield folder.
- Open StarfieldCustom.ini with Notepad (if it doesn't exist, create one).
- Add [General] to StarfieldCustom.ini (do not add another [General] if it already exists).
- Under [General], copy and paste the following line.
sStartingConsoleCommand=bat "Data\IncreasedHighlightDistance"
- If you already have this line, follow the guide below instead of creating multiple entries in sStartingConsoleCommand.
Below is a guide on how to use multiple batch mods.
- Create a TXT file in your game's root folder, name it whatever you want.
- For this example, we will be using Merged.txt.
- Now, let's say you want to use Increased Highlight Distance, Increased Scan Distance, and Instant Scan.
- Open Merged.txt with Notepad.
- Type bat "Data\IncreasedHighlightDistance", bat "Data\IncreasedScanDistance", and bat "Data\InstantScan", each on a separate line.
- Your Merged.txt should now look like the one below.
bat "Data\IncreasedHighlightDistance"
bat "Data\IncreasedScanDistance"
bat "Data\InstantScan"
- Then, in your StarfieldCustom.ini, replace the existing sStartingConsoleCommand with the one below.
sStartingConsoleCommand=bat Merged
MY OTHER MODS


