BACKGROUND:
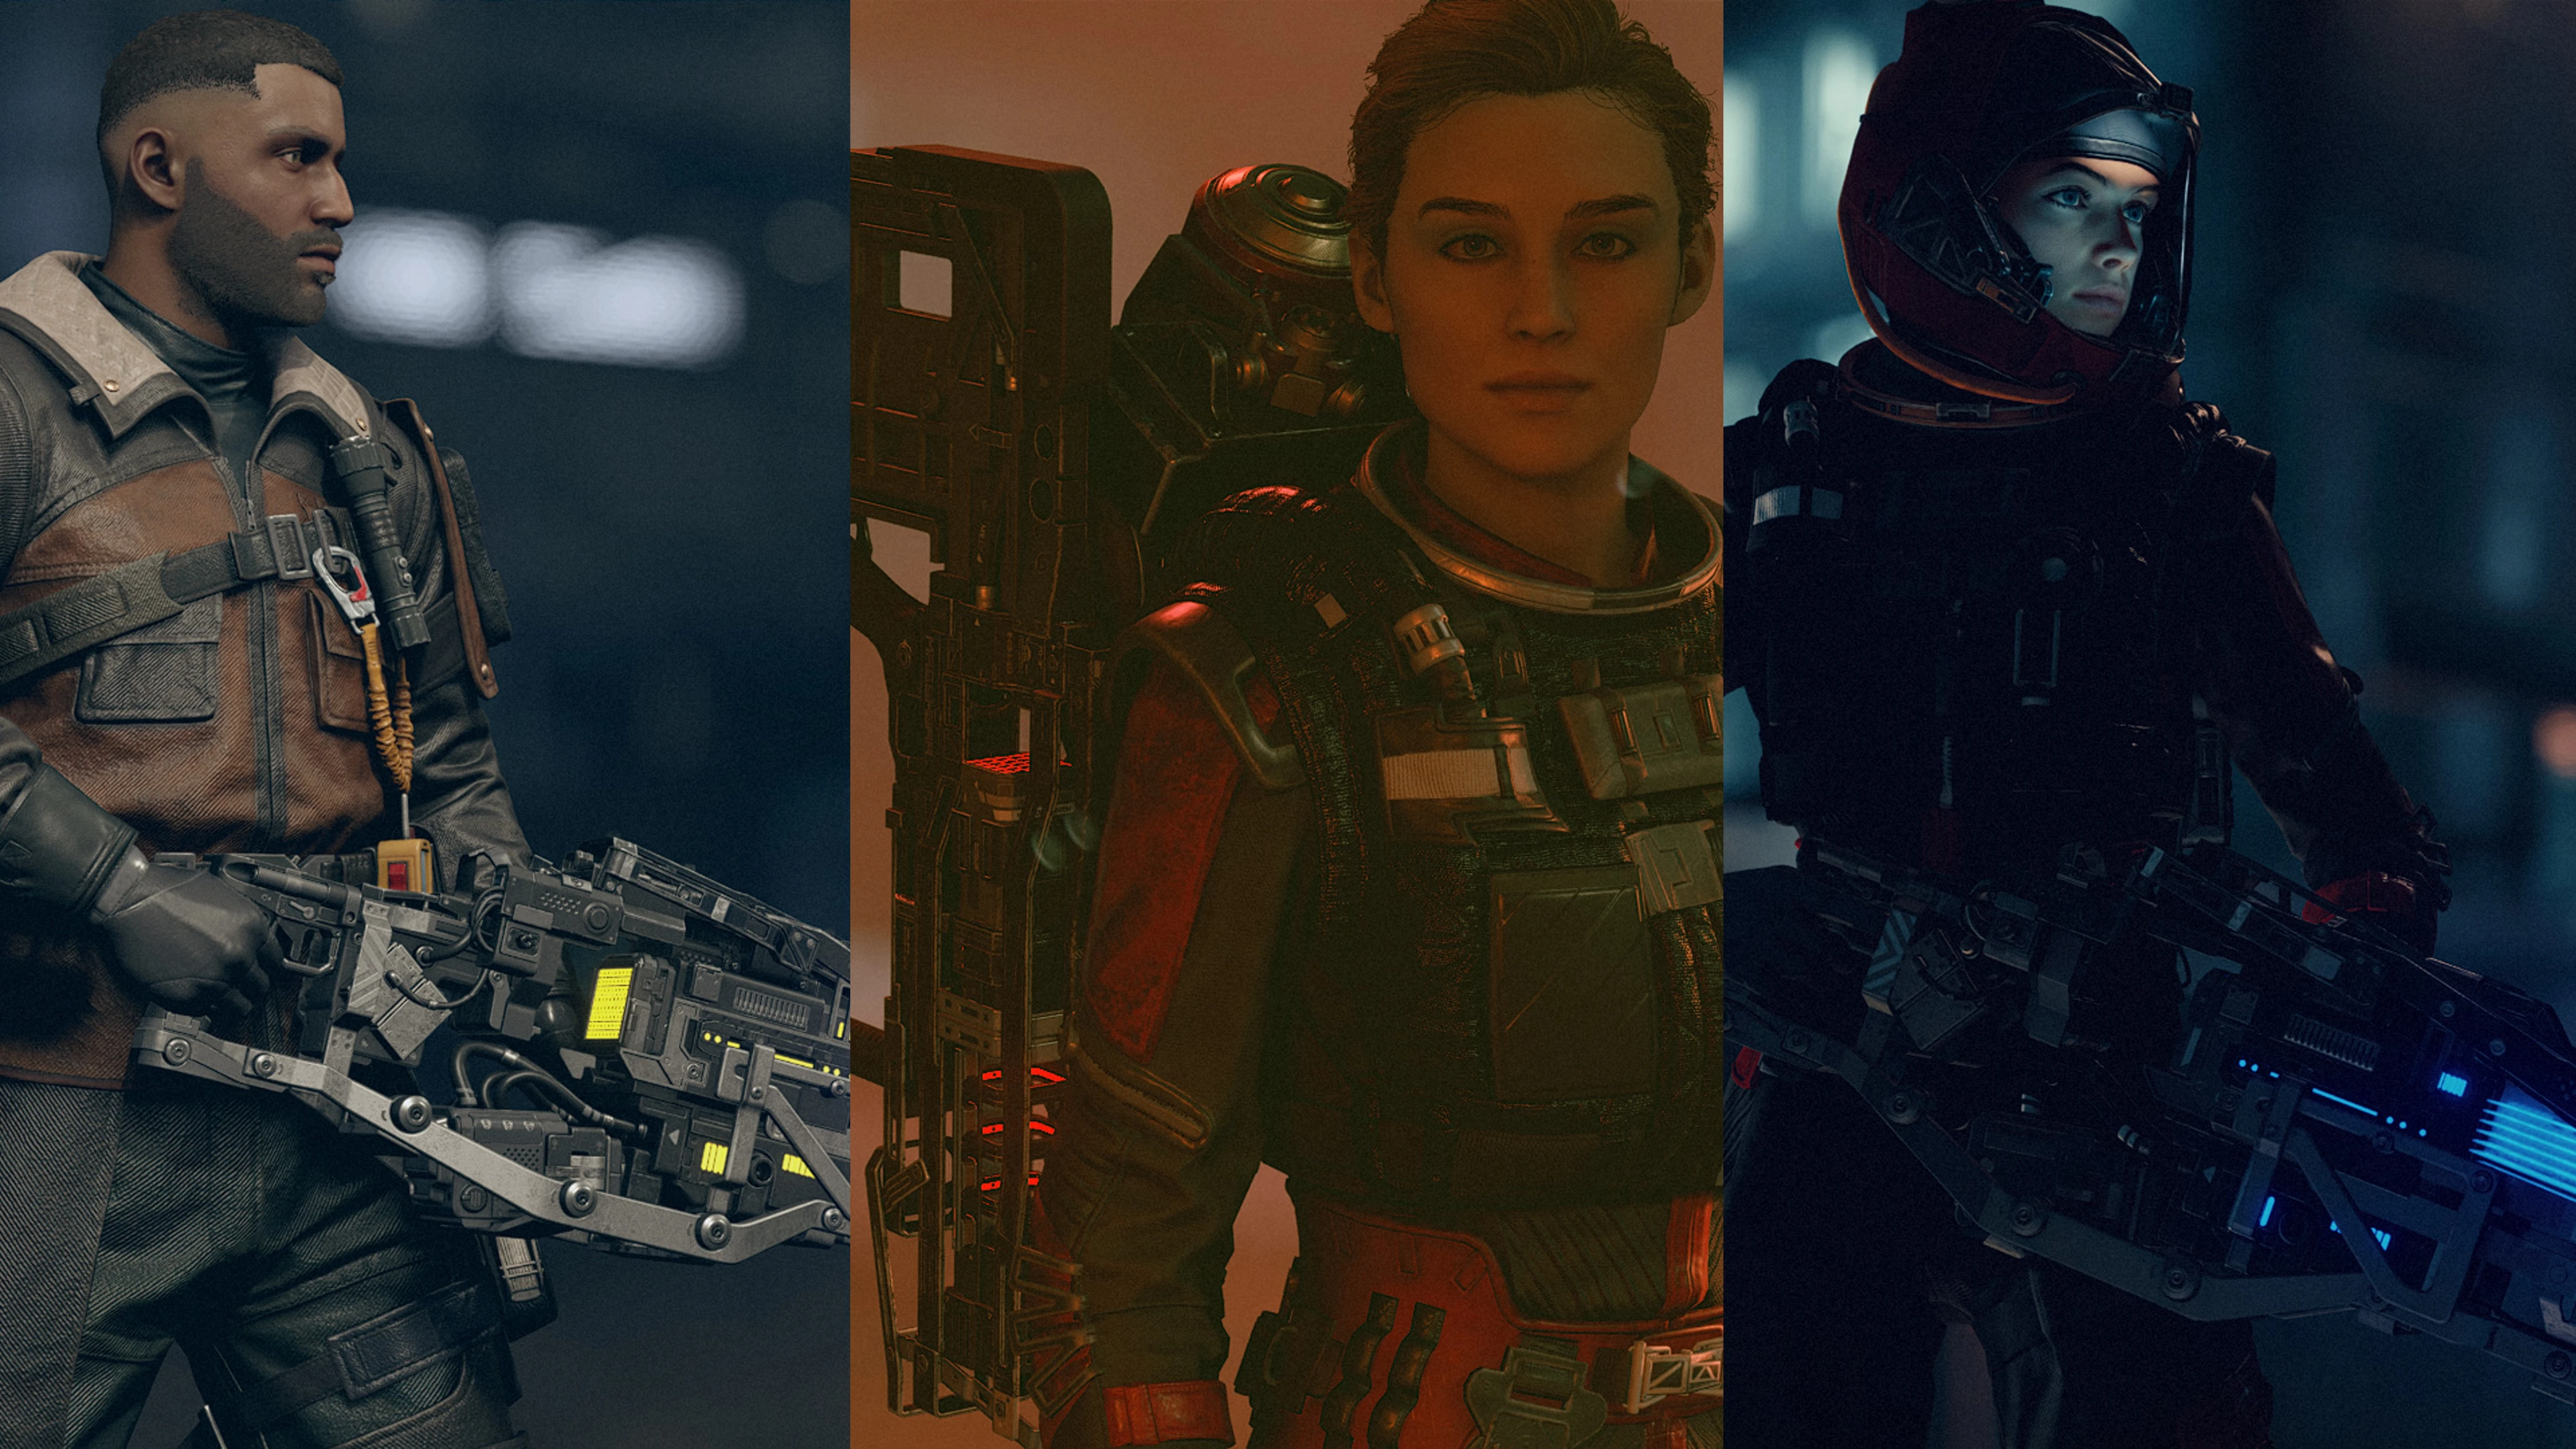
The new Kore Kinetics Quantum series (Version 1.1 and above) now utilise a dds file to provide the glow colour, rather than the in-game shader in the previous versions. This change allows the dds file to be overwritten with the loose file in the DIY Glow Colour Pack.
NOTES ON THE AIO AND INDIVIDUAL COLOUR PACKS:
The optional file in the AIO recolours all weapons with the same glow colour. Use the optional files from individual weapon mods if you want a different colour for a specific weapon.
The recolour affects both craftable skins and replacements.
You can combine the AIO and individual craftable skin mod to allow two different versions of weapon glow (For example, orange for the player character using the individual mod and purple for the companion using the AIO mod).
INSTALLATION:
Download the DIY Glow Colour Pack under the "Optional files" section, ideally using your mod manager.
If installed manually, the file must go where you usually put loose files. Depending on your setup, this could be your game data folder, the data folder in Documents, or your virtual data folder.
Ensure that you have created the StarfieldCustom.ini file in "Documents\My Games\Starfield\" and input the following:
[Archive]
bInvalidateOlderFiles=1
sResourceDataDirsFinal=
Launch the game and check if the glow changes to red. If not, the file hasn't been installed correctly.
You can move on to the next step if the glow changes to red.
EDITING THE COLOUR:
You'll need a photo editing software capable of editing dds files. Such as:
Paint.net. Download link: https://www.dotpdn.com/downloads/pdn.html
GIMP
Photoshop (with nVidia plugin)
Photopea.com (if you don't want to install anything)
Find the dds file that you've just installed.
For AIO: Data > Textures > Weapons > ZW_Shared > Tint_emissive
For individual weapons: Data > Textures > Weapons > ZW_Mag(weapon) > Tint_emissive
Open it with your photo editing software. This guide will show the steps for Paint.net and Photopea.com.
Paint.net:
Pick your colour.
Find the bucket tool and recolour the entire image.
Save the file. The dds format should be BC7 (sRGB, DX 11+). Don't touch anything else.
Launch the game and check the result.
Photopea.com
Upload the dds file.
You can choose your colour using the colour picker (in the toolbar on the left, the third icon from the bottom).
Find the bucket tool and recolour the image. It can be hidden behind the "gradient tool". Left-click and hold at the "gradient tool" to expand the menu.
When finished, click File> Export as > More > DDS, then click Save in the preview window.
Find your file in your "Download" folder, move it to your original folder and replace the original file.
Launch the game and check the result.
Congratulations! You've just made your first retexture mod.
UNINSTALLING/REVERT COLOUR
Remove the loose file. This can be safely done midgame. The glow will revert to the default blue.


0 comments