


0 of 0
File information
Created by
FiftyTiftyUploaded by
FiftyTiftyVirus scan
Some manually verified files
About this mod
A fully automated utility to turn Skyrim SE's textures back to their LE resolutions. Little to no visual difference, 4x smaller textures, fully automated. What more could you want?
- Requirements
- Permissions and credits
The Problem
Skyrim Special Edition uses the HD DLC textures for Legendary Edition. And, as we all know, the HD DLC textures are rarely noticeable as an improvement over vanilla's textures. Worse still, they're at least 4x as big. So your VRAM is taking a massive hit, and your performance is lacking. Especially on GPUs with only a few GB of VRAM.
The Solution
I've made this tool to automatically extract Skyrim SE's texture archives, downscale the textures to their original Skyrim LE resolutions while using SE's newer texture formats, then re-package them back into their respective archives. No weird menus to navigate, no settings files to do some weird mathematical wizardry with, none of that pish. Simple as.
The Result
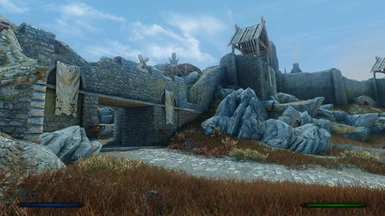
Much less VRAM usage, better performance, no noticeable decrease in texture fidelity.
That's a win-win-win right there.
Instructions
Video tutorial
Video tutorial
Written instructions
1. Create a new folder, ideally on your root. E.g: C:\Working
2. Download this mod, and put all the files into the folder
3. Download BSArch, and place bsarch.exe in the folder
4. Copy the following archives from Skyrim's Data folder, and paste them into the older: Skyrim - Textures0.bsa, Skyrim - Textures1.bsa, Skyrim - Textures2.bsa, Skyrim - Textures3.bsa, Skyrim - Textures4.bsa, Skyrim - Textures5.bsa, Skyrim - Textures6.bsa, Skyrim - Textures7.bsa, Skyrim - Textures8.bsa
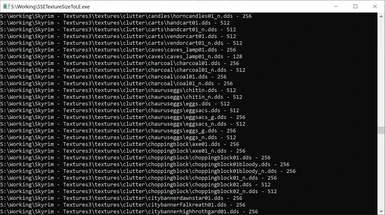
5. Double click SSETextureSizeToLE.exe and let it run
6. If it ran successfully, it will have created new archives and placed them in a folder called _output
7. Copy those newly created archives, and paste them into Skyrim's Data folder
8. When Windows asks if you want to overwrite, click yes
9. ~fin~