Documentation
Readme
View as plain text
----------
Spells
----------
Alteration spells
----------
Novice
Percussive Maintenance - Increases melee damage but drains Magicka if no Dwemer spell is active.
Apprentice
Detect Treasure - Illuminates the nearest container.
Galvanize - Steal armor rating from nearby targets.
Sever the Link - Target loses Magicka/Stamina and cannot regenerate.
Shelter - Transports the caster to a dimensional Dwemer home.
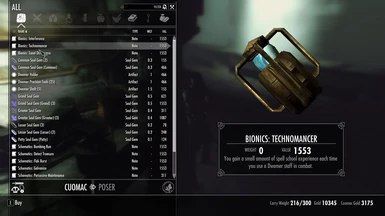
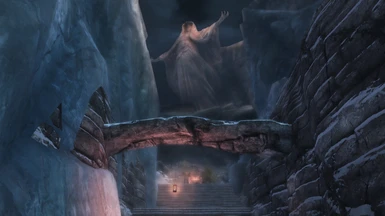
Bionics: Technomancer
Bionics: Shock Absorbers (hidden)
Adept
Aetheric Wall - Summons a blocking wall of force.
Inertial Slingshot - Steal speed from nearby targets.
Phase Lock - Target is held in place but invulnerable.
Portal Passage - Creates an entrance and exit portal.
Bionics: Dwemer Research
Bionics: Itemsight (hidden)
Expert
Dahrk's Disintegration - Temporarily destroys the nearest lock.
Dwarven Sphere Meld - Morph into a powerful Dwarven Sphere.
Rocket Jockey - Propels the target in random directions.
Subjugate - Target affected by a Dwemer spell is pushed into the ground.
Bionics: High Efficiency
Master
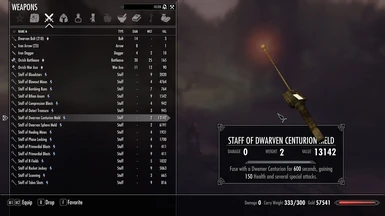
Dwarven Centurion Meld - Morph into a powerful Dwarven Centurion.
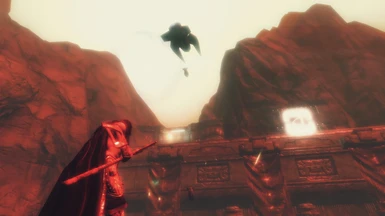
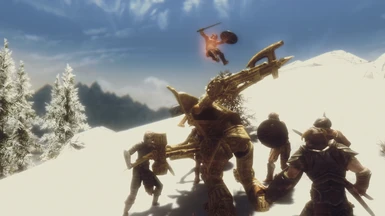
Nailed to the Sky - Catapults a weakened target into space.
Portal Network - Creates an entrance to a portal nexus room.
Remote Cast Mine - Mine that casts the spell in your other hand.
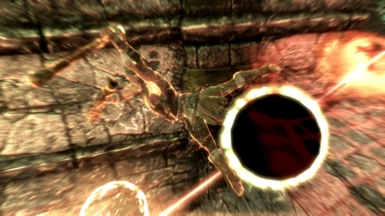
Vortex (reward) - Target collapses into a black hole that sucks in others.
Bionics: Yagr Duumz
Destruction spells
----------
Novice
Primordial Blast - High damage blast that gets weaker after x hits.
Apprentice
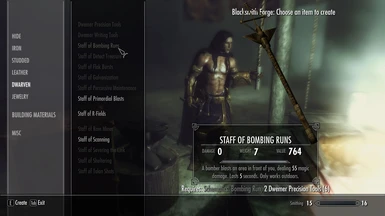
Bombing Run - Bomber blasts enemies in front.
Flak Burst - Fire an explosive orb, cast again to detonate.
Rain Mine - Mine that fires molten droplets into the air.
Talon Shot - Rocket powered spike that deals more damage at range.
Bionics: Tonal Dissonance
Adept
Arc Bombs - Fires ballistic grenades when you cast spells.
Bloodstar - Causes bleeding damage that rapidly increases.
Compression Blast - Hold to charge up a powerful shockwave.
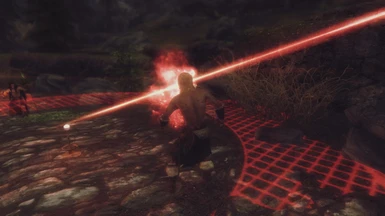
Laser Mine - Mine that fires laser beams at nearby targets.
Bionics: Emergency Power
Expert
Auto Lob - Launches a homing plasma orb from a mortar.
Beam Drones - Swarm of units follows and attacks target.
Blowout Mine - Mine that releases a steam blast.
Bthan Anum - Beam that overheats a target, causing an explosion.
Bionics: Minecrafting
Master
Cloudbreaker - Target is marked for an anthrax missile strike.
Energy Core - Flaring orb that fires lasers towards the crosshairs.
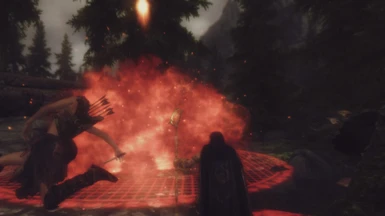
Purefire Blast - Heavy shell that sets an area on fire, piercing resistances.
Radio Bomb - Detonates when you cast another Dwemer spell.
Machine Mind (reward) - Blasts nearby enemies on autopilot.
Bionics: Auxiliary Power
Restoration spells
----------
Novice
Scan - Reveals target statistics.
Apprentice
R-Field - Restores Health, more so at low Health.
Bionics: Interference
Adept
Healing Mine - Mine that heals you if you are within range.
Bionics: Emergency Repair
Expert
Machine Chant - Heals you every few spellcasts.
Bionics: Master of Flesh
Master
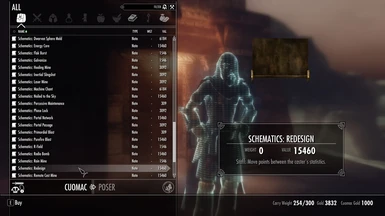
Redesign - Grants the ability to move points between skills and stats.
Genocide (reward) - Steal life from a target and others of the same race.
Bionics: Drawing Board
Powers
----------
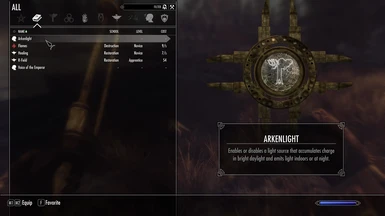
Arkenlight - Charges up in daylight and depletes itself by emitting a colour of your choosing in darkness or indoors.
----------
Quest walkthrough
----------
1. Make sure you have level 40 or up Alteration, Destruction or Restoration and cast a spell.
2. A message appears in your inventory, read it.
3. Head for the indicated quest marker.
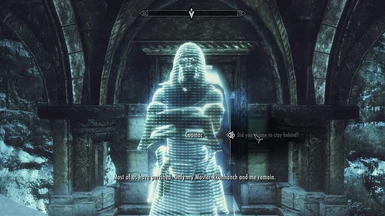
4. Cuomac will appear and tell you to take the shuttle to the Dwemer base on Masser.
5. Head to the pickup point. A shuttle appears, which you can enter once it has stopped descending.
6. Find and talk with Cuomac in the base. Should you want to return, you can take the shuttle back to Nirn.
7. Cuomac tells you to talk with Rkunhanch and also gives you a quest to craft a Dwemer weapon.
8. You should probably craft one now, because the enemies are resistant to non-Dwemer attacks. Before spending all of your money on Schematics, make sure you can still afford the necessary Precision Tools and Writing Tools. If you run out of money, plunder the toolcase next to the forge. If you're on a budget, get Primordial Blast: it only does high damage the first 200 times you use it, but that should be enough to reach the end of the quest and the staff is cheap to recharge. If you have money to spare and have a high skill level in Destruction, pick up a few Mines and a higher level attack spell like Compression Blast or Bthan Anum.
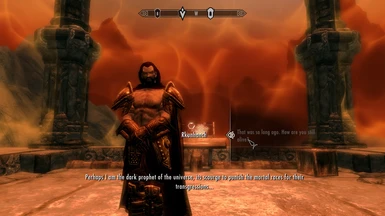
9. Talk with Rkunhanch. (Point of no return)
10. Rkunhanch ejects you from the base and onto Masser.
11. After a short time, your objectives will be updated and you will get into a fight with a number of Techpriests.
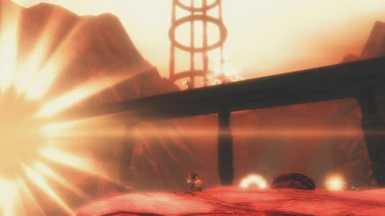
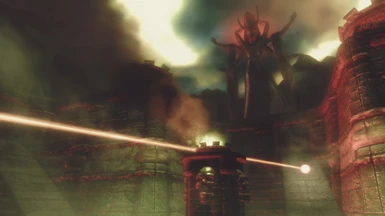
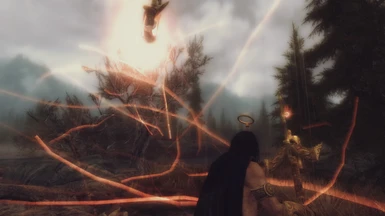
12. Beware the meteors: the "Look up!" warning appears 15 seconds before impact.
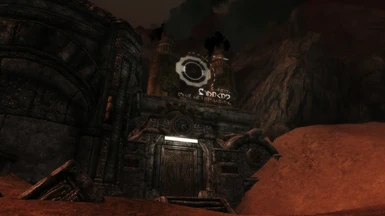
13. Ideally you should first go to the bunker on the southwest with the four bladed nuclear sign. It has a tricky tightrope puzzle section, but rewards you with the Bionics: Shock Absorbers. Don't walk into the laser fence or it explodes and you die.
14. Enter the Power Station (it is marked on your radar by a Dwemer Ruin icon).
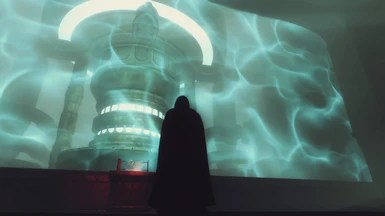
15. Behind the door at the end of the short hall, there is a very large number of Techpriests and a Grand Techpriest praying to a hologram. Try to sneak past them via the platforms at the side of the room. If you want to try taking them on, the right side platform has a box of single use Condensors which cast Purefire Blast, a ballistic shot that spawns a massive unresistable fire, and these particular Techpriests take double damage from this.
16. After sneaking past or dealing with the Techpriests, continue on down the dungeon.
17. There is a large neon sign in the distance where the path turns left. Press the button under the neon sign to receive the Arkenlight power.
18. After a while, the dungeon is on fire. The exit is on your left, but parts of the floor have collapsed. You may need to do a few trick jumps. (Point of no return)
19. Leave the dungeon through the door, returning you to the exterior of Masser.
20. There's a supply of soul gems and some basic staves (Primordial Blast, Bombing Run, R-Field) in the box opposite the door.
21. There are several Techpriests and Grand Techpriests to deal with on Masser.
22. Continue on into the Connector. There's a Techpriest immediately behind the next door.
23. After the large cave, the next enemies in your way are a pair of permanently stealthed Banished Techpriests. Use the fog in the halls to reveal their outline or apply a glowing debuff.
24. After a while, you run into a pair of Neon Fiends. They are invulnerable, but Cuomac provides you with a Dwemer Levitation Device, which you use to lift them up and throw them into the large neon screen. Do so and the exit door opens.
25. You're back in the Gateway, but this time it is full of blood and enemies and instant kill laser fences blocking the exit. Kill everything that moves, then approach the door that used to lead to the force bridge to Rkunhanch but is now locked.
26. A mind controlled Cuomac appears and attempts to kill you. Dispatch him.
27. Rkunhanch taunts you and a quest marker appears behind the door. Open it and chase Rkunhanch. He runs fast, so use your sprint to keep up.
28. He will press the self destruct button before you can stop him, blowing up the entire base.
29. But if you were fast enough during the chase sequence, Mephala will save you!
30. Mephala tells you she has some unfinished business with Rkunhanch and wants you to kill him.
31. When Rkunhanch dies, Mephala resurrects him for another round. He is much more dangerous this time.
32. Kill Rkunhanch to finish the quest.
33. The exit is through the large steel doors. A hologram of Cuomac is waiting outside.
34. The quest that told you to buy items from Cuomac is now pointing to the hologram. But a Schematics to complete the quest (it may also tell you to create a Staff and/or Transcript if you haven't done so the first time). You can always return to the Silverstream Crypt to find Cuomac again.
35. The end of the quest kicks off the Invasion event, a radiant quest that spawns a number of enemies in a random location on Nirn. It is triggered by using Dwemer spells (not staves) enough times. This can be repeated as many times as you want.
----------
Hostile NPCs
----------
The enemies are leveled, and their spell damage also levels with them. All enemies do either magic or (unresistable) bleeding damage.
Techpriest
* Energy Dart - Fast but weak orange projectile.
Grand Techpriest
* Cutting Edge - Disk projectile that deals bleeding damage over time.
* Crushing Orb - Orange ball that slows you and reduces your carry weight.
The bleeding damage is not much higher than a Techpriest's attack, but has a long duration and is unresistable. More important is Crushing Orb, which stacks and can bring you to a near halt especially if the carry weight reduction pushes you over the limit.
Neon Fiend/Arkenlight Techpriest
* Glaring Blast - Green flare that deals damage and reduces your magic resistance.
* Disruption Beam - Disrupts a spell being cast and dispels you.
The difference between the two types is that the Neon Fiend is invulnerable and needs to be dealt with by using quest mechanics. Arkenlight Techpriests only show up during Invasion events.
Banished Techpriest
* Primordial Blast - Slow moving but powerful orange orb.
* Health Raider - Projectile that damages you and heals the caster by a % of your remaining health.
* Permanently stealthed
The Health Raider spell has a long cast time and highly obvious effects, so it can be baited and dodged. They don't actually have much health if they are prevented from continuously stealing it back.
Royal Techpriest
* Auto Lob - Homing orange mortar that explodes for high damage.
* Vortex - Projectile that sucks the target and everyone nearby into a black hole.
The Auto Lob spell deals upwards of 100 magic damage, but can be juked because its homing capabilities aren't particularly effective. Vortex is GG if it hits you (or someone near you) but does NOT spawn the black hole when it hits terrain as opposed to a living target. Royal Techpriests only show up during Invasion events.
Cuomac
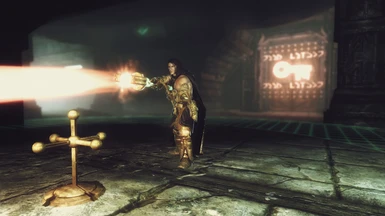
* Bthan Anum - Continuous energy beam that eventually triggers an explosion.
* Beam Drones - Follow you and shoot blue lasers at you.
You must periodically dodge Bthan Anum. Even if you can tank the damage, the explosion that occurs after several seconds of nonstop damage (announced by a gong sound) is very powerful. Beam Drones is annoying damage over time but not too bad and standing near a wall is likely to mitigate some of it.
Rkunhanch
* Compression Beam - Continuous beam that also charges up a Compression Blast while it's hitting you.
* Atomize - Slow moving, long cast time, unresistable explosive projectile.
The danger is Atomize. It is telegraphed by its bright green cast animation and it looks like a giant green and black orb. But you have to dodge it, and stay out of its way (splash damage) because it deals enough damage to take out all but the tankiest of tanks in one hit. Use the pillar to abuse line of sight.
Rkunhanch (round 2)
* Same as round 1
* Randomly casts Arc Bombs, Rain Mine, Laser Mine, Purefire Blast, Galvanize and Flak Burst.
Much more dangerous than the first version. If Arc Bombs is cast (a row of rockets floating above his head), one of the rockets is fired each time he casts a Dwemer spell. It is a ballistic projectile that always hits an area located about half of the arena's diameter in front of him, so be either close enough or far enough. Purefire Blast is a conspicuous blue projectile and easy to dodge, but make sure not to hide directly behind the pillar because he CAN cast it without line of sight and it will hit the pillar and render the general area around it hazardous for the next 10 seconds, forcing you out in the open.


