


0 of 0


Documentation
Readme
View as plain text
Step 1: Set a working folder
The first thing to do is to set a working folder, for example c:\Workspace.
This is where file will be exported to, and textures will be imported from
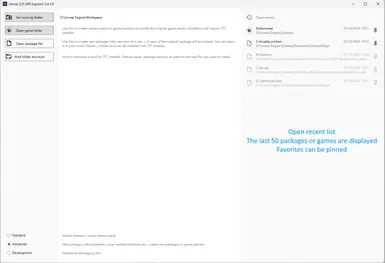
Step 2: Open your game package folder
You will need to find your game installation folder (ex: D:\SteamLibrary\steamapps\common\Dishonored\)
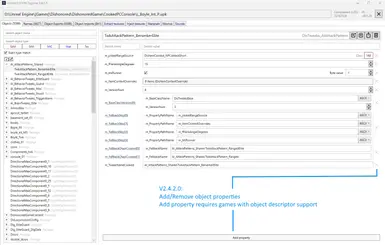
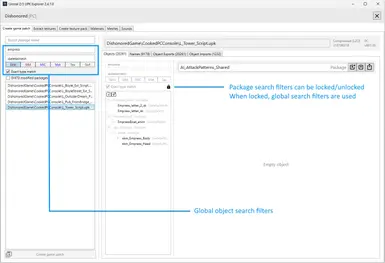
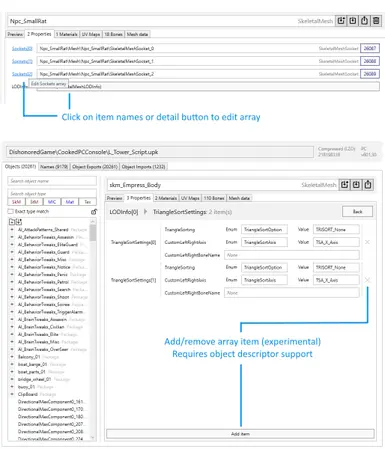
In advanced mode you can also open package files if you want to explore their content / edit object properties, and save a modified copy.
Step 3: Export textures
Wait for the packages to load
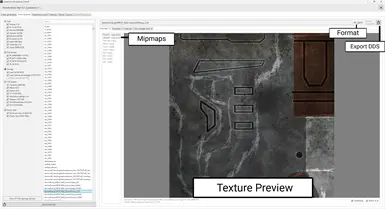
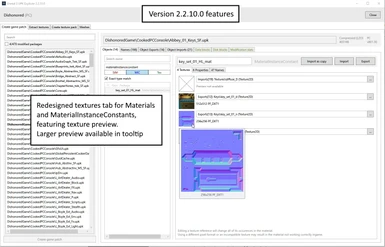
Using the first tab called "Export Textures", you can see all the textures used in the game.
You can filter by name, type or pixel format, as well as local storage, TFC storage or external storage.
Filtering by type is an attempt at filtering out normal maps and other textures
you don't want using the texture name, but since the game developers
didn't use proper name tags on all textures, you might find interesting
textures under the "Other" category.
Once you find the texture(s) you want, you can either export them one by one, or export all the filtered textures.
You will find your textures under [workspace folder]\[Game]\Exports\[TextureFormat]
Where [workspace folder] is the folder you selected at the beginning
[Game] the main game or [Game]\[DLC] if you opened a DLC
[TextureFormat] will be the PixelFormat of the texture that you extracted, most are PF_DXT1 or PF_DXT5 but you may also see PF_A8R8G8B8, PF_BC4, PF_BC5, and PF_DXT3.
You can now close the tool and start working on your textures.
Step 4: Process your textures
Once you have finished working on your textures, they need to be placed in the corresponding "Imports" folder:
[workspace folder]\[Game]\Imports\[TextureFormat]
It's important the textures have the same name/folder and pixel format as the ones you have exported.
If you upscale your texture, make sure it retains the same aspect ratio of the original texture.
They need to be the same dds format as the original and include mipmaps.
Do not mix up different texture types, they need to be kept separated as it's not possible to import textures in a different format than the original texture.
You may use the provided PNG to DDS Converter that can convert multiple PNGs to DDS at once (converts all any currently supported pixel format, depending on what you select). It is highly recommended to use this tool to ensure the proper mipmaps are generated.
From this point on you will no longer need the textures in the "Exports\[TextureFormat]" folders
Step 5: Create a texture pack
Open the tool again, and re-open the folder containing the packages.
Go to the "Create texture pack" tab.
You should see the textures you have placed in the [Game]\Imports\[TextureFormat] folders
Click "Pack xxx Textures" and a texture package will be created in [Workspace folder]\TexturePacks\
A texture pack consists of the following files:
[Game].TFCMapping
Zero or more LocalMips_XXX.tfc
Zero or more Texture2D_XXX.tfc
PackageExtensions.xml
GameProfile.xml
GameProfile.IdRemappings.xml
Do not rename these files. Simply put them into a folder named after your texture pack.
If you want your texture pack to support optional DLCs, repeat the above process except open the chosen DLC's package folder when clicking "Open UPK folder".
Once you have created a texture pack for the DLC, you can place them in the same folder as the main game's texture pack files as they will have different names.
Using TFC Installer, the user of your texture pack will have the option to also install the DLC part of your texture pack if the DLC is installed on his/her computer.
Requirements
You will need .Net runtime 6 installed your computer to use this tool
A note about HD textures...
I made this tool because the Dishonored textures are quite low resolution by today's standard, and I wanted to make a HD texture pack.
The max resolution used for textures in Dishonored is 2048 pixels. Unreal Engine 3 should support up to 4096, or even 8192 in some cases (if the developers specified it, which I doubt it).
The problem is some textures will not show up at the full 4096 pixel resolution if you do not modify your DishonoredEngine.ini accordingly.
For me the file is located in My Documents\My Games\Dishonored\DishonoredGame\Config\DishonoredEngine.ini
You want to look for these entries (there are several):
TEXTUREGROUP_World=(MinLODSize=256,MaxLODSize=2048,LODBias=0)
and change them to:
TEXTUREGROUP_World=(MinLODSize=256,MaxLODSize=4096,LODBias=0)
Do not do this for all entries as this seems to mess up the rendering of skies, shadows and so on. In the example above, the "World" texture groups consisted in the following entries:
TEXTUREGROUP_World=(MinLODSize=256,MaxLODSize=2048,LODBias=0)
TEXTUREGROUP_WorldNormalMap=(MinLODSize=256,MaxLODSize=2048,LODBias=0)
TEXTUREGROUP_WorldSpecular=(MinLODSize=256,MaxLODSize=2048,LODBias=0)
So I only modified the first one (didn't touch normal maps and specular) and had no rendering issues. I did changes to all occurrences of the following groups:
TEXTUREGROUP_World
TEXTUREGROUP_Character
TEXTUREGROUP_Weapon
TEXTUREGROUP_Vehicle
TEXTUREGROUP_UI
Once you are done you probably want to set the file to read-only so the game does not restore the original values
Note that UE3 max texture resolution is 4096x4096