


0 of 0

About this mod
A Complex reshade that has been meticulously done to provide the best results in-game for cutting-edge night vision goggles.
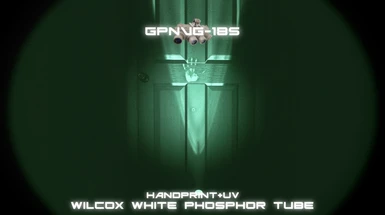
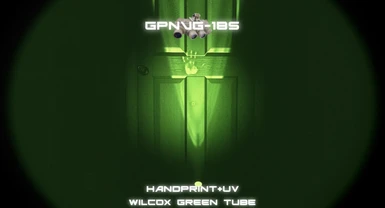
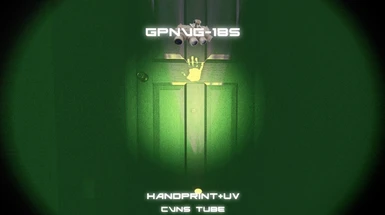
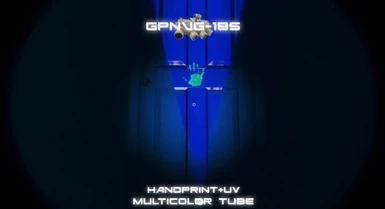
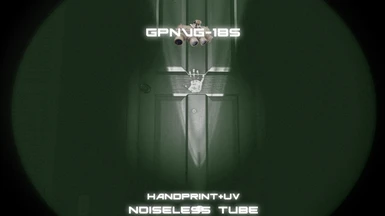
There are many different color tubes and each tube is based off real life versions of night vision, with only a couple being fictional ideas of mine.
- Permissions and credits
- Open up a folder and head to your Phasmophobia game directory (for example, mine is: C:/Steam/Steamapps/Common/Phasmophobia). Leave this open; you'll need this soon. PLEASE MAKE SURE TO MAKE A BACKUP OF ALL THE FILES IN THIS DIRECTORY BEFORE MODDING YOUR GAME
- Head to http://reshade.me and scroll down to the bottom to download the latest version. As of the publish date of this mod, Reshade 4.8.2 is the most recent update (released October 31st, 2020). ***Please note a computer with Windows 7 SP1, 8.1 or 10 and .NET Framework 4.5 or higher installed is required.*** A link for .NET Framework 4.5 or higher can be found on this same page just a little bit above the Reshade 4.8.2 download button.
- Run "ReShade_Setup_4.8.2.exe" from your downloads and when the .exe boots up click "Enable/Disable Reshade in Vulkan Globally" (affects all Vulcan games) and click "yes" when prompted to run as an Admin. This does nothing for Phasmophobia, but if you want to use ReShade to its fullest potential a few games out there benefit from having this enabled.
- Click on "Click here to select a game and manage its Reshade installation". Let the executable load for a few seconds and then scroll down and select Phasmophobia (Phasmophobia.exe) and then click "Use Selected Application"
- You'll then be asked "Which rendering API does Phasmophobia use?" and you MUST choose "Direct3D 10/11/12" or else none of this will work.
- Click "Uncheck All" on the bottom left of the next window and then immediately click it again when it changes to "Check All". Then click "OK".
- It will return you to the previous window although slightly different this time. If ReShade installed correctly, it will now say "Edit Reshade Settings". You MUST click on that and make sure the EFFECTS & TEXTURES are pointing to the correct folders. If your installation path is different from the default Steam install directory then you will have to change all of them to match your own. For instance, the default Steam install directory is C:/Program Files (x86)/Steam/etc but mine is C:/Steam/etc. Therefore, I had to change all of these to look in C:/Steam/etc instead of C:/Program Files (x86)/Steam/etc.
- Return to your Phasmophobia directory window and you should now have two folders in there. One for "Phasmophobia_Data" and another for "reshade-shaders". Then below them you should have all the usual .EXE/.PNG/.DLL files but also a new file named ReShade.ini
- Download your desired reshade or the reshade pack (recommended) from the download section of this mod.
- Drag and drop all contents into the same exact location where you installed ReShade (Phasmophobia.exe should be in the same folder).
- Launch Phasmophobia.
- You should see a window appear at the top within your game letting you know if ReShade booted up with the game correctly. You may see notifications in red about some shaders missing; I am not experienced enough to know how to fix these issues, but most of the functions work so I've elected to overlook them.
- Turn off Bloom in the in-game options or the game will be too bright at certain times (most notably on the video cameras).
- This Reshade was made with a default Brightness in game of 2.5. Your mileage can and will vary depending on your monitor and other various factors unique to your own setup. Therefore I recommend starting with the in-game brightness set to 2.5 and launching a map to take a mental note of whether or not you need to adjust your in-game brightness to a higher or lower value. You can also tweak it while still in the safehouse, but keep in mind that ALL maps have slightly different default brightness levels themselves. The farmhouse/cabin maps are slightly darker than the traditional 20th/21st century homes; the Prison is slightly darker than High School and Asylum is slightly darker than Prison. It's a very negligible difference in the vanilla game, but the reshade effects do make the slight difference somewhat noticeable.
- To change the ReShade Settings in game and switch between reshades, hit the HOME button to bring up the menu. If it's too small to see then you'll have to squint and find the increase font size button. It's in the settings section, about 3/4ths of the way down. From here you can change any setting and add/remove any effects you wish from the game. I recommend going into the settings and setting an effects toggle button. I use PAGE DOWN and it can be useful if your eyes need a break or if you're not sure if the reshade is causing whatever visual issues you might be having.