


0 of 0
About this mod
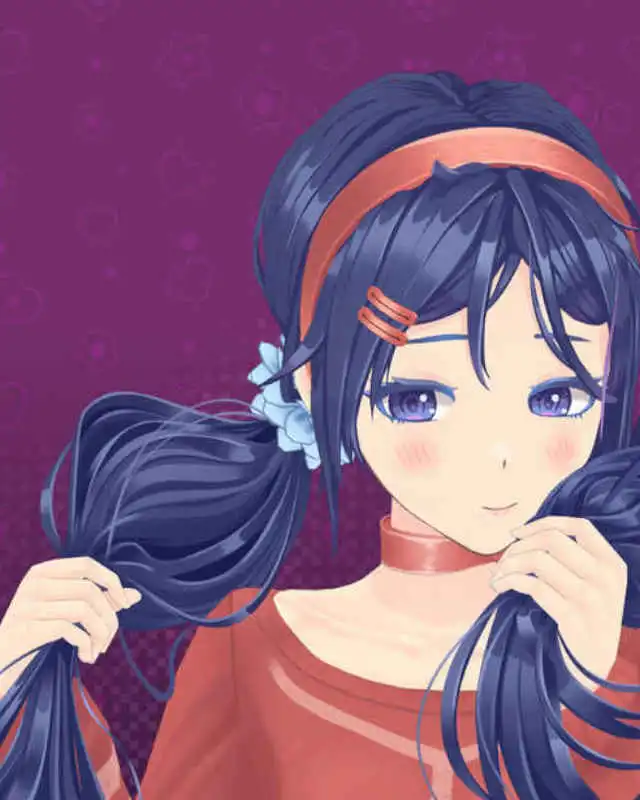
Replaces the voice acting of the main protagonist and the limping guy with the voices of characters from the Yakuza/Like a Dragon series
- Permissions and credits
- Donations
ENG/RUS
Did it also freak you out that in the Japanese (and not only) voiceovers, the main character is silent? Mita speaks to him directly,
but in response - silence ...
This modification fixes the situation! Now MiSide's protagonist will talk - and not just talk, but will sound the voice of the legendary yakuza with the nickname “Dragon Dojima” - Kazuma Kiryu!
On top of that, the limping guy will be voiced by Akira Nishikiyama!
Вас тоже вводило в ступор, что в японской (и не только) озвучке главный герой молчит? Мита обращается к нему напрямую, но в ответ — тишина…
Эта модификация исправляет ситуацию! Теперь главный герой MiSide заговорит — и не просто заговорит, а будет звучать голосом легендарного якудза с прозвищем "Дракон Доджимы" - Казумы Кирью!
Помимо этого, хромающий парень будет звучать голосом Акиры Нишикияма!
Modification installation/Установка модификации
The folder structure inside the archive will look like this/
Струкутра папок внутри архива будет выглядеть так:
- MiSide New Voice
- LanguagesVoice Location1
- LanguagesVoice Location2
- LanguagesVoice Location3
- ...
- AlternativeName.txt
- Logo.png
- Voice.txt
1. Download the archive with the voiceover
2. Then go to this path on your computer: ...\Steam\steam\steamapps\common\MiSide\Data\LanguagesVoice.
This is where you will find the language folders for the MiSide game.
3. Now you have a few options on how you can install the voices:
3.1. Move the MiSide New Voice folder to the LanguagesVoice folder. Now, if you select this voice in the game, the protagonist and the lame guy will talk, but in this case all Mita's will talk like Chibi Mita (making sounds typical of visual novels).
3.2 Open the MiSide New Voice folder. Move all the LanguagesVoice Location1-20 folders to any other voice folder, such as the Japanese voice folder. In this case, you will keep the Japanese voice of each Mita, but also add the voices for the protagonist and the temp guy. If you are going to move these folders to another voiceover, where the protagonist and the lame guy already have their own voices, you will need to confirm the replacement of files. It is recommended that you make a backup copy of the folder from which you will be replacing the files.
3.3 For this method you will need the MCVS - Custom Voice Selector modification. Repeat the steps from step 3.1, and then follow the instructions in this modification. With this modification you will be able to control the voice of each character in the game.
1. Скачайте архив с озвучкой
2. Далее перейдите по этому пути на вашем компьтере: ...\Steam\steamapps\common\MiSide\Data\LanguagesVoice
Тут расположены папки с озвучками для игры MiSide.
3. Теперь у вас есть несколько вариантов, как можно установить озвучку:
3.1. Переместите папку MiSide New Voice в папку LanguagesVoice. Теперь, если вы выберите эту озвучку в игре, протагонист и хромающий парень заговорят, но в таком случаем все Миты будут говорить как Чиби Мита (издавая звуки, характерные для визуальных новелл)
3.2. Откройте папку MiSide New Voice. Переместите все папки LanguagesVoice Location1-20 в любую другю папку с озвучкой, например в папку Japanese voice. В таком случае у вас сохранится японская озвучка каждой Миты, но и добавяться голоса для протагониста и хромающего парня. Если же вы собираетесь переместить эти папки в другую озвучку, где протагонист и хромающий парень уже имеют свою озвучку, то вам понадобится подтвердить замену файлов. Рекомендуется сделать резервную копию папки, с которой вы будете производить замену файлов.
3.3. Для этого способа вам понадобится модификация MCVS - Custom Voice Selector. Повторите шаги из пункта 3.1, а затем следуйте инструкциям из этой модификации. С помощью данной модификации вы сможете управлять озвучкой каждого персонажа в игре.
Deleting modification/Удаление модификации
If you followed the steps 3.1 or 3.3, then you just need to delete the folder with the given voice from the LanguagesVoice folder.
If you followed point 3.2, then in this case you need to delete the folder where you put the files from this modification. Then through the Steam client check the integrity of the game files.
If you used this modification with another unofficial voiceover, then in this case you will have to reinstall your unofficial voiceover.
Если вы следовали пунктам 3.1 или 3.3, то вам достаточно просто удалить папку с данной озвучкой из папки LanguagesVoice.
Если же вы следовали пункту 3.2, то в этом случае вам нужно удалить папку, в которую вы помещали файлы из данной модификации. Затем через клиент Steam проверьте целостность файлов игры.
В случае, если вы использовали данную модификацию с другой неофициальной озвучкой, то в этом случае вам придётся переустановить вашу неофициальную озвучку.
NOTE/ПРИМЕЧАНИЕ:
This modification was created with the help of artificial intelligence technology. We respect the work of professional voice actors and do not aim to replace their work, but only offer an alternative experience for players. This modification was created solely for fan purposes, without commercial gain.
Данная модификация была создана с помощью технологий искусственного интеллекта. Мы уважаем труд профессиональных актёров озвучки и не преследуем цели заменить их работу, а лишь предлагаем альтернативный опыт для игроков. Эта модификация создана исключительно в фанатских целях, без коммерческой выгоды.