


0 of 0


About this mod
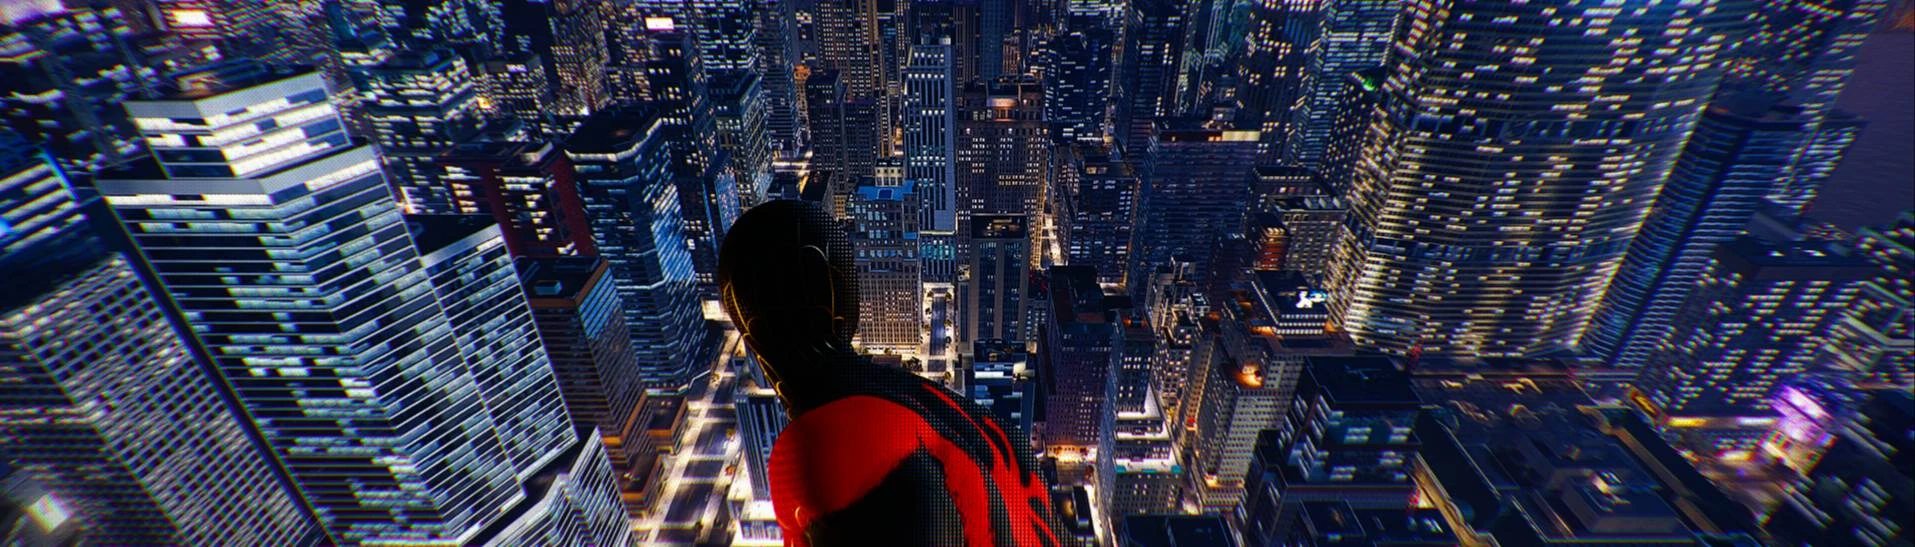
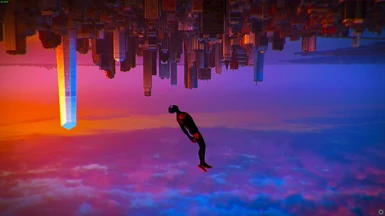
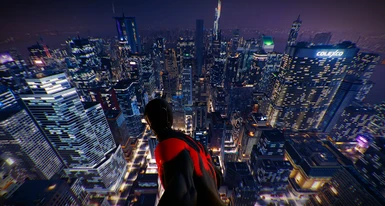
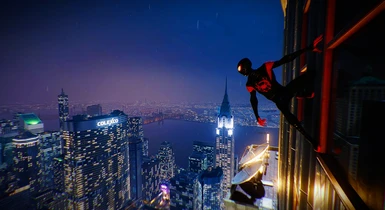
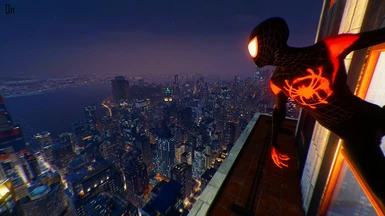
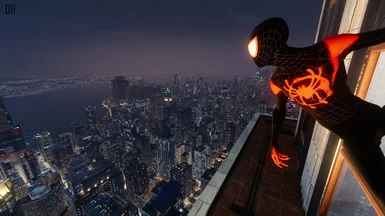
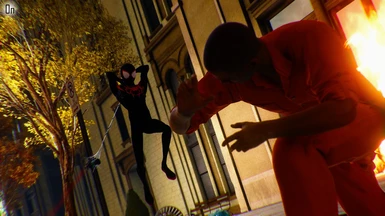
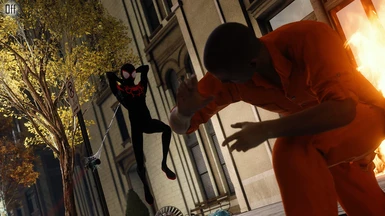
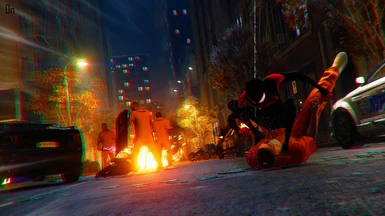
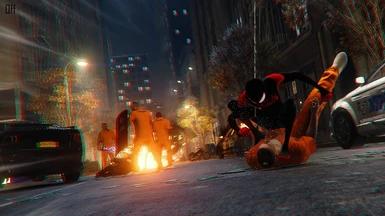
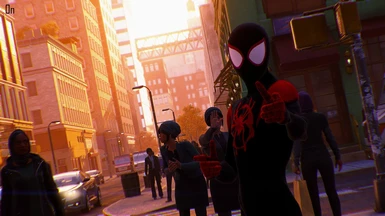
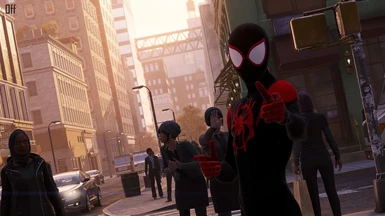
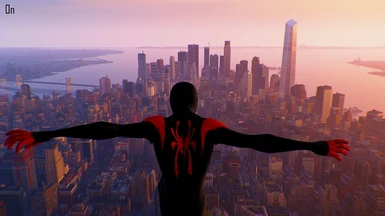
A ReShade preset that aims to bring the feel of Into the Spider-verse without compromising on image clarity or quality.
- Requirements
- Permissions and credits
- Changelogs
- Donations
This is a ReShade preset which brings the feeling of Into the Spider-Verse into Spider-Man Remastered.
There are two toggles in this ReShade:
[End] - Toggles the main effect
[Del] - Toggles a layer of over-exposure and contrast
I made this for myself but people have managed to convince me to upload it here.
Gotta love the community <3
Enjoy!
Installation Instructions
This is a ReShade preset - Meaning you only need to put the .ini file into your ReShade presets folder.
You can find this folder by launching the game, opening the ReShade menu and clicking the preset name at the top.
Step 1. Find the directory path to your preset folder inside ReShade
Step 2. Navigate to that directory
Step 3. Paste the .ini file inside that folder
Step 4. It should now display in ReShade (You may need to click refresh)
Step 5. Click the preset in ReShade
Step 6. Profit.
________
V2 Update - Strength + Lens Dirt/Flares Texturing
I've made a slightly stronger version of this ReShade that helps strengthen the effect of some custom textures for lens flares and camera dirt.
I'll continue playing around and tweaking this ReShade in future, so please keep an eye on this post for updates!
The custom textures have been added as optional files and are not packaged with the V2 update.
To install the optional files:
Step 1. Copy both LensDB.png and LensSprite.png from the optional files you downloaded here.
Step 2. Navigate to your game's install directory.
Step 3. Go into reshade-shaders > Textures
Step 4. Paste the files in here, replacing the textures that are already there
NOTE: This will affect other ReShade presets that use these textures - I have included the original textures as well so that you can undo these changes whenever you'd like to use another preset. This can be done on the fly while the game is running - All you have to do is hit "Reload" at the bottom of the ReShade panel once they've been changed.