


0 of 0


")
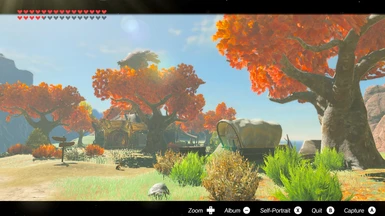
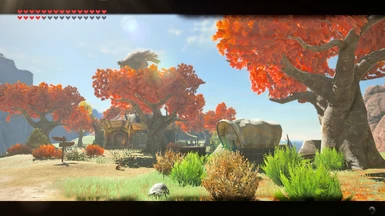
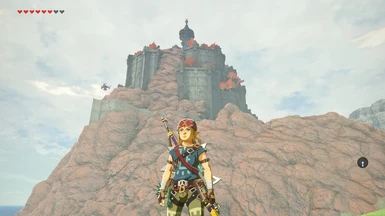
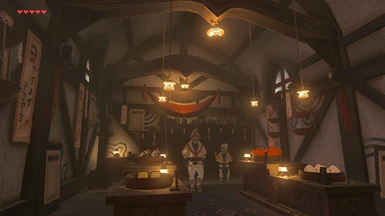
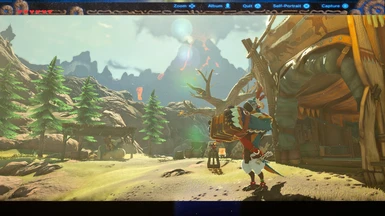
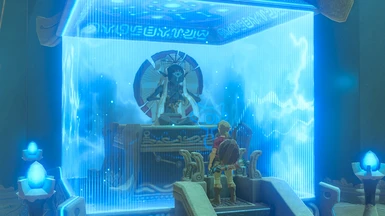
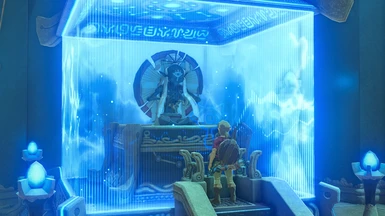
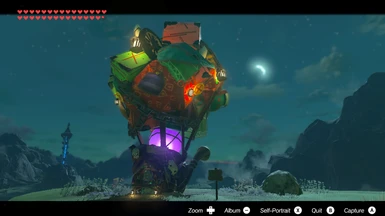
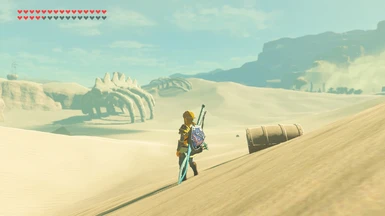
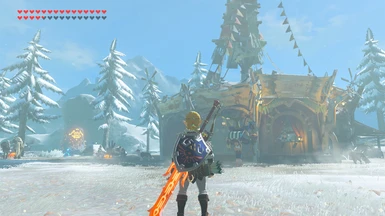
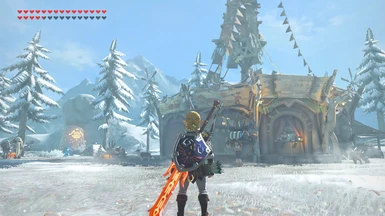
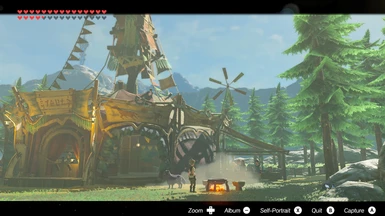
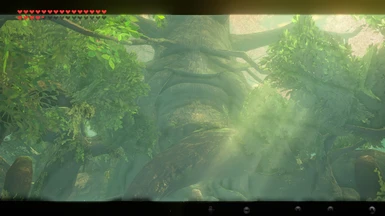
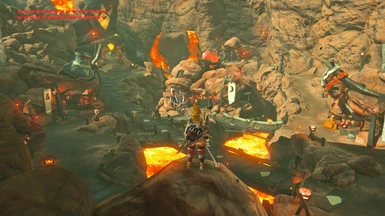
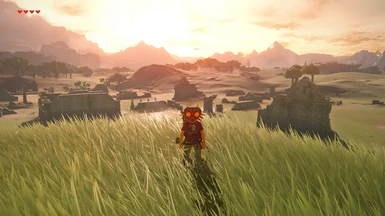
 + RadiantGI")

")


")
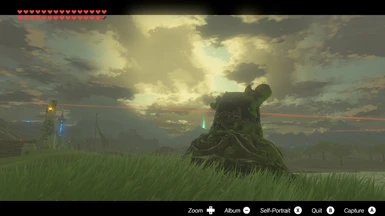
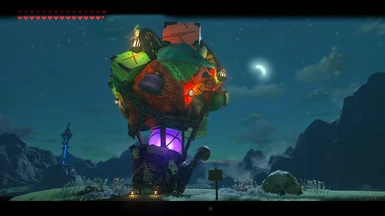
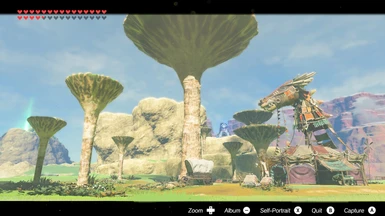
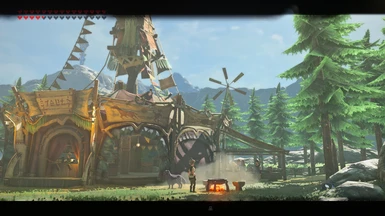
 + RadiantGI")

")


")
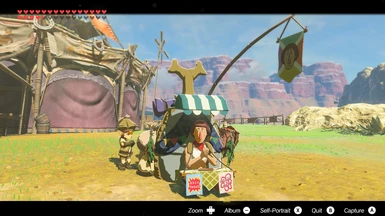
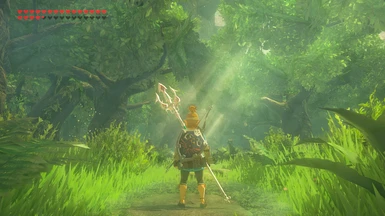
 + RadiantGI")

")


")
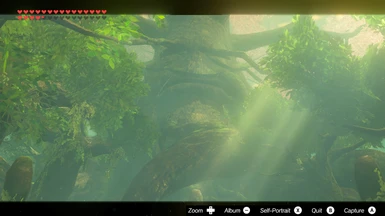
 + RadiantGI")

")


About this mod
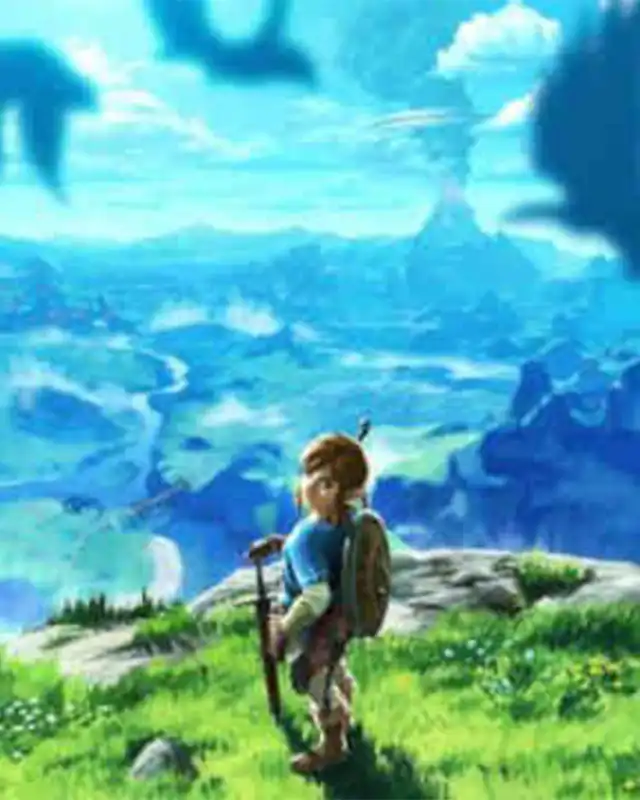
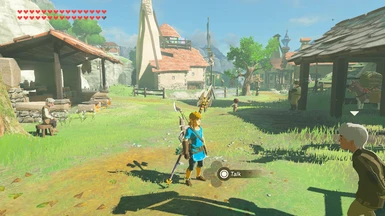
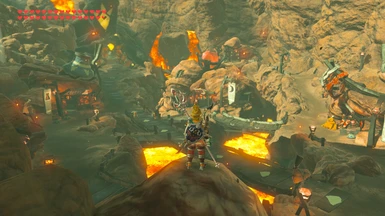
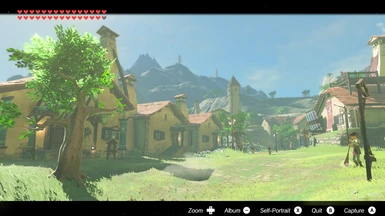
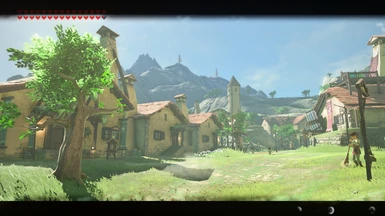
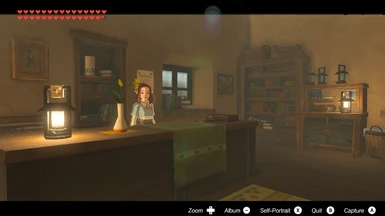
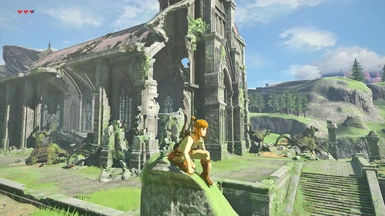
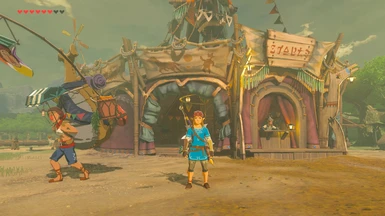
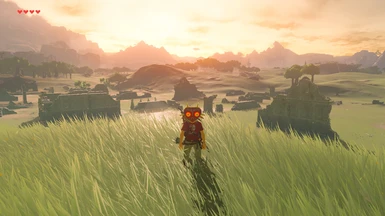
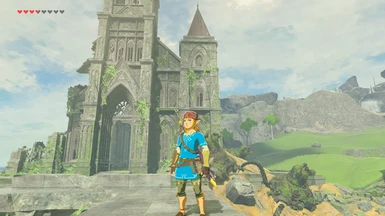
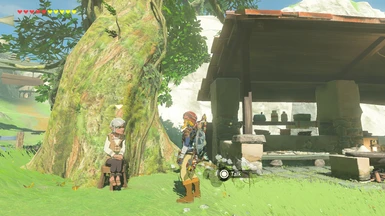
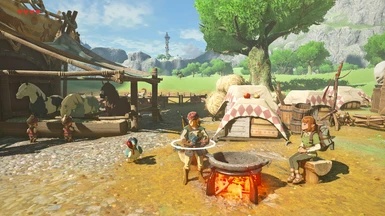
"Awakened" Is a modest, fine-tuned and high-fidelity color correction preset for Reshade. It features sharpening, clarity, SMAA & FXAA, and several options for ambient occlusion as well as a few for global illumination combinations at varying performance costs. It's the closest thing to what BotW looks like without the green filter and haze.
- Requirements
- Permissions and credits
- Mirrors
- Changelogs
- Donations


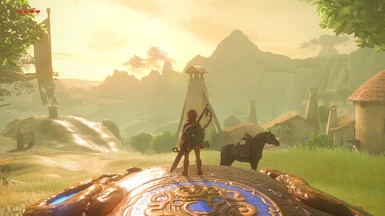
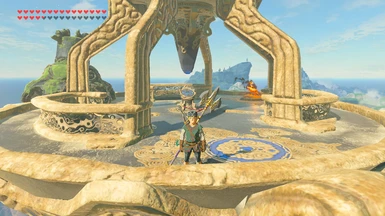
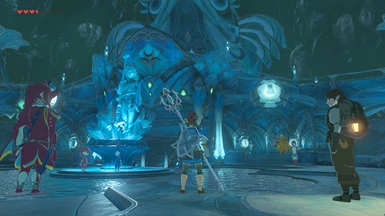
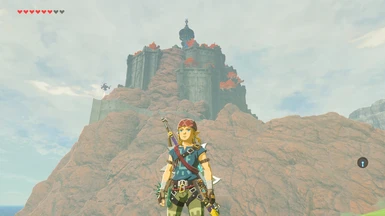
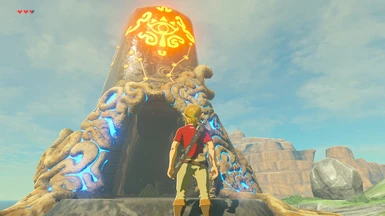
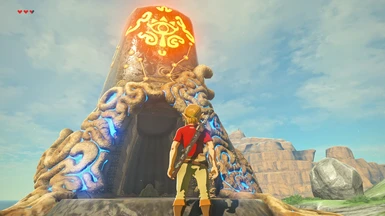
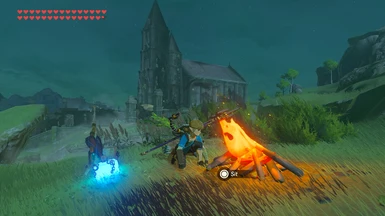
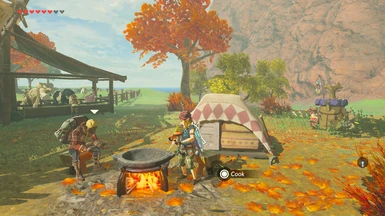
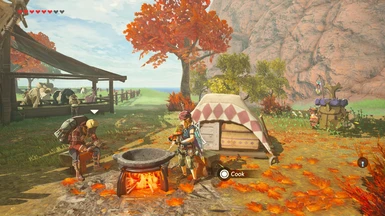
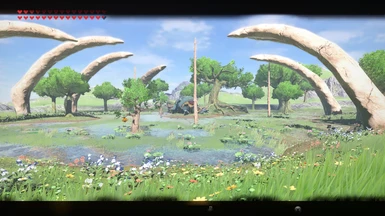
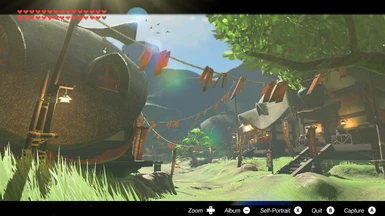
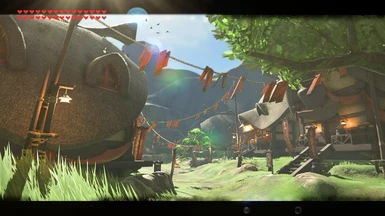
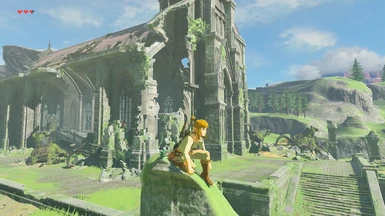
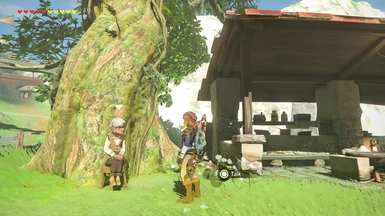
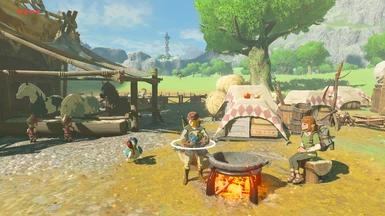
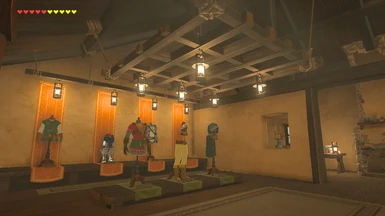
Sometime in 2019, I began experimenting with Reshade and a great number of shaders by using LoZ: BotW (in CEMU) as my testing lab, I've been playing around Reshade on and off throughout the past few years without any intentions to really publish anything for BotW, in recent weeks I had been working on a color correction preset for Monster Hunter Rise, bringing that incomplete preset into BotW for further testing, I ended up stumbling on what had become Awakened, which happens to be exactly what I had envisioned for BotW's visual direction if it could be improved, a fidelity to the visuals that the game desperately needed. The 100+ images uploaded will speak for themselves.


- A warm-ish neutral color correction that deals with the green color grading and haze, as well as giving the visuals the fidelity that the game severely lacked, whilst maintaining the vanilla look.
- Fine-Tuned SMAA & FXAA, the former is the default, but you may choose to enable the other or both.
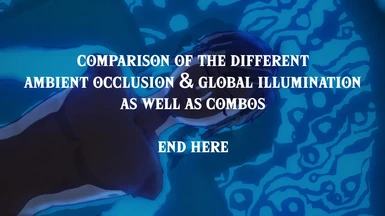
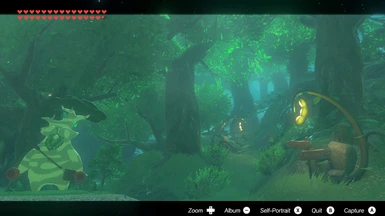
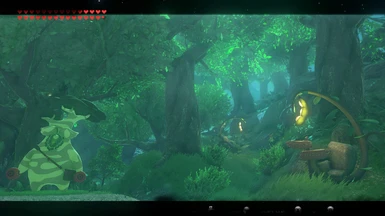
- Multiple Ambient Occlusion options & combos offered through separate downloads (See Images for comparisons).
- Negligible (Lite) to heavy (RTGI) performance costs, depending on your choice of AO/GI.
- A Lite option is available, which only has the color correction features along with SMAA/FXAA.
- A handful of optional tweaks and alternatives via pre-tuned stuff (See Optional Tweaks below).
- You will take it for granted immediately.

Prerequisites:
*Running CEMU in Vulkan API is highly recommended*
- CEMU Graphics Packs Settings:
- Graphics packs > The Legend of Zelda: Breath of the Wild +> Workarounds > ✓ Reshade Compatibility
- Graphics packs > The Legend of Zelda: Breath of the Wild +> ✓ Graphics > Anti-Aliasing => None
- Graphics packs > The Legend of Zelda: Breath of the Wild +> ✓ Enhancements > Clarity => Disabled

- Installing Awakened Preset:
- Download the preset configuration that you want to use.
- Open and/or extract the contents directly into Cemu's root installation folder (where Cemu.exe is)
- Reshade Installation:
- Download and launch Reshade (hopefully you already have its own prerequisites) from reshade.me
- When you launch the installer, search for and choose Cemu.exe, then click on Next.
- Pick the graphics API that you use in Cemu, if Vulkan then choose that, then click on Next.
- Since you've already installed Awakened, browse for BotW_Awakened-(xxxxx)_(x).ini in cemu's folder.
- Reshade will auto-check the shader packs that the preset uses, make sure they're ✓ not boxes, then press Next.
- Press Finish. Congratulations it's done!
- In-Game Reshade Setup
- Once you are in-game, press HOME to open the menu, if you don't intend to learn to use Reshade, Skip the tutorial.
- To save a little bit of performance, with the menu open there should be a Performance Mode checkbox bottom right of the menu, ✓check it.
- It's highly recommended for you to bind a hotkey for Reshade toggle, in case of any graphical or performance issues - With the menu still open, go to the settings tab then click on the 2nd line from the top.

Reshade Tweaks & Options:
- All preset versions are actually the same, but have different shaders enabled, they're separated for user convenience.
- Both SMAA and FXAA are tuned with the former being the default option for all presets except Lite, you may uncheck SMAA and ✓check FXAA if you prefer.
- Some shaders have F3-7 hotkeys assigned, see them by pressing HOME and checking the menu, right click on the shaders to rebind or press backspace to remove the hotkey.
- Both Glamarye fast effects (fake GI & non-fakeGI) versions share the same config - you may enable ✓ Subtle DoF in either, but you'll have to uncheck Performance Mode to modify any parameters.
- If you find that DELC sharpens a little too much, you may uncheck it in the menu then ✓check any of the following: Lumasharpen (a good all-rounder), rj_sharpen (lightweight & lite sharpening), AMD CAS (Sharper than the other two, less than DELC - IF you have the shader).
- If you find the colors a little less saturated, you may enable Colourfulness, this is intentional to allow some leeway for monitor adjustments on the user's side. You may increase the value to your liking.
- If you need to adjust gamma, you may do so via LiftGammaGain by adjusting the gamma values, again this is intentional as every user's monitor is different.
CEMU Graphics Packs Tweaks:
- Graphics Packs > The Legend of Zelda: Breath of the Wild > ✓ Enchancements => Anisotropic Filters = Extreme 16x - For improved textures at a distance.
- Although I don't use this myself, you may remove or adjust distant fogs via:
- To have more distant props and trees, under the graphic pack +> Mods > ✓ Draw Distance => Terrain, Buildings, Bushes and Other Objects = High / Trees (2D Billboards) = High or Ultra.
- If your PC is capable, under the graphics pack > ✓ Graphics => Shadows = High or Ultra / Shadow Draw Distance = Very High or Ultra.


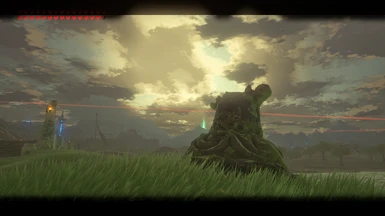
Ambient Occlusion (AO) & Global Illumination (GI) Solutions:
- Marty McFly's* RTGI - Pre-tuned and preset available as a separate download. Very heavy performance cost. Requires the paid version (5$).
- Euda's PPFX SSDO - Allows for screen space directional occlusion and basic light bouncing, it's significantly less precise compared to other solutions, but it can have wide environmental coverage and blends well. Medium-low performance cost.
- Glamarye Fast Effects - A lightweight suite that include an AIO shader that allows for Fast FXAA, Intelligent sharpening, Low-perf AO, subtle DoF, Menu/video detection, and fake GI. Low performance cost. The AO is rather harsh and the Fake GI is barely noticeable, and both are of a rather low quality. An older version is included in the packs.
- AstrayFX Radiant GI - It's used for light bouncing rather than the GI solution. Moderate performance cost.
- AstrayFX GloomAO - It's only mildly tuned and unused, it's rather heavy in performance cost but I will revisit it by 1.0. It has less wide coverage but offer better AO and bounce lighting quality than PPFX SSDO.
- qUINT MXAO* - Untuned and unused, although Low-medium in performance cost, I find it a little harsh and basic, will revisit by 1.0.
Color Correction:
- Technicolor2 - 1st part of the main method for color correction, disabling this will make the preset redundant.
- Clarity - Mildly tuned, allows things to be more apparent within the fogs and volumetric lighting.
- Tonemap - 2nd part of the main method for color correction, disabling this will cause the visuals feel washed out.
- LiftGammaGain - Used in balancing the brightness and slight increase in contrast to certain colors. Modifiable by the user.
- AmbientLight - I used this rather conservatively, but it allows the lights on screen to permeate.
- Vignette - Slight darkening around the edges of the screen, It's quite conservative in tuning.
- Colourfulness - Pre-tuned, it's conservatively used and added for the user to modify.
- Tint (Sepia) - Pre-Tuned but causes the game to be a little warm and orange-y.
Visual Modifiers & Enhancers:
- qUINT* DELC Sharpen - Main method of sharpening, it gives textures more detail
quality than otherwise possible. Medium performance cost. - Deband - Some color gradients on screen may end up banding, so this subtly corrects them.
- SMAA - Fine-tuned. moderate CPU perf. cost, but otherwise lightweight for multicore CPUs.
- FXAA - Fine-tuned. Low perf. cost, I prefer this visually over SMAA, but it effects text fonts.
- LumaSharpen - Pre-tuned and a good all-rounder, but I preferred DELC for how much detail it brings.
- Glam/rj Sharpen - Pre-tuned and super lightweight, but less sharpening than others.
- AMD CAS (Contrast Adaptive Sharpening) - Pre-tuned, sharper than Luma but less than DELC, Moderate CPU perf. cost - You do need to download this separately though.
- TAA (Temporal AA) - Somewhat tuned but not ready yet, will revisit for 1.0
- Chromatic Aberration (Prism) - Somewhat tuned but doesn't fit the game, leaving it alone.
- Border - Pre-tuned, used super conservatively but it doesn't really fit the game, leaving it alone.
*qUINT are works of Marty McFly/Pascal

Find me on page 4 under author images!

rj200 - For their incredible Glamarye lightweight shader suite, I will never update the included version, so if you wish to update please do go here.
Euda - For their PPFX suite of shaders, although they're ancient by this point @ reshade.me forums
Pascal Gilcher - If it weren't for his qUINT shader suite, most Reshaders would be in the Reshade gutters!
My friends and their friends - I've received a large amount of positive response for this preset, something I never anticipated!