Documentation
Readme
View as plain text
FULL
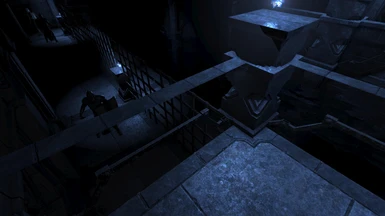
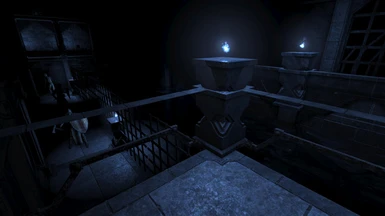
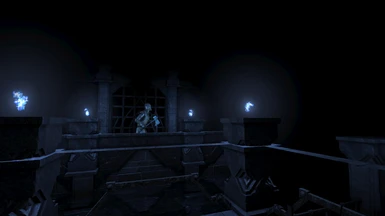
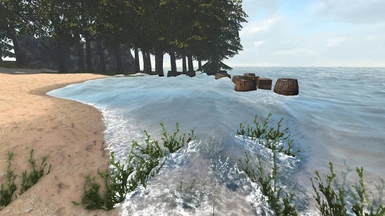
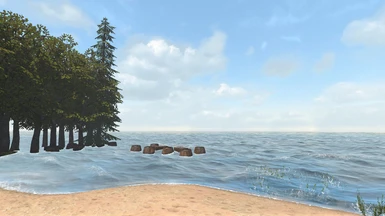
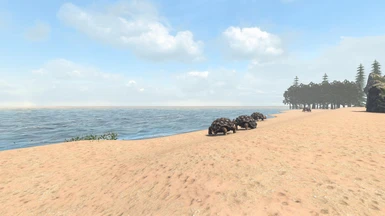
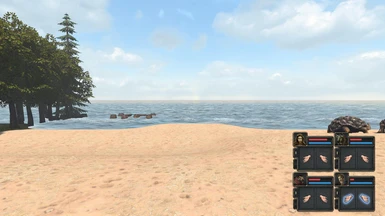
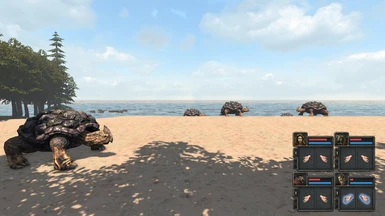
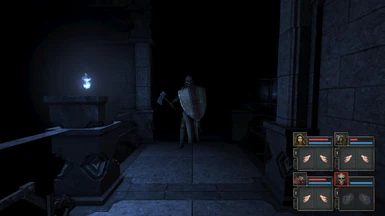
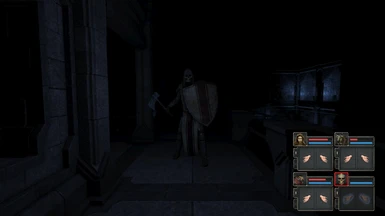
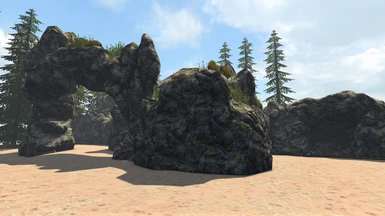
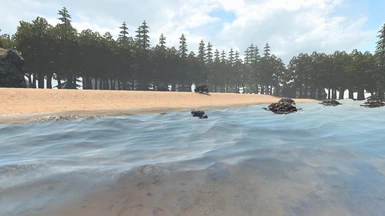
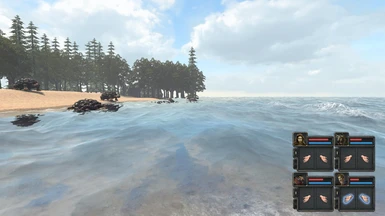
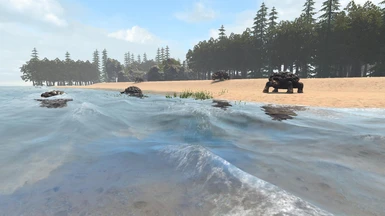
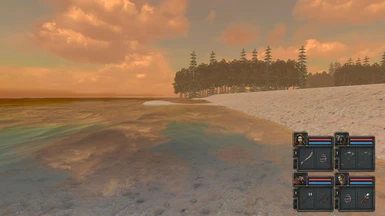
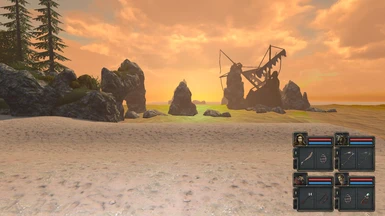
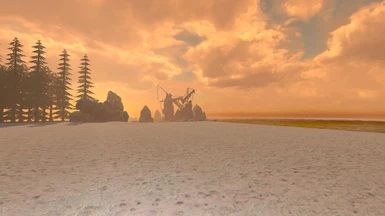
A terrible storm brought your ship onto the rocks of a random island in the middle of the ocean. You and 3 others swam from the terrible shipwreck through shark infested seas without being eaten and fell exhausted onto the beach, where friendly turtles scuttled in and out of the waves. The next morning 1 of your crew �Shadow� finds a Trapdoor in the beach cove! Amazed and intrigued you see �Shadow� open the trapdoor and descend downwards. Pretty soon all 4 of you are standing on a dark ledge � you have found your way into the Island Castle�s sewers!
videos> first hour of the game at: http://youtu.be/T5cIowMjD3g
videos> second hour at: http://youtu.be/0O2iWZBB-U0
SHORT
BELEAGURED ISLAND: Your crew have been shipwrecked on an island. After being washed ashore, you found a strange trapdoor in the beach cove, your crew opened the trapdoor and descended the shaft to find a lever on the wall! This is a cursed lever and should be left well alone!
NOTE: this lever sets the difficulty level, you have a choice of standard play or HARD MODE. To set HARD MODE pull the lever, this cannot be reset! Advanced players only, NOTE in �standard play� there are TEN skeleton icons to find, in HARD MODE, eleven! The challenge in HARD MODE is significantly greater (right from the off) so can be ignored for your first play of this game!
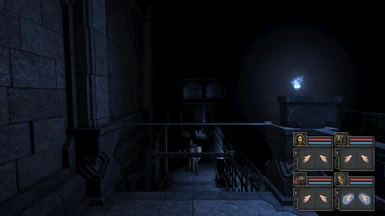
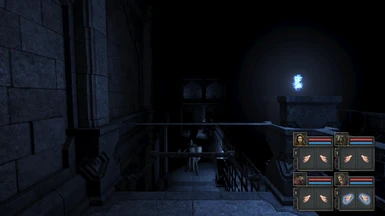
GUIDE in Standard Play, 1. The shaft has brought your crew to an inside area of the island�s castle! Your crew find themselves on a ledge next to the castle sewers. Do not pull the lever, face right, jump down to find throwing axe, next move to your left into the sewers, dodge the Soldiers and pick up TWO brass keys, if you find only one key, then proceed to your left you can get the other one later. Each brass key opens an underwater trapdoor at the extreme ends of the underwater channel, once you fall down this, your crew will have scrapes and cuts from the fall, so hopefully you found a couple of healing potions as well as the keys!
LOCATION TITLE "CASTLE BASIC"
OPTION A > Before going down Trapdoor L ascend the ladder, further along a ledge you find a bone amulet, take it and then place it back, a secret small private Library opens, this is handy to dodge soldiers. Return back to the top of the ladder, now jump in the new sewer lake and find 2 levers underwater, pull them both, they open nearby loot rooms. Move past the furthest lever and find an underwater passage to a new underwater sewer lake, this has underwater stairs to a loot room! (VERY GOOD!) now return to Trapdoor L and use the brass key
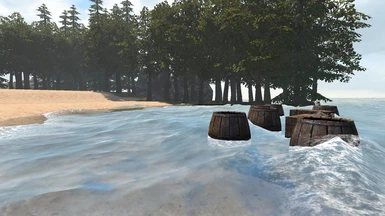
2. Trapdoor L > progress > You fall down onto a new beach cove, there are two Treasure Chests here and Barrels. In the Barrels are several Torches, the torches are needed, they are �keys� to the first dungeon room you encounter! Without 3 torches � you get stuck in that room, so you must find at least 3 torches, SAVE THE GAME
LOCATION TITLE "Turtle Beach"
3. From the beach there are stairs back to the Beleagured Castle where you can now try the Trapdoor R. NOTE, look where you�re going once you�re back in the Castle, pay attention to your location, otherwise your crew will fall back into the same trapdoor L as you went down before, the result will be more scrapes and cuts from the fall again and you will need more healing potion to cure the team�s injuries! Therefore to avoid this �trap� your crew may need to fight through several sewer guards on the entry ledge to get to the right location! Before you jump back into the sewer, check your location on the map! (TAB) (YOU MUST HAVE at least 3 torches at this point!)
NOTE B : Trapdoor R is pretty dangerous! You drop down 2 levels and your crew can be killed just through the fall alone, if you have several killed, either : PLAY ON knowing that 10 meters ahead there are 3 Resus Potions on an alcove that will restore your crew OR go back to an earlier SAVE and try the Trapdoor R again hoping for a better result!
4. Move to the other end of the sewer channel and use the 2nd brass key, your crew descend to the Beleagured Dungeon. There are 3 torch wall brackets � unless you place a torch in each, the game ends here! Assuming you placed the torches, a secret door opens and a small fight scenario commences (SAVE THE GAME)
LOCATION TITLE "Dungeon Basic"
5. You see the two gold keys, do not take them yet! Come back for them in 5 minutes! If you take them now, you lose a retreat room. Leaving them in place means if you find the fighting too intense � you can just go back to Room 1, remove a torch, the secret door closes cutting off the evil mummy army from your location, enabling your crew to recover! Replacing the torch reopens the door and the fight resumes!
6. Keep an eye on Room 1, a second secret door will automatically open during the fight, (if you did not take the gold keys yet) revealing a small loot stash! Placing items INTO 1 alcove in there will open a second small loot stash opposite the first!
NOTE C : when you find the 3 resus potions, take them, then place them back to open the next door !
7. You come to a seemingly �end room� and nowhere else to move onto! Look for a secret button on a wall, it�s a large round button, so should be easy to spot. Stairs back to the castle are now revealed.
8. Use the gold keys! Gold 1, return to Castle and the launch area, the sewers where Trapdoor L and Trapdoor R are, there is a third Trapdoor G, which is opened with a Gold Key, Gold 2, return to the small private library room that you opened at Option A, use the 2nd Gold key a few steps from here!
OPTION D : when returning to the Castle with the two Gold Keys - remember you are now on the top ledge, take time to see what is there first! You see stairs down to Intermediate Dungeon then you see the Tomb Exit, that's right EXIT, this is where you come OUT of the tomb! Also look down onto the next ledge below! IT HAS ALCOVES (and loot!) if you pass on that then move further along the top ledge, the MINE ENTRANCE IS HERE! further along from there are stairs back to Turtle Beach (FOOD!!)
OPTION E : return to the small private library room that you opened at Option A, use the 2nd Gold key a few steps from here! this may be better than going to Trapdoor G (Gold) your choice!
9. Trapdoor G takes you down to Mosquito Beach, this beach has two beach trapdoors, you see Ruins at one side, behind the Ruins a third beach trapdoor that is actually in the sea!! (difficult to spot at first because the waves lap over it)
10 Explore Mosquito Beach and kill the Mosquitos! SAVE THE GAME! Descend the beach trapdoor by the Tree Branch to InterMediate Dungeon
LOCATION TITLE "Dungeon Intermediate"
11 Use bombs to take out soldiers on the ramp, do not jump down yet, you need to pull 1 or 2 levers to open gates below! If you open both gates, you will have enemies to fight on 2 fronts, maybe just open 1 gate (either one) and you can come back later to open the other one!
12 jump down towards the gate you opened and a small battle commences, use your bombs! Look out for a damaged broken wall, near the evil two skeletons, secret button nearby!
13 if you come to a room with a trapdoor and 3 alcoves, alcove 1 = bow and alcoves 2 and 3 = swords, choose carefully which weapon you want, this choice only happens the once! you then drop to the Swamp, find the 2 treasure chests: GET THE IRON KEY!
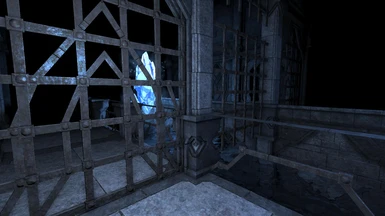
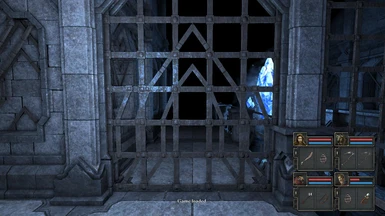
14 Return to the CaSTLE, head to gates behind which Blue Stones can be seen, jump in deep water, use Iron Key, NOTE, Iron Key opens TWO GATES, one next to lock and one also 10 meters back in the same water! (LOOT)
15 place an item onto each Beach Alcove to exit the enclosed Beach, descend to Mosquito Beach and select the heather trapdoor that descends to Basic Dungeon
16 In Basic Dungeon REMOVE the nearest Torch, this releases the evil twins and allows you to take the first Hub Key!! not far from where you find the Hub Key you find a closed trapdoor, the hub Key fits there!
17 Decsend the Trapdoor to the Forest, here are two valuable items, 1) Tomb Key, 2) Sabre PLUS you finally get to Blue Stones
18 In Blue Stones offload your wanted items to the adjacent Alcoves! Ascend the stairs to Ruins Beach, from here there is a hidden Trapdoor to Advanced Dungeon
LOCATION TITLE "Dungeon Advanced"
19 find some bombs if you can, or get the Ratmaster to use the Lightning Road, several BumbleBees will bring your team down with disease if you don't wrap up the Bees straight off
NOTE F: after fighting the first Bee head back to where the Advanced Dungeon started to find a strange secret room, place an item into the alcove to open a further secret room, if you don't do it quick, the door closes!
20 Now Find the Mine Key followed by the Gear Key
21 Now return to the Castle Top Ledge, enter THE MINE, have freeze bombs ready for the 2 Wyverns!
22 The alternative exit from the Mine leads you to Advanced Dungeon and you find THE TOMB ENTRANCE, if you enter THE TOMB "BE PREPARED" for some savage fire from Ugguardians, SAVE THE GAME and in THE TOMB main hall, you find 3 HUB LOCKS, so you need 3 Hub Keys to progress!
23 Before entering the tomb, to avoid wasting time ... have these keys in your possessiom already = 3 x Hub Keys, 1 x Gear Key and of course 1 x Tomb Key (if you have 2 x Tomb Keys even better!)
24 if you need to get those keys then grab 2 hub keys from the Inside Blue Stones area and 1 hub key from THE MINE. You should have the Gear Key from the Advanced Dungeon, if you don't have Freeze Bombs the Tomb will be very hard. Get extra bombs by take this process. When getting the 2 hub keys from the Inside Blue Stones area, place each of the 4 keys back on to the alcoves and step in front of each of the arch doors that open as you arrive in the area, listen! you should hear a secret door open !
25 Return to THE TOMB, there are two phases, KEY 1 and Key2, both are fairly hard!! Have bombs ready and SAVE THE GAME! If you only have 1 tomb key you can still do the first half and exit from the tomb to find the other Tomb Key and come back later.
Q + A
Where do you use the Iron Key? Find the gates through which you see the Blue Stones! Jump into the water, enter deep water, use Iron Key here! NOTE, Iron Key opens TWO GATES, one next to lock and one also 10 meters back in the same water!
Where is the Iron Key? In the Swamp! Drop down from the Intermediate Dungeon > room with a trapdoor and 3 alcoves, alcove 1 = bow and alcoves 2 and 3 = swords, this drops you down to the Swamp, Iron Key is here!
Where is the Mine Key? In the Advanced Dungeon - after the Bumblebees
Where do you use the Mine Key? Find "top ledge" in Castle! Get to there from Dungeon Basic or the Turtle Beach stairs
How do you get back to Turtles Beach? The Turtles beach is the first beach you find, go back to Trapdoor L in the Castle, it is the one in the sewer by the ladder
Where do you use the Gold Keys? Gold 1, return to Castle and the launch area, the sewers where Trapdoor L and Trapdoor R are, there is a third Trapdoor G, which is opened with a Gold Key, Gold 2, return to the small private library room that you opened at Option A, use the 2nd Gold key a few steps from here!
Where are the Gold Keys? 2 gold keys on dropping down from Trapdoor R
Where are the Hub Keys? first one is in the dungeon where you dropped down to from Trapdoor R, guarded by the evil twin Soldiers! two more are by Blue Stones when you come back from Beleagured Forest and a further one is in the Mine hidden by some boots
Where do Hub Keys fit? not far from where you find the first Hub Key you find a closed trapdoor, the first hub Key fits there!
where is the mortar? In Basic Dungeon, the first room has 2 secret rooms. The first is triggered during the fighting of a band of Mummies. The second is triggered by placing an item into an alcove in the first secret room. The mortar is in the second secret room!
where is the Rope? In the Sewer Lake - you can see the Blue Stones behind Gates, this is Sewer Lake! DANGER! exploring this lake could result in your team drowning before they can get out! SAVE THE GAME FIRST - TIP, get rope and other loot immediately *after* using the IRON KEY, way easier!!
Where is MINE Key? In the Advanced Dungeon - after the Bumblebees
Where do you use Mine Key? Find "top ledge" in Castle! Get to there from Dungeon Basic or the Turtle Beach stairs
Where is Tomb Entrance? In Intermediate Dungeon, not far from a room with a trapdoor and 3 alcoves, alcove 1 = bow and alcoves 2 and 3 = swords
Where are the tomb keys? Tomb Key 1 = B Forest, top left of map! Tomb Key 2 = in Advanced Dungeon, after fighting the first bee, go back to where you started, you find a 2nd bee, now look for a secret room, place an item in an alcove, find the Tomb Key
I can't get out of the Swamp! The stairs down have a locked gate at the bottom! SOLUTION > Go back to the swamp, find the 2 treasure chests! (or at least 1) the Gate then opens!
How do you open the Blue Stones Gates? This is controlled from the Beleaugered Forest. Get the first Hub Key and descend to the Beleaugered Forest, Blue Stones opens after that!
where are the three Round Locks? From Blue Stones > go up the back stairs to the small beach. Find the hidden trapdoor in the ocean waves, down there are the 3 locks
where are the three round keys? just go on the 3 missions from "Inside Blue Stones" ! Each mission begins with a blue wall button - then just step into the teleporter! by the end of each mission you will have 1 Round Key
where are the four skull keys? KEY 1 > in private library, KEY 2 > in secret room by Process 24, KEY 3 > Medusa Arena (after 3 round locks), KEY 4 > Medusa Arena (Uggardians Rooms)


