


0 of 0


About this mod
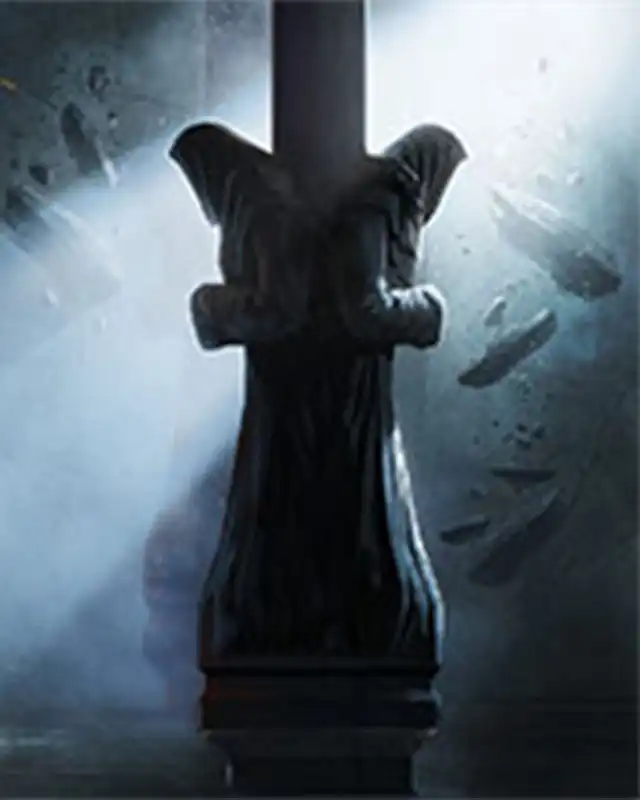
Versions of several light-source objects that can be lit by clicking on them with a torch.
- Permissions and credits
- Changelogs
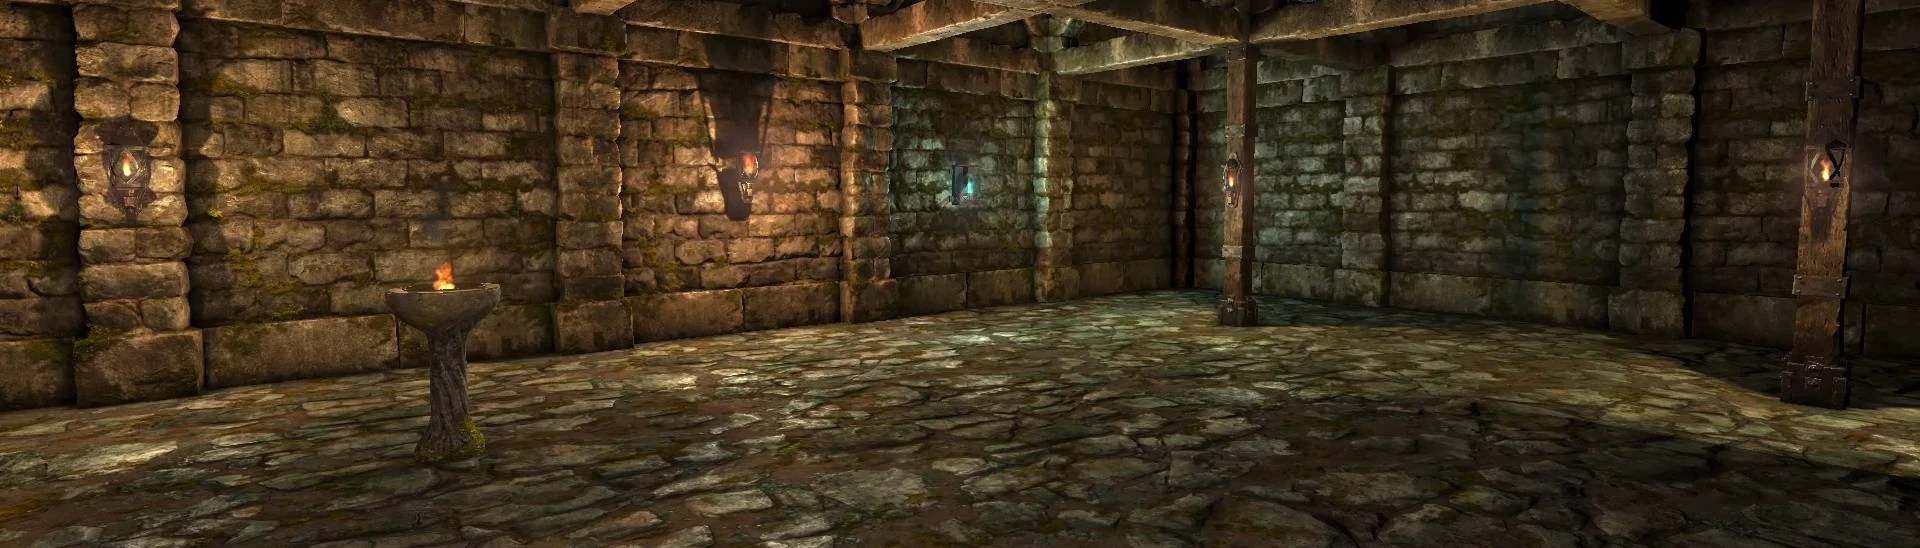
This mod adds a new category of objects — lightables. These are light-producing objects such as wall lanterns that start off wtihout a flame and can be lit by clicking on them with a torch. (See the "Videos" tab for a demonstration.) They also expose some of their internal code in a Script component, allowing modders to quickly hook up additional effects to happen when they get lit.
Currently, this mod includes three lightables, based on the following five existing objects:
I did not make lightables for:
Installation
Note: if you have your dungeon loaded while you add the files, you may need to reload the dungeon for the lightables to appear.
How it works
Every lightable inherits from a "base_lightable" object (base objects don't appear in the editor). They combine this with the Model, Light and Particle components from whatever original light-source object has been converted, and add a Clickable component defining the size and position of the region you have to click inside to trigger them. By default, the Light and Particle components are disabled, rendering the object unlit.
"base_lightable" has a Script component, which exposes some of the internal workings of the lightables in the editor. When you place down a lightable, you'll see a script source that you can edit in its properties. By default, this includes a "light()" function, which, provided the lightable isn't already lit, checks if the current mouse item is a torch, and if it is, lights the object. You can edit this function to customise the triggering item and the sound played.
There is an additional function, "onLight()" which contains nothing by default. This exists to allow you to define extra effects to take place when the lightable is lit: for example, you could hook it up to open a secret door.
Finally, the last line of the script adds a connector from the lightable's Clickable component that triggers the "light()" function.
Creating & customising lightables
You can turn any light source object into a lightable. The basic object definition for a lightable is as follows:
Copy the Model, Light and Particle components from the original object into the components of this definition. Add the following line to the Light and Particle components to set the object to be unlit by default:
enabled = false,
In the Clickable component, the "offset" and "size" vectors determine the size and position of the clickable region. Adjusting these to get the clickbox you want takes some trial and error, but you can add the line "drawDebug = true," to the Clickable component to make it easier.
To change the triggering item for a single instance of an object, you can modify the item name in its script source in the editor. To change it for all instances of that object, copy the Script component from the "base_lightable" object into your definition for that lightable and change the source; to change it for all lightables, simply modify the source in the "base_lightable" definition. Note that modifying the source in the object definitions will not change the script for object instances that have already been placed in the editor. This process can also be used to change the sound played when the lightable is lit.
Currently, this mod includes three lightables, based on the following five existing objects:
- dungeon_pillar_lantern_01 (created versions with pillar placement and wall placement)
- dungeon_wall_lantern
- forest_lantern
- mine_support_pillar_lantern_01 (created versions with pillar placement and wall placement)
- tomb_wall_lantern
I did not make lightables for:
- ceiling lights or other lights that are very high up; it's very difficult and annoying to try and click on these.
- any objects with candles on them; even with the Light and Particle components disabled, the candles' textures are still bright themselves despite shedding no light, making them look very strange in darkness.
- light sources that don't have flames or otherwise don't look like they could be lit with a torch; for example, the castle pillars with blue lights on them.
Installation
- Download the .zip archive from the mod page and extract it into any folder.
- If you extracted it somewhere other than your "mod_assets" folder, copy or move the entire extracted "lightables" folder into the "mod_assets" folder for the dungeon you want to use this mod in.
- Go into your "mod_assets/scripts" folder and laod "init.lua".
- Add the following line of code to the end of the file:
import "mod_assets/lightables/init.lua" - The next time you load your dungeon in the editor, you should see a "lightable" category in the asset browser, listing all the lightable objects.
Note: if you have your dungeon loaded while you add the files, you may need to reload the dungeon for the lightables to appear.
How it works
Every lightable inherits from a "base_lightable" object (base objects don't appear in the editor). They combine this with the Model, Light and Particle components from whatever original light-source object has been converted, and add a Clickable component defining the size and position of the region you have to click inside to trigger them. By default, the Light and Particle components are disabled, rendering the object unlit.
"base_lightable" has a Script component, which exposes some of the internal workings of the lightables in the editor. When you place down a lightable, you'll see a script source that you can edit in its properties. By default, this includes a "light()" function, which, provided the lightable isn't already lit, checks if the current mouse item is a torch, and if it is, lights the object. You can edit this function to customise the triggering item and the sound played.
There is an additional function, "onLight()" which contains nothing by default. This exists to allow you to define extra effects to take place when the lightable is lit: for example, you could hook it up to open a secret door.
Finally, the last line of the script adds a connector from the lightable's Clickable component that triggers the "light()" function.
Creating & customising lightables
You can turn any light source object into a lightable. The basic object definition for a lightable is as follows:
defineObject{
 name = "XXX_lightable",
 baseObject = "base_lightable",
 components = {
  {
class = "Clickable",
offset = vec(0, 0, 0),
size = vec(0, 0, 0),
maxDistance = 1,
  },
 },
}
Copy the Model, Light and Particle components from the original object into the components of this definition. Add the following line to the Light and Particle components to set the object to be unlit by default:
enabled = false,
In the Clickable component, the "offset" and "size" vectors determine the size and position of the clickable region. Adjusting these to get the clickbox you want takes some trial and error, but you can add the line "drawDebug = true," to the Clickable component to make it easier.
To change the triggering item for a single instance of an object, you can modify the item name in its script source in the editor. To change it for all instances of that object, copy the Script component from the "base_lightable" object into your definition for that lightable and change the source; to change it for all lightables, simply modify the source in the "base_lightable" definition. Note that modifying the source in the object definitions will not change the script for object instances that have already been placed in the editor. This process can also be used to change the sound played when the lightable is lit.