


Anno Domini INTRODUCTIONYour crew shipwrecked in a storm and only 4 survived the wicked weather and bludgeoning of the Schooner onto cove rocks. As the 4 of you clambered past the rocks a small sandy Cove is revealedSTEP BY STEPA find the seaweed trail, at the cliff wall find the key
B find the beach crab, nearby enter the fake boulder and pull the lever, enter the Dungeon
C retain the key at this point, dont use it, look around the dungeon, wait until gate opens of its own accord
D open the barracks gate by pulling the chain, note the MINE LOCK inside the barracks
E lure the guards to the NEXT wall lock and insert the key unleashing ancient defences
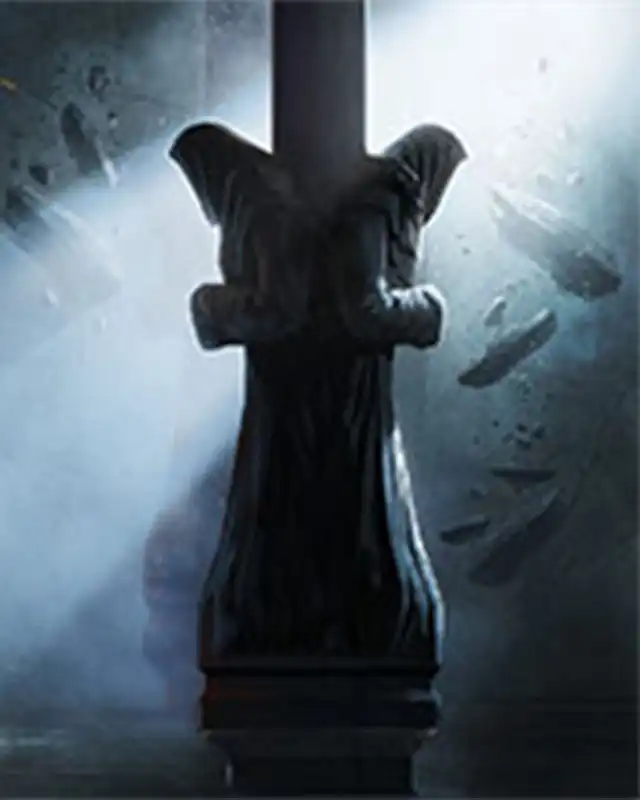
F proceed to Eastern Hall and note the wall torches, you will need these later
G if you can zig zag past the Senior Officers to the opposite door and move through the door
H if you succeed, you can now take on the Senior Officers at your leisure or according to your plan
I at some stage, place a torch into the one wall bracket that doesnt have a torch
J proceed on to the stairs down to the Mine, here find the cave in. near to that is a slag heap, the Mine key is here which fits the lock at Step D
K look at the Mine ceiling for protruding roots, proceed through a fake wall to some dust piles, find a further key there
L just past the dust piles are the stairs down to Old city. This place was once a busy city of thriving thoroughfares and entrances to all kinds of places. move on as fast as possible , making as much mileage as you can in a quick time, try and explore the whole place fast, at this point there are few challenges or tricks!
M a number of stairs can be found in the Old City, if your party find themselves back at the Ancient Vaults then fine, remember to use the MINE KEY in the Barracks as at Step D
N if not then the stairs down to Relics Tomb is a good option, you find a Sarcophacus chamber containing 5 Mummies, beyond these is a battle Arena that could be quite a challenge. TIP! place your crew at the stairs down to Relics Tomb, now go back and find the bones next to a jutting wall section, the Mortar & Pestle are in here
TIP! in Relics Tomb seek out the Secret Button that triggers a lightning flurry, this will help your party to progress
O in Relics Tomb at the end of the Battle Arena your crew find 6 strange alcoves, place 1 item into each alcove, an ancient Area now unlocks , this contains Stairs down to the castle Gatehouse
P the Castle Gate house looks worse than it is, so take down the Sentries and move onto the Castle Sewers
Q the Sewers Chambers has markings that the Sewers workers set up to guide them as follows, Effluent Water Torrents "Head Statue", "Hooks", "Chains" , "Candles" - remember these markings and then work out which markings indicate the best Water Torrents to follow
R TIP! a good one to start is probably the "Head Statue" but your crew could do a dry run on each to see which one affords the best "mission"
S "Head Statue" mission, you drop to Relics Tomb where the crew spot a STRIPE across the wall, move through the stripe to the ladder and then quickly find the bombs further along the walkway, your crew will need them! TIP! unless you have the Tomb Key, stick to the Frost Bombs side of the walkway and drop down there! TIP! defeating the Spider will unlock the wall to the basic area but quickly take the stairs back up to Old City and the bones mentioned at Step N , TIP! once back in the basic Tomb Area, check the Spring Spikes passage for a foraging mission!
T "Head Statue" mission , you can immediately pick another pit to drop down another level, or go with the step above, either way, the next pit down would be the single pit on its own, this drops to Old City , immediately take out 1 small herder to exit to a safe passage, this safe passage has a handy round wall button, try it!
U from Old City you see two pits to drop down, take the WEST pit and you drop to THE MINE but be ready for Magma Golems, activate extra protection and be speedy, no overweight crew! quickly grab artefacts from 4 altar tables before exiting to the Ancient Vaults TIP! do not select the next pit down unless your crew can combat Etherals! (Return to the pit WHEN your crew can combat Etherals!)
V when you have Etheral weapons take the pit to the Zarchton beach enclave. take the beach stairs to the Push Blocks. Each time your crew push a block into place - an Etheral emerges, TIP! check their lair chamber for items!
W After a wave of Air Etherals , a wave of Fire Etherals begins, TIP! to progress , the first Fire Etheral must be taken down by your crew. If it just slams into your crew, progress fails. TIP! although defeating the following Fire Etherals is not crucial, it is recommended to prevent damage to your crew, TIP! check their lair chambers each time they emerge!
X At the upper stage Push Blocks, note the secret button right next to the ladder, this opens/ closes the new stage door and might be handy, it also energises the next lot of blocks!
Y Magma Golems are roaming a Mine Basin. The basin contains 2 trapdoors but one is closed. Be sure to note whicj one is closed, this could be handy later. Back at the basic dungeon where you started , try inserting a new Mine key, near to the first lock OR if you get a chance to slay one of the Magma Golems, note that this unlocks one of the trapdoors. But would you know which one opened?
Z if you succeeded in descending the previously locked trapdoor in Magma Basin you find an empty hall. The lever has three positions, down - BATTLE INITIATED , up - ancient defences - down (again) Damocles Chamber! LOCATION KEY COMMENT BEACH IRON seaweed trail MINE MINE slagheap by cave MINE MINE flooded level stairs 2 MINE IRON railings in dark passage MINE IRON railings in dark passageLOCATION GEM COMMENT p blocks green in first Etheral Chamber
Notifications
0 comments