


0 of 0


About this mod
Light and Laser selections for all your needs
- Requirements
- Permissions and credits
- Changelogs
Welcome to Lights and Lasers!
This is an updated version of my previous mod Let There Be Light which introduced functional flashlight beams to some existing laser attachments.
This mod is a ground-up rethinking of the original mod and as such is NOT compatible with that mod. This is an updated version of my previous mod Let There Be Light which introduced functional flashlight beams to some existing laser attachments.
8/20/2023 Optional File:
G36 Scout had an issue with the 3x laser not working. This is because of a QA issue leftover from the base game (thanks Ubi). Fix now included as an optional file
------------------------------------------------------------------------------------------------------------------------------------------------------
V2.0 Changelog:
By popular (and persistent) demand, red lasers are back!
Added a supplementary "Step 1" set of files that will make the laser red instead of green.
NOTE: This is not a pick-and-choose thing. You either use Step 1 for green OR Step 1 for red. DON'T MIX AND MATCH.
Future additional color support is possible.
--------------------------------------------------------------------------------------------------------------------------------------------------------
What This Mod Does:
Allows for the selection between 4 types of laser effects:
1. Laser Beam Standalone (no IR Illumination)
2. Laser Beam + IR Illumination
3. Flashlight Standalone (no Laser)
4. Flashlight + Laser
All laser beams will be a single green beams (The mawl default beam)
There are 2 Light options:
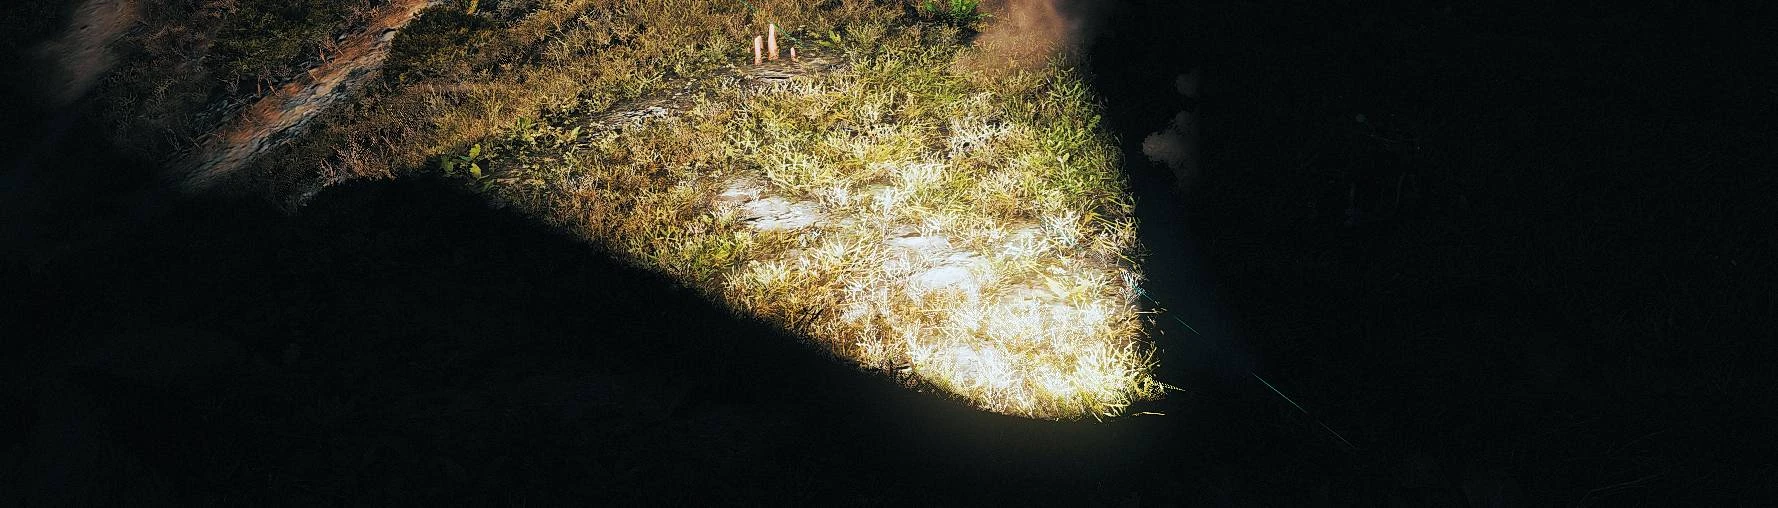
1. Short range - Good for dark interiors areas, not great for exterior areas.
2. Long range - Good for exterior areas, not good for interior areas.
[Is really bright by the muzzle, will cause lens blooming if the camera isn't behind the player]
Optional replacement file:
Added a medium strength light that doesn't have the lens bloom. It's about 50-60% as bright as the long range option, but performs just as poorly indoor.
What This Mod Does Not Do:
You can't have a red laser. Green is better anyway.
Installation Instructions
Step 1: Install the required base files
Install BOTH (2) laser files
Install ONE (1) Laser + Light File
Install ONE (1) Light File
You should have Installed FOUR (4) Files from Step 1
File Swap Tutorial - DataPC_Resources_patch_01
Installation:
- Download and install AnvilToolkit.
- Set up Anvil Toolkit, disable the use of compression in Settings->Files and set compression ratio to 0.
- Unpack DataPC_Resources_patch_01.forge
- Open Extracted folder in your GRB directory and open the DataPC_Resources_patch_01.forge folder.
- Copy the .data folders into the DataPC_Resources_patch_01.forge/Extracted subfolder. If the Extracted subfolder doesn’t exist, create it. Your file path should look like Extracted/DataPC_Resources_patch_01.forge/Extracted/(your mod folders here)
- Select the added folders in AnvilToolkit, right-click, and select "Repack" - you should see the message
Finished repacking data files | Successful: NN | Failed: 0 - Head back up to the top-level Extracted folder in AnvilToolkit and click on DataPC_Resources_patch_01.forge
- Right-click the folder, and select "Repack" - you should see the message
Successfully written forge file! - After it's done repacking, you can delete the Extracted folder if you so desire. I don't recommend it, though, since there'll be more mods like this to come, and you'll probably want to install them!
Step 2: Install Rail Attachment options.
For EACH rail attachment, select ONE (1) of the options:
1. Laser Beam Standalone (no IR Illumination)
2. Laser Beam + IR Illumination
3. Flashlight Standalone (no Laser)
4. Flashlight + Laser
You should have installed FOUR (4) Files from Step 2
Installation Tutorial - DBContainerEntry
Installation:
- Download and install AnvilToolkit.
- Set up Anvil Toolkit, disable the use of compression in Settings->Files and set compression ratio to 0.
- Unpack DataPC_patch_01.forge
- Open Extracted folder in your GRB directory and open the DataPC_patch_01.forge folder.
- Unpack 1_-_DBContainerEntry_0X....... (should be near the top). This may take a few minutes, its a big file
- Copy the loose files from the mod download into the new unpacked DBContainerEntry folder. If you want a backup, look for the identically named files that are already in there (the numbers in front are a good way to search) and save them elsewhere.
- Select the DBContainer folder in AnvilToolkit, right-click, and select "Repack" - you should see the message (This may take a few minutes. Be patient)
Finished repacking data file | Successful: 01 | Failed: 0 - Head back up to the top-level Extracted folder in AnvilToolkit and click on DataPC_patch_01.forge
- Right-click the folder, and select "Repack" - you should see the message
Successfully written forge file! - After it's done repacking, launcher the game
- Profit