


0 of 0

File information
Created by
John US Marine Locke CarterUploaded by
MakimotoJinVirus scan
Safe to use
About this mod
Adds a customizable version of Twitch's vest, and optionally replaces its GIGN patches with SWAT counterparts.
- Requirements
- Permissions and credits
- Changelogs
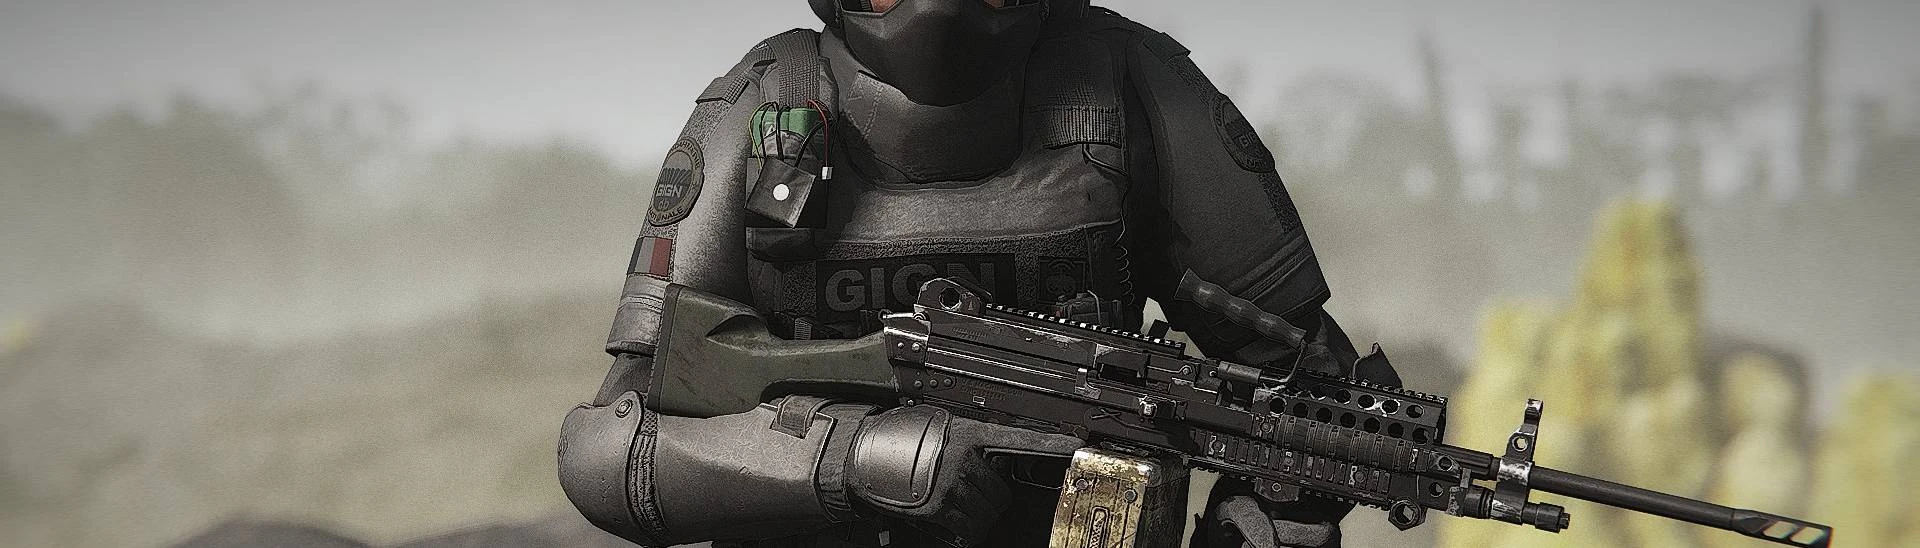
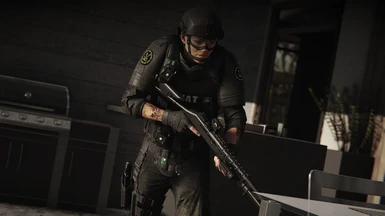
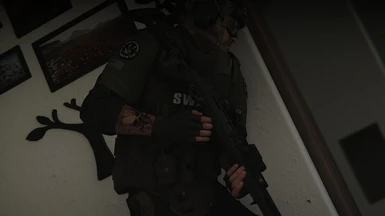
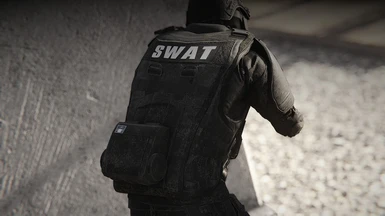
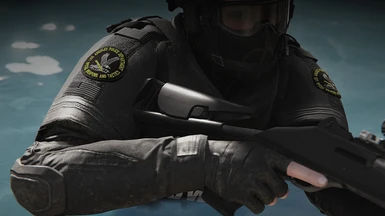
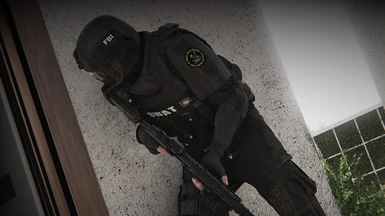
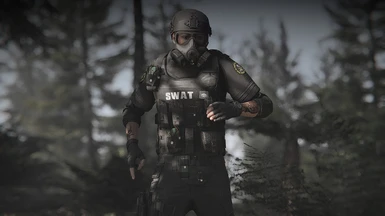
Replaces the Dual Harness Vest with the vest from Twitch's costume, and includes textures so it looks like a SWAT vest.
There's going to be a lot of clipping with backpack straps, and shirts that aren't tucked down. Clipping might be worse with male characters, since the mesh was made for a female character.
The top's camo affects the patches for some reason. No camo or bright colors are fine, but darker colors make the patches darker. I tried to mitigate the issue but I don't know how to fix it.
To install the file in the Vest folder:
- Use AnvilToolKit to extract DataPC_patch_01.forge in your game's folder;
- Inside the DataPC_patch_01.forge folder, extract the 23_-_TEAMMATE_Template.data file;
- Drop the file on the extracted 23_-_TEAMMATE_Template.data folder;
- Repack the 23_-_TEAMMATE_Template.data folder, and then the DataPC_patch_01.forge folder.
To install the files in the Textures folder:
- Use AnvilToolKit to extract DataPC_Resources_patch_01.forge in your game's folder;
- Drop the files on the extracted DataPC_Resources_patch_01.forge folder;
- Repack the folder.