


0 of 0

About this mod
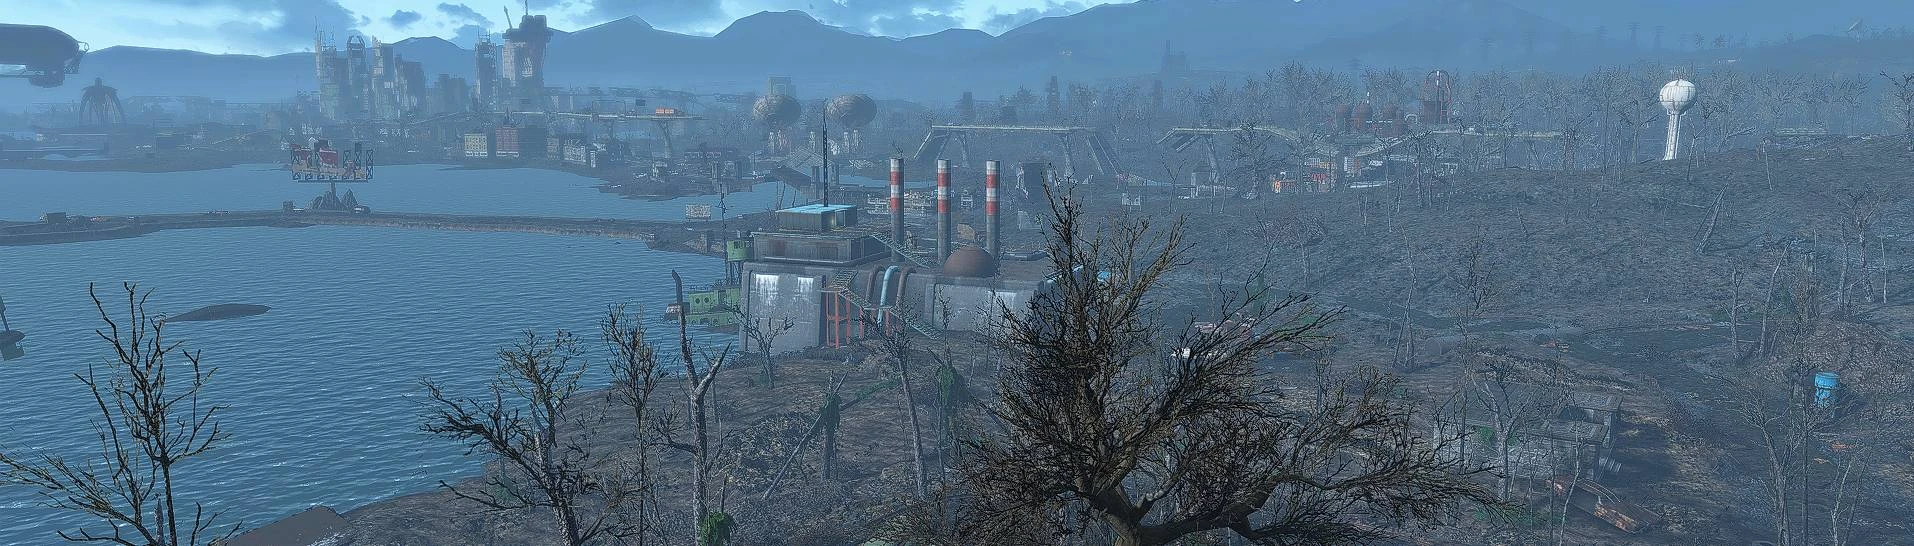
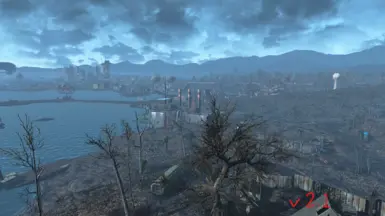
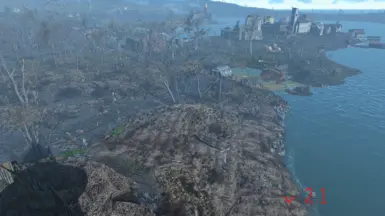
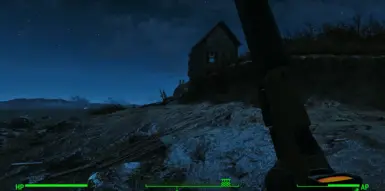
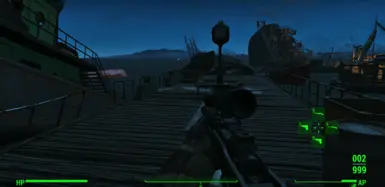
A collection of a few Reshade effects that in my opinion work very well on fallout 4.
Click Permisions & Credits to view a COMPREHENSIVE list of ALL mods I use and ALL mods / settings that were used to capture any matieral.
Make sure to chose 2160p quality if you chose to view the unlisted YT video.
Alternate link: h
- Requirements
- Permissions and credits
Note: Reshade adaptive sharpening tool is not one of the enabled effects in the pack but is one I will enable often.
I highly recommend installing all the Reshade effects and then testing and fine tuning for your own preferences by clicking on random effects then switching off if you don't like or leaving on.
If you'd prefer to just use the effects in this preset you can just select the extracted Hyper Detailed.ini file within this mod when installing Reshade.
How to install Reshade (after downloading an extracting this mod to Downloads folder)
Use a search engine and search Download Reshade
Find the Reshade download page and download the top of the two options (both will work but the the lower option will give you a warning about using for online games).
Download Reshade.
Move the downloaded exe to desktop or somewhere else you wont accidently delete it.
Open the Reshade exe
In the search bar search for Fallout 4, select it
Select Directx 9/10/11 option
Then either; in the top right corner click uncheck all then click it again to check all effects... this will install all Reshade effects (source is github). This will give you more options to fine tune Fallout 4 to however you like. Or; down the bottom where it says "Browse" click that to open a file explorer. Then move to Downloads folder and click the extracted Hyper Detailed.ini fine within this mod.
Reshade will only select the effects in this mod to install.
Wait for the download then click finish.
You're now done. Use the Home Button or Fn + Left arrow left to click Home if on a 2/3rds keyboard to open Reshade menu in game. The in game menu is where you would adjust and fine tune for your own preferences.
How to use my (or any other Reshade preset) after installing all effects.
Download this Preset / Mod
Extract the .ini file
Move or copy Hyper Detailed.ini (or any other .ini Reshade preset) into the base Fallout 4 game directory. (the one that steam takes you to)
Once Hyper Detailed.ini is copied or moved to you base game folder and once you've installed either all effects or the required effects you want.
Now launch the game.
Wait for Reshade to configure and load, should be done by the time you get to the menu screen.
Press the 'Home' button or Fn + Left Arrow (on a 2/3rds keyboard) to open the Reshade menu.
You can select Hyper detailed.ini through the setup process.
Or if you skip the setup process it will just load with a default 'Reshade Preset'
To change this;
At the top of the menu there is a bar that will open a drop down menu.
Scroll until you find Hyper Detailed.ini (or any other preset you've added)
Click on it to load it.
If any errors come up with any of the effects, particularly if they're ones you dont see yourself using. Right click them to take you to where theyre installed. Delete the effects that are giving you an error message. Go back to the game and down the bottom of the Reshade menu click Reload to fix it.
**HOW TO __UNINSTALL__ RESHADE AND ANY LEFT OVER RESHADE PRESETS**
-
Open the original Reshade exe installer you used to originally install Reshade.
Search for Fallout 4
Click Directx 9/10/11
There will now be a 3rd option down the bottom (UNINSTALL RESHADE)
Click uninstall then Finish and Reshade is uninstalled.
To remove this mod if it gets left behind. Go to steam then right click the game. Navigate to Browse Local Files.
It will take you to the Fallout 4 game folder.
This mod or any Reshade preset wont be in any folder and you can just scroll down and delete Hyper Detailed.ini from the same Folder steam takes you to.
Enjoy customizing :)
Any notes or comments left on the youtube video I'll see. I'm happy to answer any questions about this mod or any other mods Im using.
Note: I *personally* find Reshade to be similar to Nvidia filters but much more customizable and far less resource intensive and without the added delay I sometimes notice with Nvidia filters.