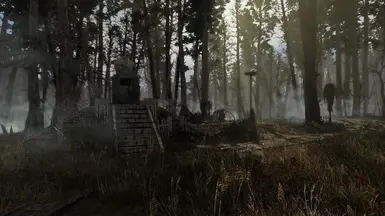
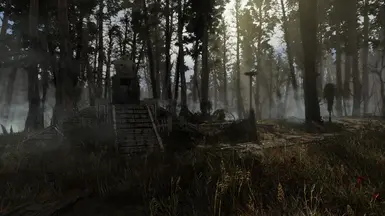
About this mod
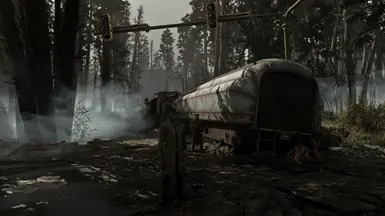
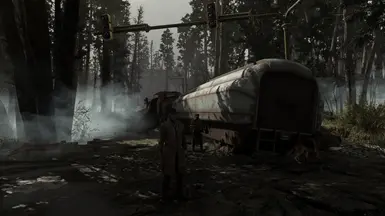
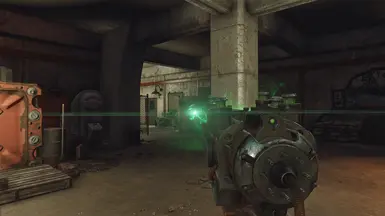
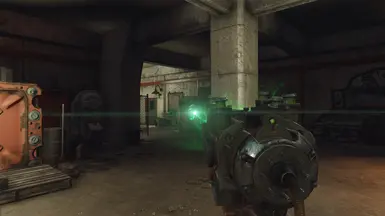
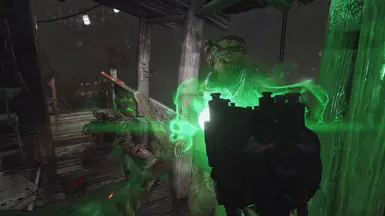
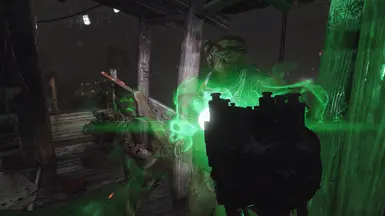
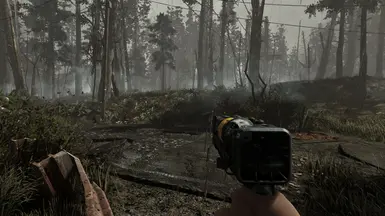
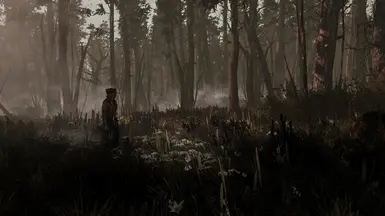
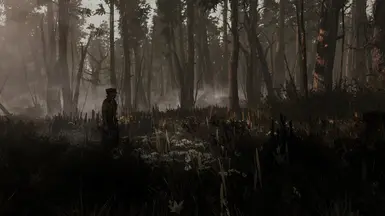
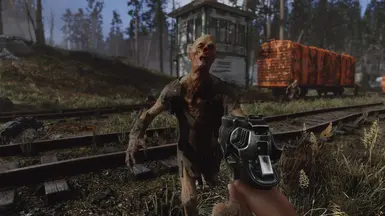
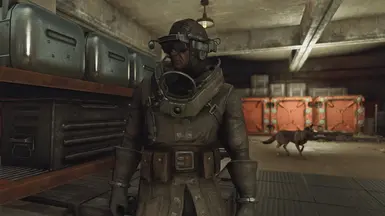
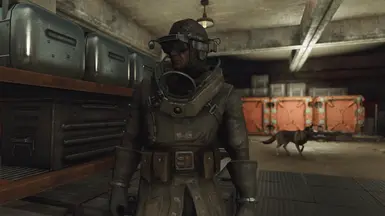
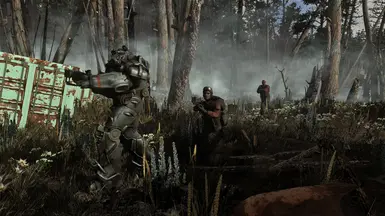
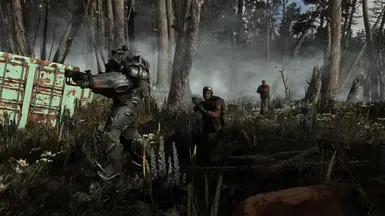
A sophisticated, universal ReShade to use on top of an ENB to further develop the image. Improves details in the shadows, the emission and flow of light, colours, fog, depth perception and contrast - getting you a more immersive feeling image and more eyecandy, while staying true to the artists original vision and colours.
- Requirements
- Permissions and credits
FIRNIS 1.9 - IMAGE AND LIGHT ENHANCING
Varnish for your graphics.
FIRNIS is a sophisticated ReShade Preset that functions as the last layer ("fear-niz" is german for "varnish" for paintings) to give a better image with more details, better textures, better bloom and fog and more realistic light emission and flow. It gives you an overall better, more immersive look.
It is meant to be a respectful and serious ReShade. Not a harsh filter that just cranks up contrast and push a colour over everything else.
Develop the image, make it shine, not alter the creators vision - give the graphics a finishing touch and obliterate some visual issues.
It is build in mind to work as a "one tool for all"-solution, working in every situation, for any ENB (and without), with every resolution and graphical settings.
PLEASE THINK OF COMING BACK TO ENDORSE AND VOTE IF YOU LIKE THIS MOD !

I am a poor neurodiverse artist who puts a lot of time into this,
any help would be appreciated.
WHAT IT DOES:
Post-Procession
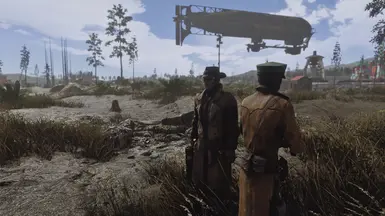
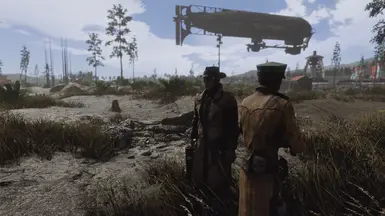
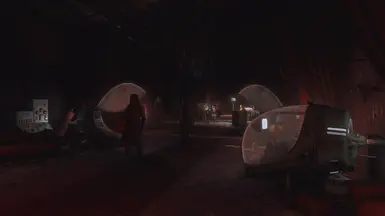
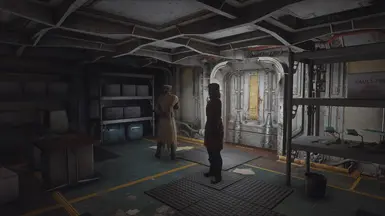
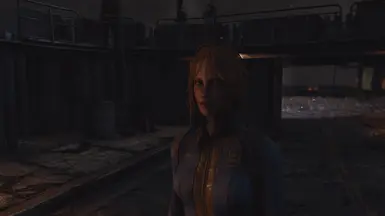
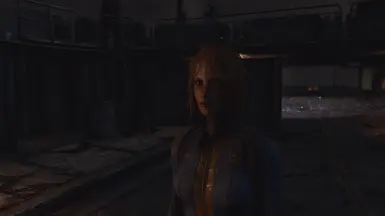
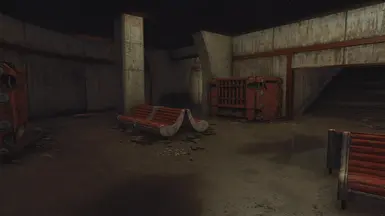
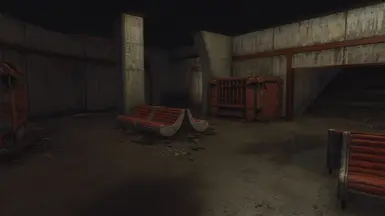
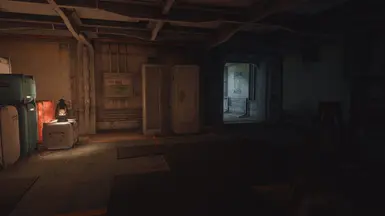
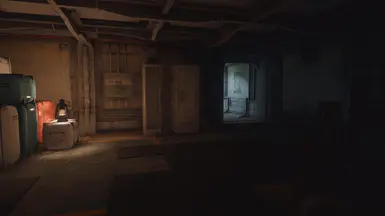
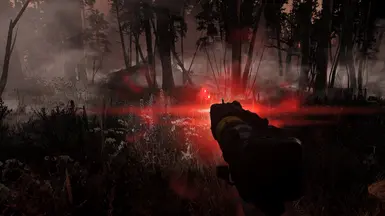
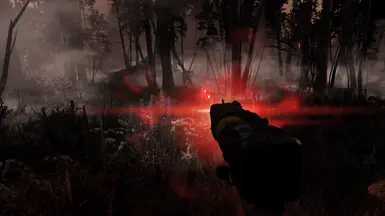
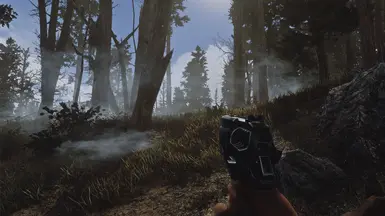
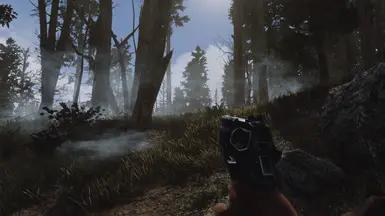
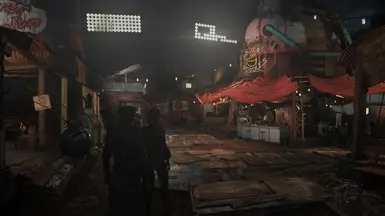
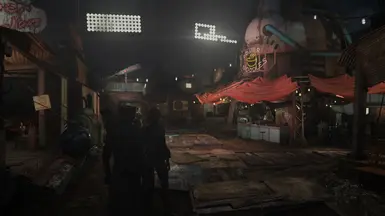
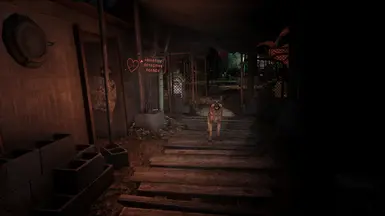
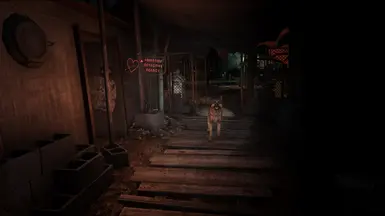
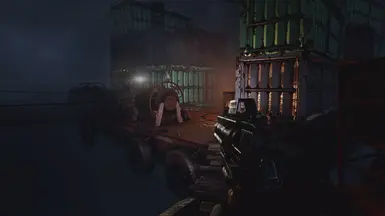
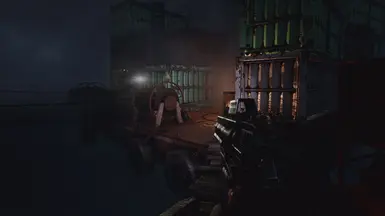
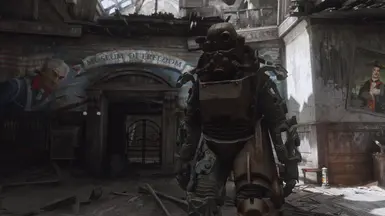
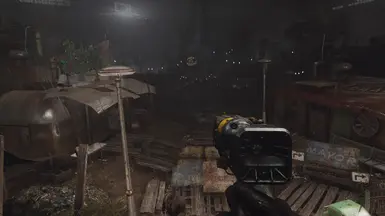
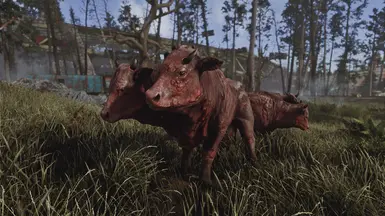
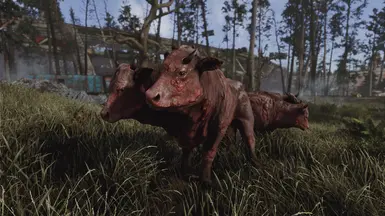
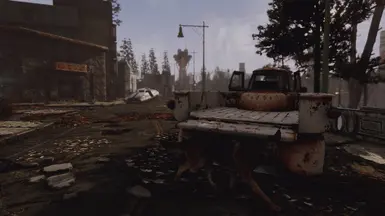
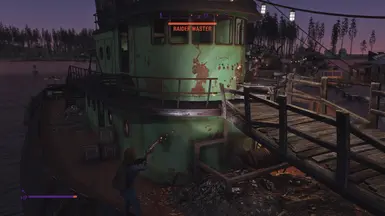
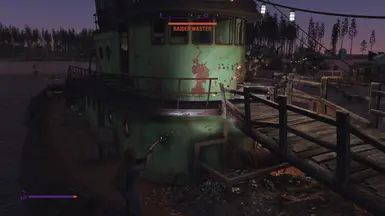
You will in fact get more to see - nights will be a bit more bright and everything more visible thanks to the surrounding lights and the moon, while in the daytime it is just clearer and gets more "pop", plus details in the shadows. The sunlight also has more colour and weight, so the warm sunset shows more on surroundings and skin, gives you a more 'realistic' (hurrdurr) perception of light.
Fake bouncelight improves the image further.
It gives you better materials, metal feels more metal and it overall burst your immersion!
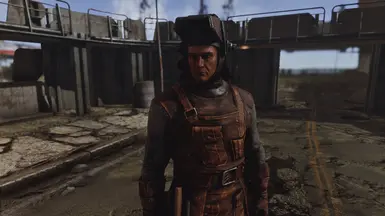
Skin is more realistic and details in textures are way more visible, while things like decals, dirt and bloods merge way better with underlying skin or textures.
Works for every graphical setting and resolution (i can't test it above 1440p unfortunately - i would love to see some testing) WITH OR WITHOUT AN ENB.
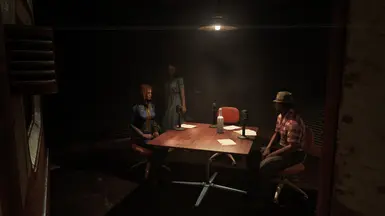
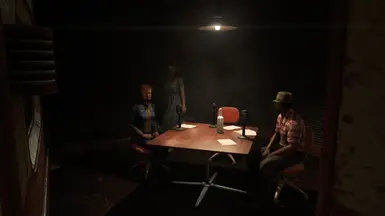
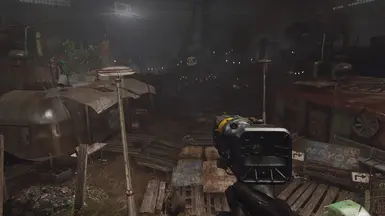
UNFORTUNATLY, some of the effect doesnt show of well in still screenshots, especially the perception of depth.
It is a pretty subtle reshade after all. As you perceive moving images other than still images, the effect really shows in movement.
So try it out how it suits you.

TL;DR:
- a brider dyamic range
- better contrast
- gets rid of The Smudge™
- better light emmision - it fills the space and effects everything a little bit more. Less the feel of lightspheres over dark spaces.
-> every object has the same light characteristics. no more the feeling of everything floating in a different realm.
- sunlight has more weight and colour, function as a skylight is more visible (the same with moonlight)
- better skin
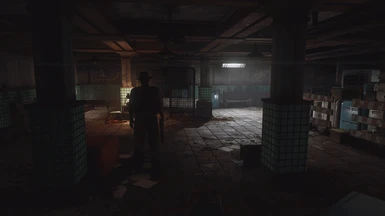
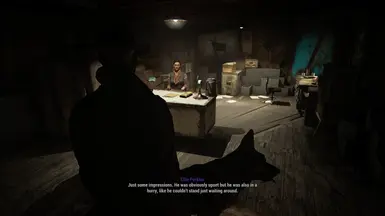
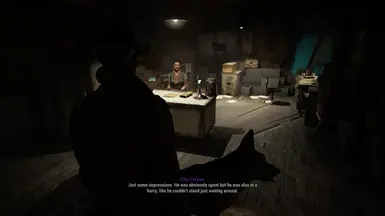
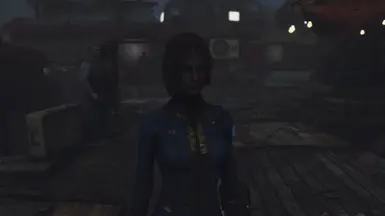
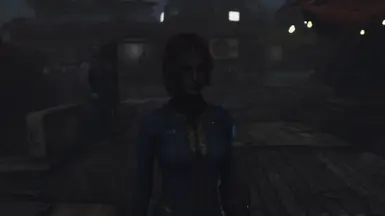
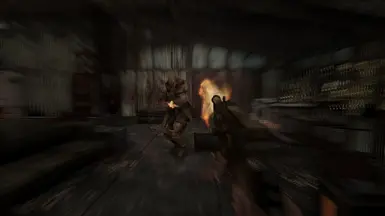
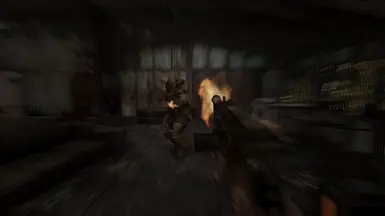
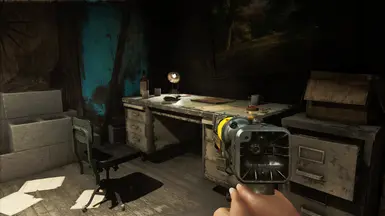
- more details and visibility in low light situations and blacked out shadows, shows great in dark situations
- better (and a bit more subtile) bloom and fog
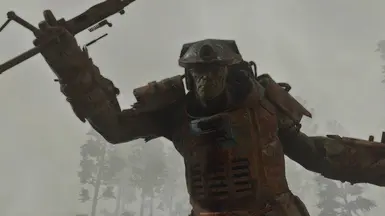
- better distant fog, more defined distance objects
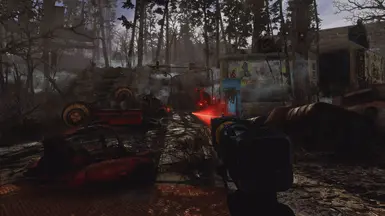
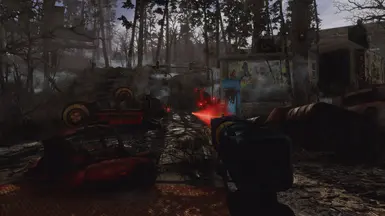
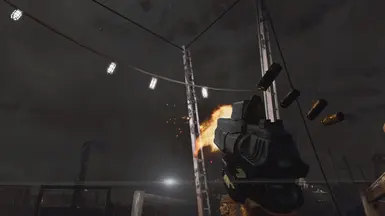
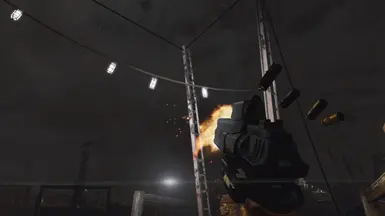
- particle effects are way more crisp and finer, feel more light and transparent and fit in the scene better. Feels more modern to me.
- faked bouncelight (visual effect like raytracing)
- (menu's) transparencies are a bit higher/crisper, it feels more lightweight and modern
- slightly sharper
- better readability of ui elements
- better structures and textures
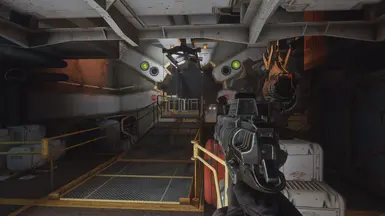
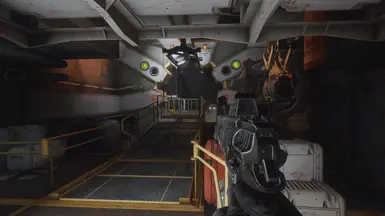
- more realistic and immersive metal reflections
- overall l less cloudy, muddy feel
- eyefriendlier (i get less migraine while playing, i guess because my eyes dont try to adapt to that fake foggy bloomy light situation with blacked out shadows)
- everything fills the same space, the room looks more three-dimensional, perception of depth is better
- overall a more developed look
- it's more immersive
- it's like getting glasses
TL;DR²:
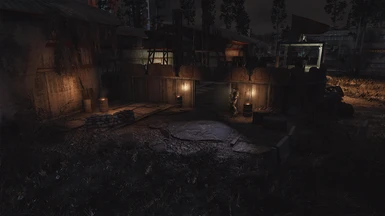
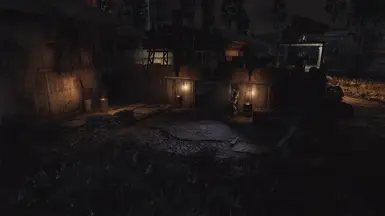
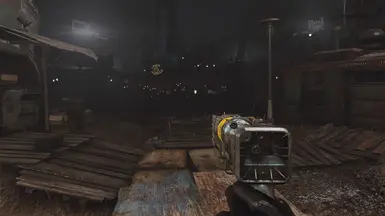
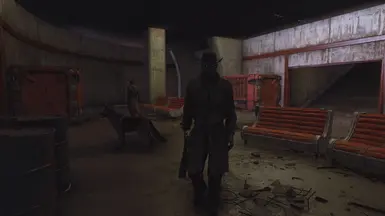
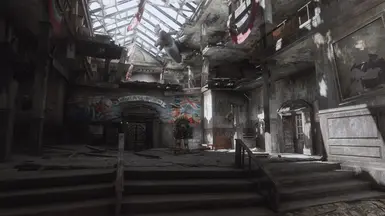
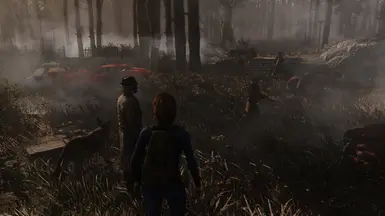
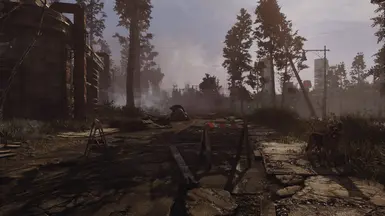
Look at the screenshots and try it out - it makes the image shine :3
idk it originated intuitvly from my rubbish photography workflow so here we are.
DOF:
For a bit more modern feeling a weak Depth of Field, suited for gameplay is integrated - for the case your ENBs DoF is too performance heavy, too strong or you don't like the aesthetic of ENB's DoF in general. It also works good (additional to an ENB's DoF) for having a better, closer bokeh around your character for screenshots.
You can activate it by pressing [Num -]. Of course, you can alter or delete the keybinding
if it interferes with your setup, when you right-click on "MatsoDOF [DOF.fx]".
-> To delete a keybind, press backspace when asked for a key.
FIRNIS is quite performance friendly for what it does, i guess. I just lose around 0-2 fps at a normal somewhat around 32fps performance (on a FX-8350 with GTX 1070 - poor little warmachine). I would count it as "not noticable". Fps hunger expands when having more pixels to calculate, probably. So beware of the fact that 4k is four times the pixel count as 1080p!
The predecessor "Respectful Reshade" was told from users to have 1-5 fps lost. Firnis is way better configured and felt way smoother.
So i guess that's it.
But as always: you must try by yourself and look if it suites you.
(Try it out and turn it on and off!)

INSTALLATION:
don't worry: it might be much text, but it is super easy.
1.1) Install the latest ReShade with the Installer from https://reshade.me/ by selecting your main .exe (f4se_loader.exe, if you use F4SE!) in the
main Fallout 4 folder.
Select Direct X10/11/12, click 'next', again 'next', and then it will ask which effect packages to install.
1.2) Click "Uncheck all", and again "check all". You want to install all the shader packages.
Click "next". It will download all the effects and tell you when all is installed.
2) Drop the .ini-file you found in my download into your game folder.
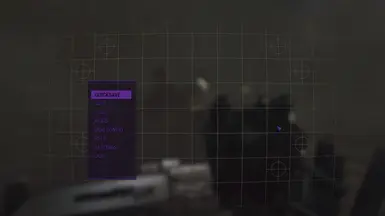
3) Open Reshade's menu overlay ingame with [Pos1], read the quick tutorial if you are new and then select FIRNIS 1.9 - Image and Light Enhancing
Reshade (Fallout 4)". Make sure to be in performance mode.
It should look like this:

Go into ReShade's Settings Tab and asign an "Effect Toggle" key to quick turn it on and off to see the difference the reshade makes.
I usually use [Num del], as it comes handy near the mouse.
Assign a screenshot hotkey and a screenshot folder. I use [ScrollLock] and usually create a "screenshot"-folder in the main folder.
You can switch the file format from png to jpg. I recommend doing that, because png-files are pretty huge.
When using jpg, make sure to put quality on 100%.
Done.
If you like what I made and you use it on a regular basis, please CONSIDER LEAVING A LITTLE TIP VIA KO-FI.
I am a poor neurodiverse artist who puts a lot of time and testing into this reshade and i can use any help.
You have to use reshades screenshot function - using the internal screenshot function won't show the enhanced image!
This is also the reason i use [ScollLock].
ADDITIONAL TWEAKS:
a) Sharpening, or when it looks oversharpened:
You might want to deactivate the ENBs sharpening under ENBEFFECTPOSTPASS.fx in the shader window of ENB's settings.
You don't have to with any ENB, but some ENBs are very sharp. If the ENB is pretty sharp by it's own, deactivate it.
Adapt the sharpening intenisty of [CAS.fx] to your own liking. You can change paremeters when not being in performance mode.
Don't deactivate [Lumasharpen.fx]! This is for improving highlights, this has to stay on.
SAVING FPS
When playing on a lower resolution as your screen's native resolution, you can oversharp this (values around 1.5 to 2.5 or even more) and may have a subjective more detailed image to save fps. Screenshots might feel oversharpened in full resolution later on, but when playing for example in 1600x900 on a 2560x1440 display it can save you a lot of fps, while having a subjectivly better image than before.
When not taking screenshots in 1920x1080, i usually play in 900p just to have a way smoother combat. I also do like the look of it.
For this trickery to work, you have to turn off ENBs sharpening. ENB's Lumasharpen might be okay, but you try you.
Playing with Ghost ENB, i use a sharpening intensity of 2.15.
As a rule of thumb: When you think "wow, that is c r i s p !", just a little less and you should be fine.
b) Some weather mods may let you dim the sunlight a bit.
This is recommended when you use Firnis, it just makes a better, more distinct image when you have more room to tinker with in the highlights.
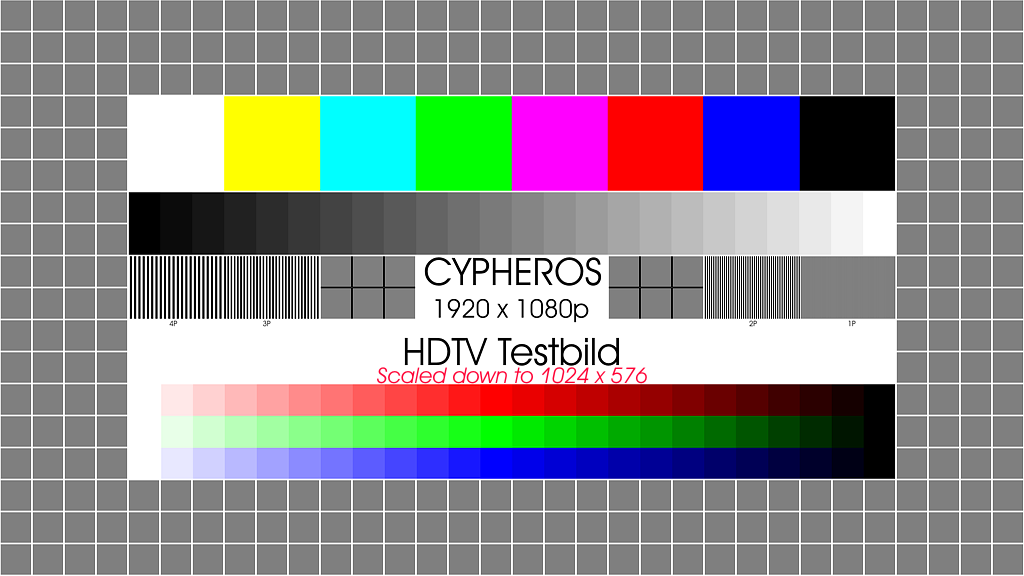
4) Also you should really consider calibrating the contrast/brightness of your monitor/tv!
Calibrating colour is a very difficult task and unneccessary imho, but calibrating contrast is quick and easy and makes a lot!
When looking at the black to white gradient, make sure you see a difference between the first and the last two fields.
Contrast and Brightness are the settings you have to alter.
If you've done this, your picture will be way better than before and you will see nuances in depths and heights that otherwise would be just
clipped out. Colour, as i said, is much more difficulty to calibrate and unneccessary, as every colour is relativly shift and due to that harmonious, even if a little off. But you don't make prints that have to be accurate... so just stay with the contrast :3
It also works in many other games :3 Try it out.
IF YOU LIKE THIS RESHADE, PLEASE ENDORSE AND SHARE!

I am a poor neurodiverse artist who puts a lot of time and testing into this reshade and i can use any help.
