


0 of 0
About this mod
Adjust notification message lines to 5, and optionally speed up notification message fade-out. Now also WITH MANUAL INSTRUCTIONS.
- Permissions and credits
- Changelogs
- Donations
Update 7 Jan 2020: Added FOMOD installer, the first I've ever made. Please let me know if it fails for you in any way, and what file(s) were installed so I can fix it.
Update 10 Dec 2019: Added patched DEF_UI HUDMenu.swf files with permission from Neanka. Current DEF_UI version is 1.5.1. These should work fine unless DEF_UI changes those files in a future update, so even if DEF_UI changes, they should be fine if the DEF_UI update doesn't alter HUDMenu.swf as part of the update. Just re-apply this patched version as below again if a DEF_UI update overwrites your patched version.
How to use the DEF_UI patched HUDMenu.swf files:
Very small mod modifying the number of visible notification messages on the screen at any one time. Comes with three versions for the default fade-out speed for notification messages of 80, faster at 50, and even faster at 30. More than that and they're really not readable by most people.
Inspired by Termor's "More Notification Messages" Skyrim mod.
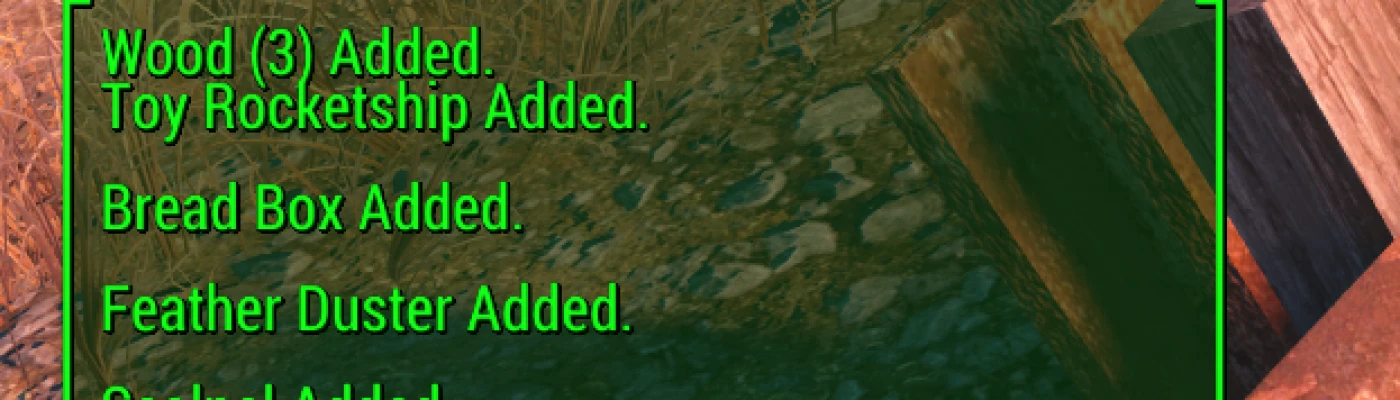
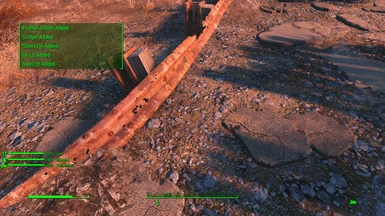
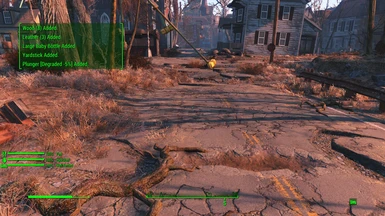
Why did I make this? I'm a packrat and love extra-loot mods such as Commonwealth Cleanup and Big Junk Remix by GhengisKhanX, but ended up with message scrolling for a very long time, sometimes 'breaking' the notification messages area so nothing showed up. I can't say it fixes that bug or not, but it's a whole lot harder to fill up the messages buffer when they're fading out at the fastest speed I made available.
Install with a mod manager or put the included HUDMenu.swf file for the speed that you want in your Data\Interface\ folder.
Safe to install mid-game, or remove mid-game with no problems.
WILL break mods that also modify HUDMenu.swf, depending on what exactly they modify. The adjustment is pretty easy to make, so if you have a mod that uses HUDMenu.swf, it shouldn't be too difficult to create a patched version of their HUDMenu.swf if they give permission to modify their assets.
If you don't mind losing the modifications another mod makes to HUDMenu.swf, just make sure mine overwrites, and it should work fine.
Tools used:
JPEXS Free Flash Decompiler - Mandatory unless you have a better Flash P-Code editor or code editor that works to recompile Flash code.
BSA Browser - If you don't already have a loose HUDMenu.swf from another mod. The vanilla one is located in Fallout - Interface.ba2 in the interface folder.
For those who already have a mod that adjusts HUDMenu.swf, here are instructions you can use to do it yourself. This works as a final edit to any mod you're currently using that supplies HUDMenu.swf, but if you're using one that re-compiles or adjusts HUDMenu.swf such as HUD_UI, you may need to re-edit as needed when you make changes with that mod:
Note: Don't edit the script directly. It WILL break on save even if you don't change anything. The P-Code section has to be used instead. No alternative here, as JPEXS can't correctly recompile the code itself, but will happily save the P-Code so that it works.
Update 10 Dec 2019: Added patched DEF_UI HUDMenu.swf files with permission from Neanka. Current DEF_UI version is 1.5.1. These should work fine unless DEF_UI changes those files in a future update, so even if DEF_UI changes, they should be fine if the DEF_UI update doesn't alter HUDMenu.swf as part of the update. Just re-apply this patched version as below again if a DEF_UI update overwrites your patched version.
How to use the DEF_UI patched HUDMenu.swf files:
- No FOMOD yet, so download manually and extract the files from the .7z archive.
- Select the folder with proper screen ratio you're already using with DEF_UI.
- Pick the file with the speed you'd like; default 80, faster 50, or sorta-hard-to-keep-up-with 30.
- Rename the chosen file to HUDMenu.swf, removing the 80-5, 50-5, or 30-5 part from the name.
- BACK UP YOUR EXISTING HUDMenu.swf file, located in the HUD_UI interface folder. Easiest is to rename it HUDMenu.bak. If you use a mod manager like Vortex or MO2, back up the version you find in HUD_UI's staging folder, not one that you find in the real data folder. If you manually install all of your mods, find it in Data\Interface\HUDMenu.swf.
- Copy or move the renamed HUDMenu.swf from step 4 to the staging folder of HUD_UI in the interface folder, or if you manually install mods, directly into the Data\Interface\ folder.
- If you're using Vortex, deploy mods. For MO2, you're already ready to go. For manual installs, you're already ready to go.
Very small mod modifying the number of visible notification messages on the screen at any one time. Comes with three versions for the default fade-out speed for notification messages of 80, faster at 50, and even faster at 30. More than that and they're really not readable by most people.
Inspired by Termor's "More Notification Messages" Skyrim mod.
Why did I make this? I'm a packrat and love extra-loot mods such as Commonwealth Cleanup and Big Junk Remix by GhengisKhanX, but ended up with message scrolling for a very long time, sometimes 'breaking' the notification messages area so nothing showed up. I can't say it fixes that bug or not, but it's a whole lot harder to fill up the messages buffer when they're fading out at the fastest speed I made available.
Install with a mod manager or put the included HUDMenu.swf file for the speed that you want in your Data\Interface\ folder.
Safe to install mid-game, or remove mid-game with no problems.
WILL break mods that also modify HUDMenu.swf, depending on what exactly they modify. The adjustment is pretty easy to make, so if you have a mod that uses HUDMenu.swf, it shouldn't be too difficult to create a patched version of their HUDMenu.swf if they give permission to modify their assets.
If you don't mind losing the modifications another mod makes to HUDMenu.swf, just make sure mine overwrites, and it should work fine.
Tools used:
JPEXS Free Flash Decompiler - Mandatory unless you have a better Flash P-Code editor or code editor that works to recompile Flash code.
BSA Browser - If you don't already have a loose HUDMenu.swf from another mod. The vanilla one is located in Fallout - Interface.ba2 in the interface folder.
For those who already have a mod that adjusts HUDMenu.swf, here are instructions you can use to do it yourself. This works as a final edit to any mod you're currently using that supplies HUDMenu.swf, but if you're using one that re-compiles or adjusts HUDMenu.swf such as HUD_UI, you may need to re-edit as needed when you make changes with that mod:
- Make a backup of your HUDMenu.swf. It's nobody's fault but your own if you screw up and don't have a backup. You can of course reinstall the providing mod, or extract HUDMenu.swf from the .ba2 vanilla file again depending on where the active HUDMenu.swf file is from.
- Open your active HUDMenu.swf using JPEXS, listed above. If you get a message asking whether to open a dependent language file, say no (or yes if you have them, but it won't affect this editing process being there or not).
- Navigate to the scripts section, and find "Messages". Click on it.
- Read the note at the end of this instruction list. Look at the code. You're looking for the END_ANIM_FRAME:uint = 80 line. Click between the 8 and the 0. Yes, it matters where you click.
- Look at the P-Code section to the right of the code section. At the bottom of the P-Code section, look for and click the "Edit P-Code" button.
- In the P-Code section, find "pushbyte 4" and "pushbyte 80". That's what you're editing.
- Change pushbyte 80 to pushbyte 50 or pushbyte 30 to use the settings I've included files for, 80 for vanilla, or try something else if you're adventurous.
- Change the pushbyte 4 to pushbyte 5 to duplicate my files, or 7 also works. Higher than that gets truncated by the size of the messages UI element when I tried it, but that is changeable if you're savvy. I won't go into it here. NOTE: Use odd numbers. Even numbers make only 2 lines appear. No idea why. Even the default of 4 turns into 2, as you may have noticed.
- Click the "Save P-Code" button at the bottom of the P-Code section when you're happy with your edits, then click the Save button in the top left of JPEXS to save the file itself.
- Exit JPEXS. You're done. Test and enjoy.
Note: Don't edit the script directly. It WILL break on save even if you don't change anything. The P-Code section has to be used instead. No alternative here, as JPEXS can't correctly recompile the code itself, but will happily save the P-Code so that it works.