


0 of 0

Documentation
Readme
View as plain text
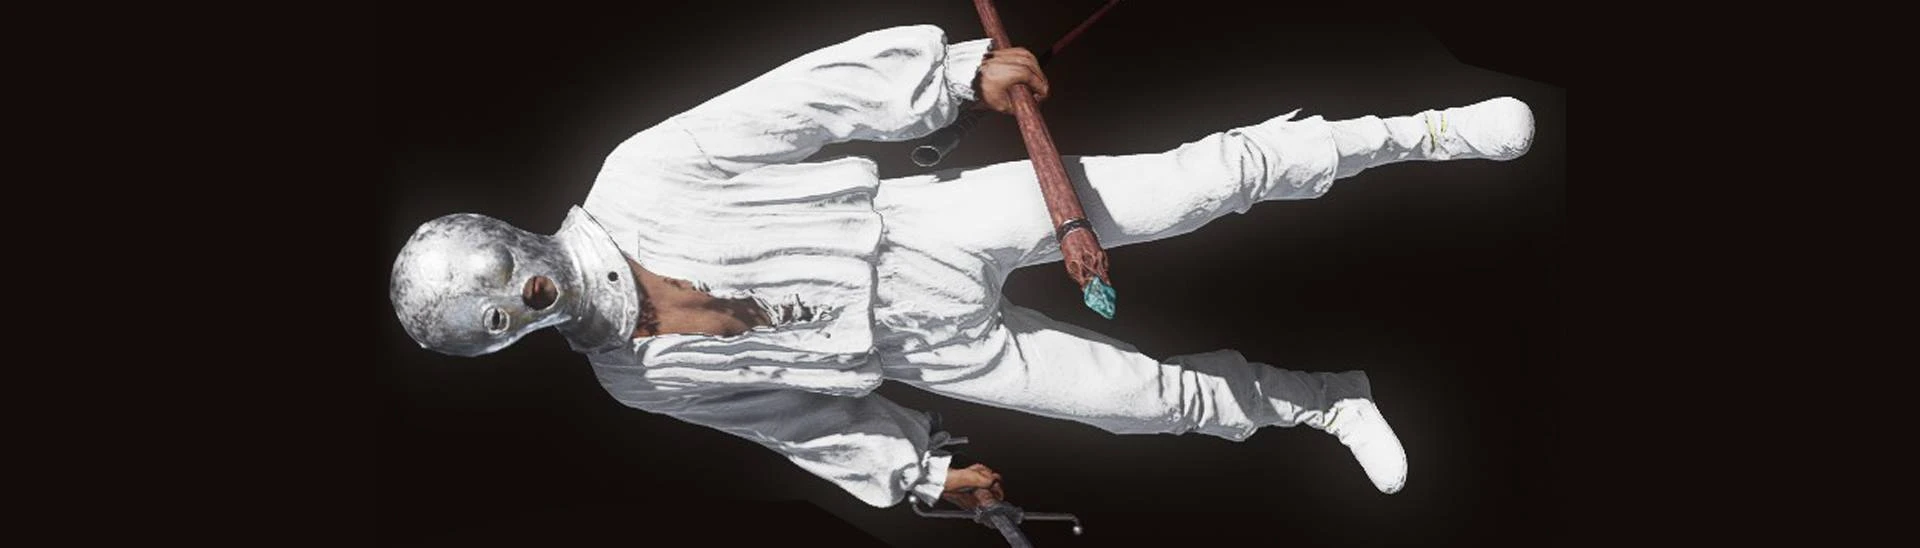
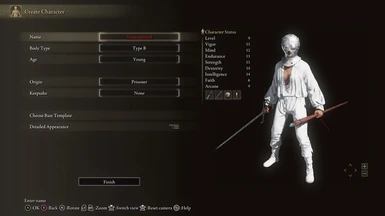
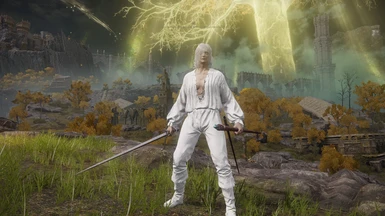
Change the color of Prisoner Set from brown to white.
Now you can have drip while exploring the Lands Between!
-------
Disclaimer!: I don't know if you could get ban for skin modding, but just to be safe, make sure you run the game offline,
either through ModEngine 2.0, or through Anti-cheat toggler and offline launcher. So, if you're gonna play online with this, do it at your own risk!
Installation Method
Method1: Using ModEngine 2.0
1. Download and extract ModEngine-2.0.0-preview3-win64.zip (Details) -> anywhere you like.
2. Download my mod.
3. Locate the folder "mod" within the extracted ModEngine:
...\ModEngine-2.0.0-preview3-win64\mod\
4. Extract my mod into the folder "mod" -> my mod contain the folder "parts" and .dcx files within
5. Run the game using ModEngine -> click on "launchmod_eldenring.bat"
6. Enjoy!
Method2: Using UXM
(to unpack Elden Ring -> filesize increase by 60Gb-ish?, but you get access to all the files so you can modify them yourself)
1. Download and extract UXM (you need to join the ?ServerName? Discord server) -> anywhere you like.
2. Open UXM, click on Browse, find your game folder (you can find it on Steam by right click on the game name -> Manage -> Browse local files), and find the "eldenring.exe" file and click on it.
...\ELDEN RING\Game\eldenring.exe
3. Click on Unpack, wait until it's finish (could take 5-10 minutes), then click on Patch and wait until it finish again (should only take 30 seconds).
4. Download my mod.
5. If you're installing using Vortex, no need to do anything else.
If you're installing manually, extract my "parts" folder into where "eldenring.exe" file is and replace the existing files.
...\ELDEN RING\Game\eldenring.exe
6. Enjoy!
Thanks to:
Katalash for ModEngine2
Meowmaritus for UXM
JKAnderson for Yabber
MaxTheMiracle for Parts Files List
?ServerName? Discord Community
Scrub Milk for helpful tutorial videos
Tools use:
Photoshop
Intel Texture Works Plugin for Photoshop
Photoshop Export Settings:
For texture:
Texture Type: Color
Compression: BC7 8bpp Fine (Linear, DX11+)
Mip Maps: Auto Generate
For normalMaps:
Texture Type: Color + Alpha
Compression: None 32bpp
Mip Maps: Auto Generate
Files edited (all in "parts" folder)
bd_f_1410.partsbnd.dcx
bd_f_1410_l.partsbnd.dcx
bd_m_1410.partsbnd.dcx
bd_m_1410_l.partsbnd.dcx
hd_m_1410.partsbnd.dcx
hd_m_1410_l.partsbnd.dcx
lg_m_1410.partsbnd.dcx
lg_m_1410_l.partsbnd.dcx