About this mod
Español
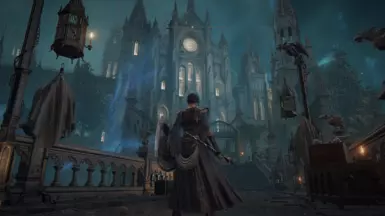
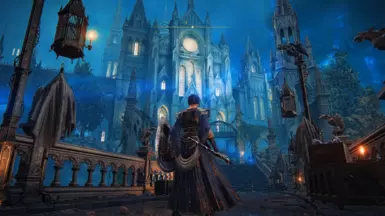
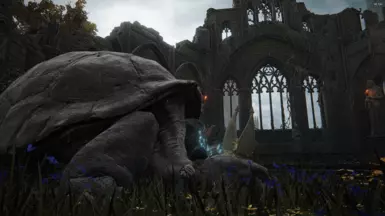
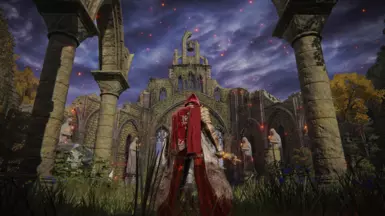
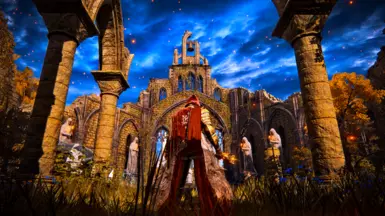
Simple reshade preset para mejorar el color y la iluminación del juego con pequeño efecto bloom.
English
Simple reshade preset to improve game color and lighting with a small bloom effect.
- Requirements
- Permissions and credits
Buenos dias/tardes/noches, este preset de reshade se instala de forma sencilla si nunca has probado reshade te dejare un pequeña guia de instalacion y como instalar mi preset. Si ya sabes como va todo el asunto a descargar y probar, solo te recomiendo que leas unas notas que dejare al final de las intrucciones con algunos puntos como que brillo del juego y la gama del propio reshade!.
Bien comencemos con la instalación de reshade la cual es en este link [https://reshade.me/], la versión que vamos a usar es la normal, no la versión con full-addon por el tema del multijugador. Después de la descarga lo ejecutamos y se abrirá así:

Seleccionamos Elden Ring y le damos Next, aparecerá en que API corre el juego automáticamente detecta que es DirectX 10/11/12 si no es así pues lo seleccionamos y le damos Next, lo dejamos asi. Ahora descargamos los archivos que estan en formato zip, los descomprimimos y nos quedara una carpeta reshade-shaders. Regresamos al ReShade que nos quedo de la siguiente manera:
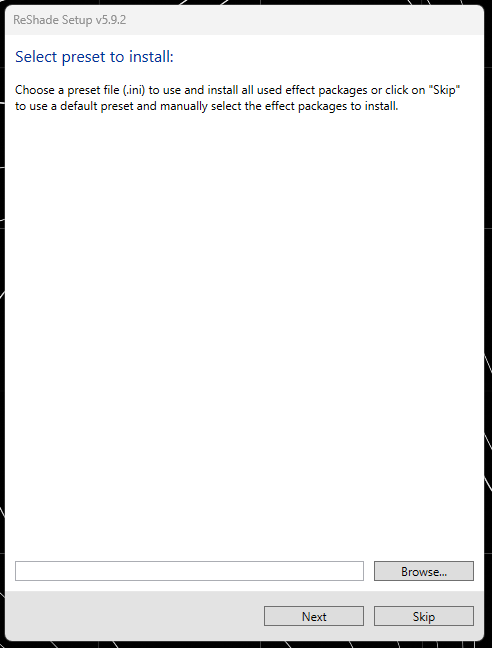
Aquí le vamos a dar Browse.. y nos vamos a buscar el archivo que se descomprimió en la carpeta reshade-shaders el cual tiene por nombre Martin.ini lo seleccionamos y damos abrir, despues le damos Next. Automáticamente nos seleccionara los efectos necesarios para que funcione bien a excepciona de uno que no viene en los shaders por defecto ahorita vemos eso. Nos quedara la siguiente pantalla:

Ya solo damos Next, se comenzara a instalar todo solo y damos Finish. Bueno eso es todo con el Reshade ahora vamos a instalar un shader que como comente no viene por defecto, hacemos lo siguiente. Vamos a la carpeta que descomprimimos reshade-shaders ahí tenemos la carpeta con el mismo nombre así:

La copiamos y la vamos pegar donde esta instalado el Elden Ring que suele ser el siguiente patrón de carpetas C:\Program Files (x86)\Steam\steamapps\common\ELDEN RING\Game aquí lo pegamos y listo. Abrimos el juego y automáticamente esta activado, en el recuadro le damos skip para que nos ponga el recuadro así:

Ya solamente le damos en Performance Mode que sale abajo y quedo listo.
Ya solo para terminar bajen o suban el brillo en el juego base por defecto mi juego esta en brillo 5 pero los monitores o tv son diferentes, así que muevan el brillo como a ustedes les parezca bien, es todo saludos.
English
Good morning/afternoon/evening, this reshade preset is installed easily. If you have never tried reshade before, I will leave you a small installation guide and how to install my preset. If you already know how everything works to download and try, I only recommend that you read some notes that I will leave at the end of the instructions with some points such as the brightness of the game and the gamma of the reshade itself!
Well, let’s start with the installation of reshade which is in this link [https://reshade.me/], the version we are going to use is the normal one, not the full-addon version due to multiplayer issues. After downloading it, we run it and it will open like this:

We select Elden Ring and click Next. It will automatically detect that the game runs on DirectX 10/11/12 API. If not, we select it and click Next. We leave it like that. Now we download the files that are in zip format, unzip them and we will have a reshade-shaders folder. We return to ReShade that we have left in the following way:

We will now give it a browse and look for the file that was decompressed in the reshade-shaders folder, which is named Martin.ini. We select it and click Open, then click Next. It will automatically select the necessary effects for it to work properly, except for one that is not included in the default shaders. We will see that now. We will be left with the following screen:

We just click Next, everything will start installing automatically and we click Finish. Well, that’s all with Reshade. Now we are going to install a shader that, as I mentioned earlier, is not included by default. Here’s what we do: We go to the folder where we decompressed reshade-shaders and there we have the folder with the same name:

We copy it and paste it where Elden Ring is installed, which is usually in the following folder pattern C:\Program Files (x86)\Steam\steamapps\common\ELDEN RING\Game. We paste it there and that’s it. We open the game and it is automatically activated. In the box, we click skip so that it puts us in this box:

Now we just click on Performance Mode at the bottom and we’re done.


