About this mod
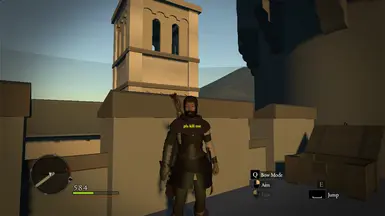
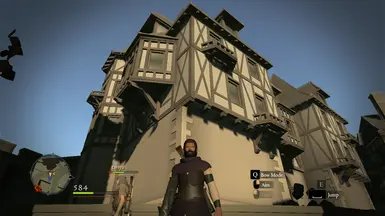
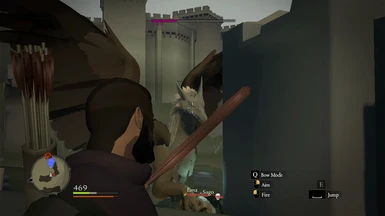
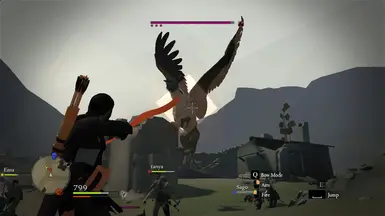
This is a GUIDE to increase performance and set the game's graphics to lowest possible level.
- Permissions and credits
(some of)These will only work for Nvidia Graphics Card users!
LOW ARISEN!
By - Aranorde
Contents
- What is this?
- How to Do?
- Media
- Credits
-i'll keep this short and straight-
Dragon's Dogma Dark Arisen was a good if not the best PC port from CAPCOM. One of very few games that i can play without sacrificing all the graphics/visual settings on my low-end PC. Since it seemed like a good port, I tried to increase the graphics and stumbled upon few settings / tweaks that turned out to be working for DD:DA. Then i started testing and ended up with these crazy results. So i thought of making a guide that might help those who do not have the time to search and find these things like i did, consider this as a small help from me to this awesome community. And also to help those who are having poor performance with the game due to hardware issues.
2. How to do?
NOTE - These are safe tweaks/changes but i do not take responsibility to any harm done to the game/PC, follow the instructions properly, its very easy!
This section is divided in to 3 parts,
2.1 : Requirements
2.2 : How to make it work
2.3 : Reverting back the changes.
2.1 Requirements
- Nvidia Inspector Tool [Download]
- The DirectX file, Download from the files section here at nexus.
2.2 How to make it work
NOTE : You can do Step 1,2 & 3 to increase performance and ignore Step 4 if you want to keep the "graphics" with you. AMD users can also do the first 3 steps and ignore step-4 to get performance.
Step 1 - "CUSTOM RESOLUTION" This is pretty standard and most of you already know how to set it up, but i'll explain to help new comers too, if you know this then skip to "Step-2" or If you are perfectly fine with the current resolution you are playing on, then you can skip to "Step-2" too.
Nvidia Users:
- Right Click on Desktop > NVIDIA Control Panel > Display > Change resolution > Hit the "Customize" Button, if it is greyed out then click on the current resolution from the "Resolution:" box, it will become accessible.
- Click on "Create Custom resolution", if any warning message came click OK/Accept. Select a resolution that suites your Monitor's Aspect Ratio and set them to height and width (for example - 16:9 users can set 1024x576 or 960x540). They must maintain the ratio. More details can be found online or by clicking [here] for 16:9 monitors (select any lower-resolution which says "Yes" in green)
- Sometimes you might get black-borders while playing, to prevent it go to "Adjust desktop size and position" under same "Display" settings, and set the "Scaling:" to "full-screen".
Others: Since i do not own AMD cards / Intel Chip-set based PCs, i can not provide precise steps for these but i can guarantee that similar settings can be done! So please google for those (Can be done easily, no big deal :D )
Step 2- "THE CONFIG " Since the guide is about making the game's graphics low as possible, its better to set all the in-game settings to Low/Off as possible and exit the game. (This will generate the config.ini file if you are launching the game for the first time or will change the settings to lowest.)
Now, change the config.ini's content as directed below, (location - C:\Users\user\AppData\Local\CAPCOM\DRAGONS DOGMA DARK ARISEN)
[SOUNDS]
SeVoiceNum=96 (Change it from 128 to 96)
[CPU]
[Experimental - May or May not work]
JobThread=4 (Will be n-1 where n=no.of functional threads by default, Change it to utilize all the threads, switch it back and run Benchmarks to confirm, as it seems to do nothing for some users). To find the thread count, Go to Task Manager > Performance Tab > CPU to find the number of logical processors you have.
(Add this section if you are having stretching/black-borders even after changing the resolution as mentioned above. / mostly wont work)
[Window]
MainX=0
MainY=0
Add these lines under the [GRAPHICS] section if they are not there,
TextureMipLimite=2
TextureMipLimit=2
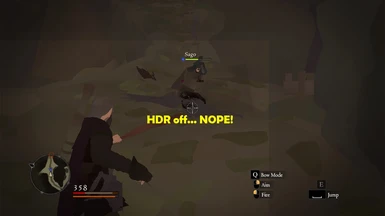
NOTE : You can change the HDR="DEFAULT" to "NONE", i do not recommend it. HDR is tied with shaders and bump-maps of textures so it will be extremely unplayable.
- Save the config.ini and make it read-only! Just in case.
Step 3 - "THE WEIRD .DLL", DD:DA was built on MT Framework game engine, same as Resident Evil: Revelations 2. While searching for similar tweaks, a Steam [post] by user Zeikar recommended using this file for RE:Revelations 2.
- To use it, simply paste the downloaded "d3d9.dll" file to the directory where "DDDA.exe" is located. That's it. (I've provided the file through nexus too. [or from here])
- Usual Location - C:\Program Files(x86)\Steam\steamapps\common\DDDA
NOTE : Upon using the .dll i have found out that it does not improve performance overall, but when in-game fighting with lot of visual effects present on screen (like intense spell casting and stuff) it tends to stabilize the performance a bit. Such scenario would be, when fighting against "Drake"... its fire effect, your mage-pawn's healing effect, drake landed right in front of you so the sand effect and other visual effects may appear on your screen all at the same time and might cause your FPS to drop, during such cases the .dll file kinda improved my performance. (Improved FPS by 5-10)
More details on this file can be found [here].
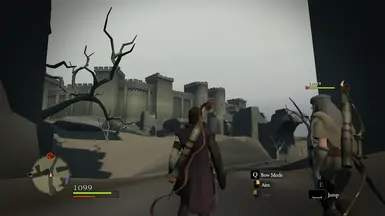
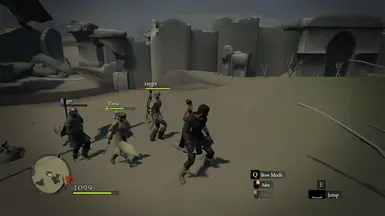
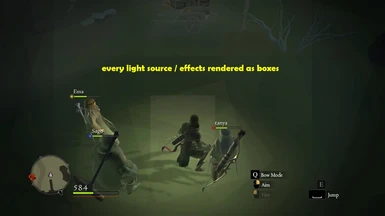
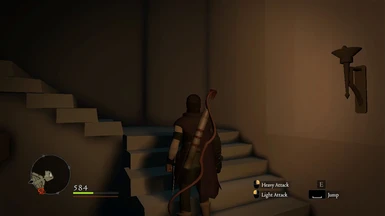
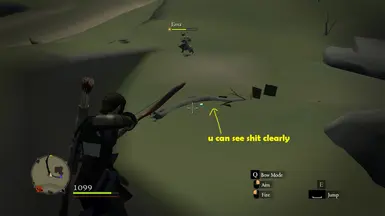
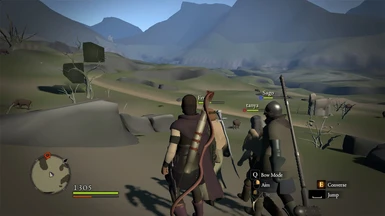
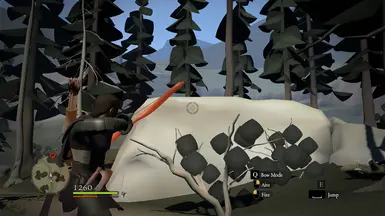
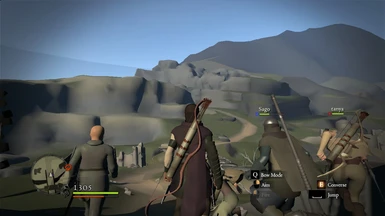
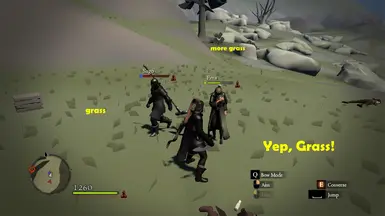
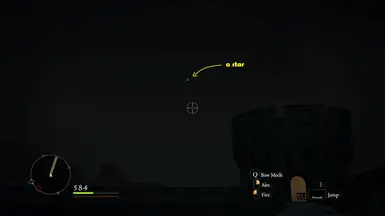
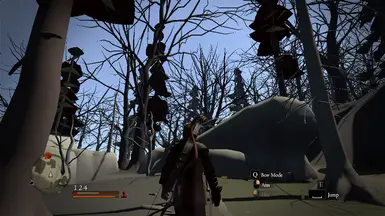
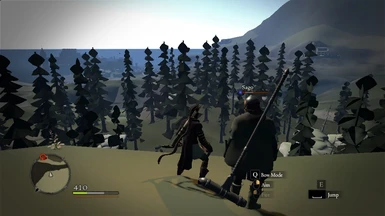
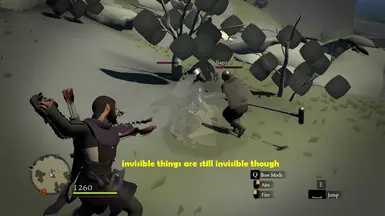
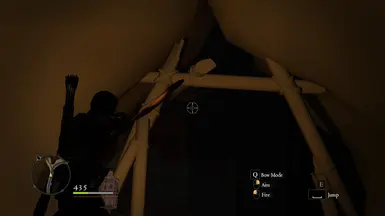
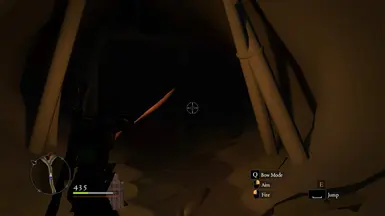
Step 4 - "NVIDIA TRICK" Nvidia inspector is a must-have to all the Nvidia users IMO, it helps you to further customize your game beyond what was provided by the game itself. And it is the most important tool in the guide to achieve what you are looking at in the images.
NOTE : Follow the steps properly.
- Launch the Nvidia Inspector, Click on the small Nvidia Logo next to the "Driver Version" row. It will open up the Nvidia profile inspector.
- At the very top, click on the text box near the "Profiles :" label and type "Dragon's Dogma: Dark Arisen", the game will show up select it.
- Scroll Down to "Anti-Aliasing" section, under that section select the box near the "Antialiasing - Transparency Supersampling".
- It will be mostly "Off / Multisampling", change it to "0x00000008 AA_MODE_REPLAY_MODE_ALL" .
- Scroll Down to "Texture Filtering" section, under that section select "Texture filtering - LOD Bias (DX)".
- It will be "0.0000", we need to set it to something like 9, so copy and paste this 0x00000078 there.
- Now apply and Close the Nvidia Inspector, next time when you play the game you will see the difference.
Thanks to [this old forum post], and reddit user ModifiedFootage for the screens on an overwatch subreddit post.
That's it, 4 simple steps to ugliness-on-screen!
Step 5 - "AMD RSR" This will help you get more FPS if you have supported hardware (AMD RX 5000+ and supported APUs)
- Launch the AMD Software: Adrenalin Edition, You can do this by right-clicking anywhere on your desktop and choosing AMD Radeon Software.
- Once you’re in the AMD Software: Adrenalin Edition, find and click on the Gaming section at the top of the window.
- Inside the Gaming section, you’ll see Dragons Dogma, Click on it to access various graphics settings.
- Locate the AMD Radeon™ Super Resolution (RSR) Option.
- Next to AMD Radeon™ Super Resolution (RSR), there’s a toggle switch. Click on it to turn it on. When it’s on, the switch will be highlighted.
- Adjust Sharpness according to your liking!
After turning on RSR, don’t forget to save your changes. Look for the Apply button, usually at the top right corner of the window, and click on it.
2.3 Reverting back the changes/Uninstall
Simply delete the .dll file, change the Nvidia Inspector Settings to the default values and remove/change the lines in config file. Also simply click the red "x" next to the custom resolution you have created (appears in a window when you click customize button as mentioned above)
This is a video i recorded to show the changes in action on my channel, check it out.
You can check my specs and other details in the video's description.
Pixarisen! (Dragon's Dogma Dark Arisen Pixar Mod)
Thanks CAPCOM for making this masterpiece and even porting it to PC after years of Launch!
Microsoft for the DirectX API
Thanks to all the users that i linked above in the steps.
Thanks to nexus for making modding/these kinda stuff easy.
And to anyone who supported me.


