


0 of 0
File information
Created by
cdozdil end Artur GraniszewskiUploaded by
velasquez3589Virus scan
Safe to use
I made a specific page for the mod where it is easier to bring updates and be able to follow with support for FSR4 and xess 2.1
dlss-to-fsr4 (brings support for FSR3.1.3 -4-XESS2-1 and more)
Step-by-step guide on how to activate the frame generator
If you liked it, endorse us, it cheers us up a lot!dlss-to-fsr4 (brings support for FSR3.1.3 -4-XESS2-1 and more)
Step-by-step guide on how to activate the frame generator
First Step: Download Necessary Files
- Download the Mod:
- Download the DLSS Enabler andFSR update para 3.1.2
- Download the DLSS Enabler andFSR update para 3.1.2
- Nexus Mods.https://www.nexusmods.com/site/mods/757
- If you have errors with your game's DLSS, WHICH is not active, use this option. -> DLSS
- https://www.nexusmods.com/cyberpunk2077/mods/14726
disable the game's raytracing so the mod can work
- Locate the Game’s Root Directory:
- Open the game’s root folder and copy the path where the files and
.exeare located. - Example:
D:\SteamLibrary\steamapps\common\Dragon Age The Veilguard.
- Open the game’s root folder and copy the path where the files and
- Open DLSS Enabler:
- Open the DLSS Enabler and accept the terms.
- Paste the path or find the game’s root directory.
- Choose the Correct Option:
- If you have a Nvidia GPU (RTX or GTX), use one of these two options:
- Option 1:
version - Option 2:
winmm.
- Option 1:
- If you have a Nvidia GPU (RTX or GTX), use one of these two options:
- Install the Mod:
- Click on "Next" and continue with the mod installation in the game.
- Remember to uncheck the last box to finalize.
- Choose the Correct Option:
- Follow the same process until you reach the "install main DLSS enabler" option.
- You can choose the same options:
- Option 1:
version - Option 2:
winmm.
- Option 1:
- I recommend using the option:
DXGI(better for AMD).
- Enable Support for AMD and Intel:
- Enable the "enable support for AMD AND INTEL" option (DO NOT USE FOR NVIDIA CARDS).
- This will make it work for AMD and Intel.
- Finalize Installation:
- Click on "Next" and finish.
- Remember to uncheck the box to avoid seeing additional information.
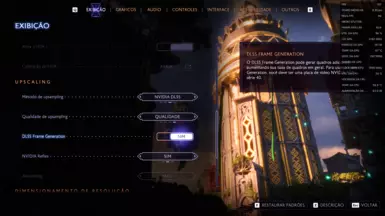
- Open Your Game Normally:
- After starting your game, go to the configuration settings and select DLSS.
- For AMD and Intel users, the DLSS option is just a fake activation to enable the mod.
- Select the Upscaler:
- After choosing DLSS, start your game normally.
- In the game, press
Insertto choose the upscaler. - Apply the upscaler and press
Insertagain to close the menu.
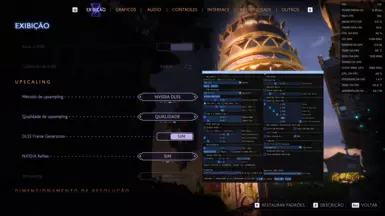
- Adjust In-Game Settings:
- Open your game menu and disable V-Sync.
- Enable Nvidia Reflex low latency (for AMD and Intel, there will be support for AL2 and Reflex API).
- Enable Frame Generator:
- Go to the frame generator option and enable it.
- Return to the game and see the magic happen.
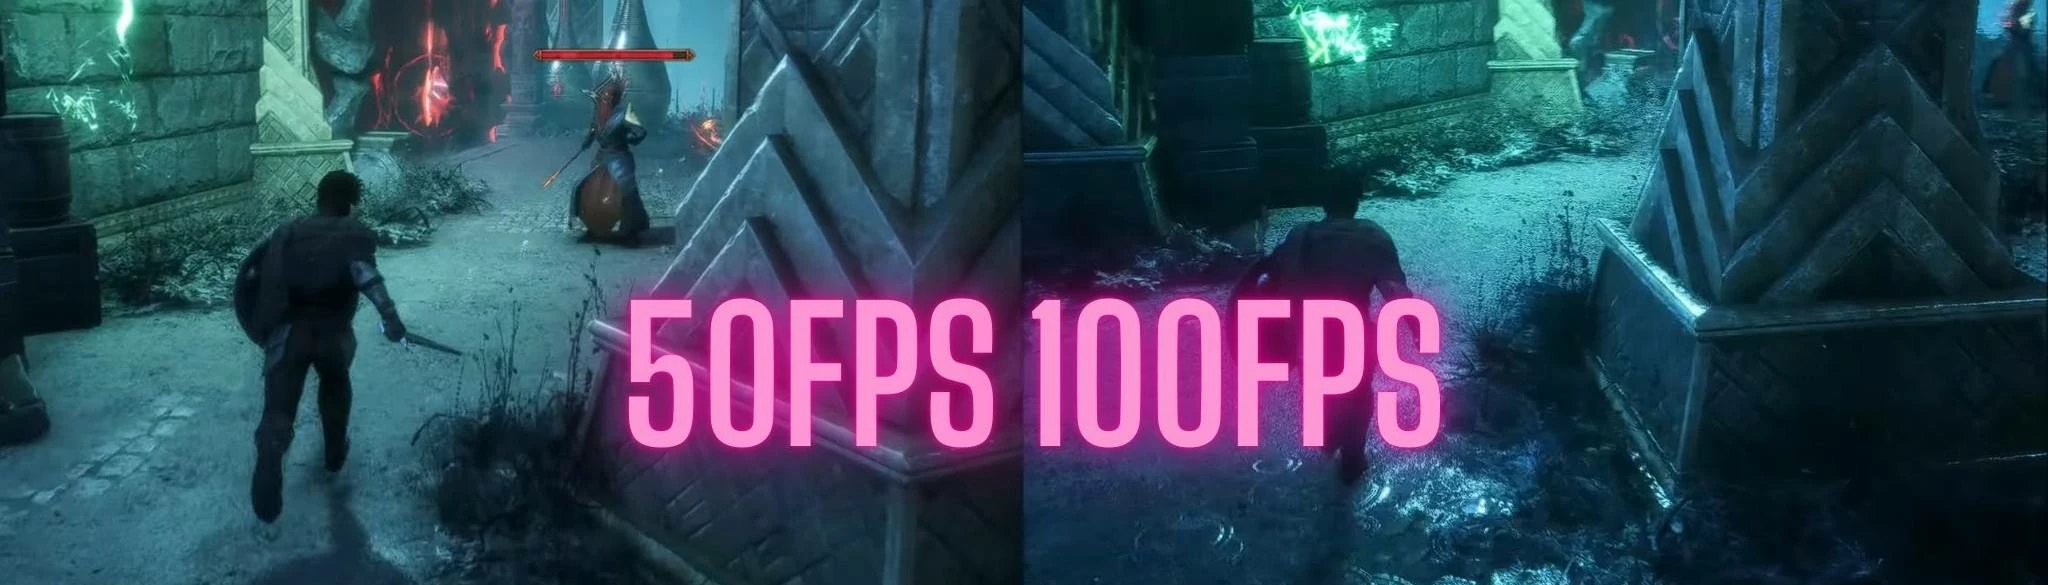
- If you encounter issues with the character, this has been reported to the mod creators. You can lock your game's FPS to half of your monitor's refresh rate (e.g., 144Hz -> 71 FPS) to improve performance until an official update or fix is released.
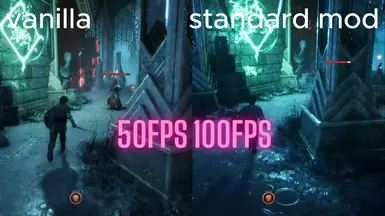
see my other mod for the game: Dragon Age The Veilguard color improvements and made shadows more realistic
https://www.nexusmods.com/dragonagetheveilguard/mods/249