


0 of 0


About this mod
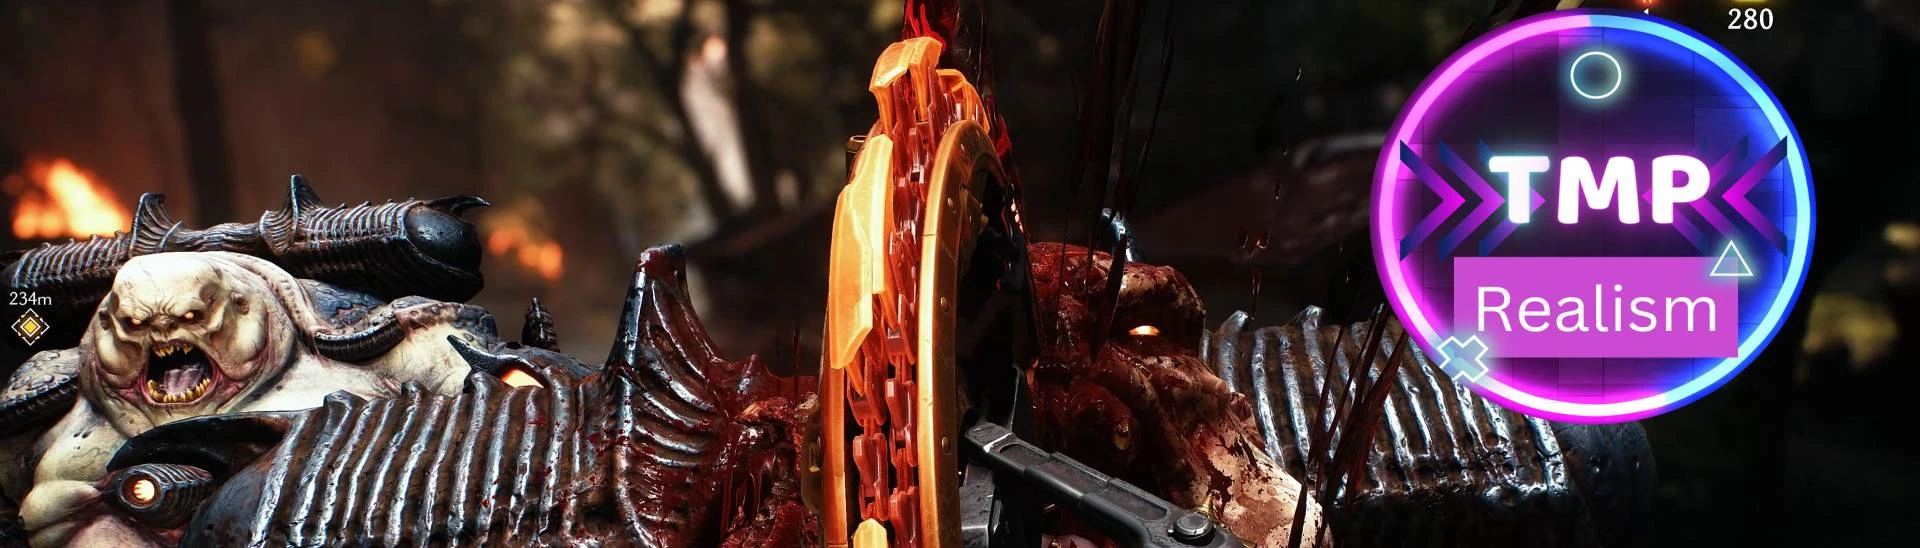
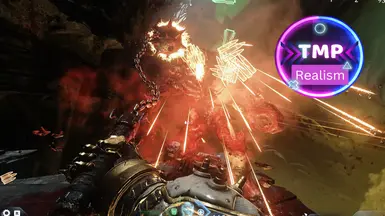
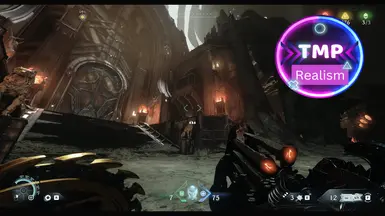
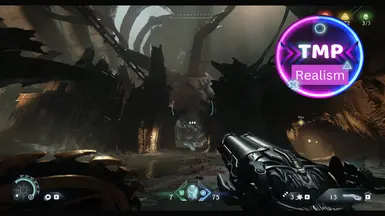
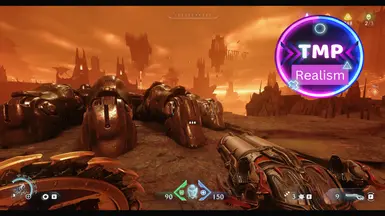
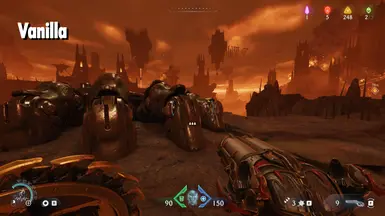
Ironclad Clarity: Reshade - Premium Edition sharpens every detail, enhances contrast, and brightens your path through the infernal battlefield. This preset brings a razor-sharp, high-definition look to Doom: The Dark Ages, making every demon, dungeon, and drop of blood pop with vivid intensity.
- Requirements
- Permissions and credits
Step into the dark ages with brutal clarity. Ironclad Clarity: Reshade - Premium Edition sharpens every detail, enhances contrast, and brightens your path through the infernal battlefield. This preset brings a razor-sharp, high-definition look to Doom: The Dark Ages, making every demon, dungeon, and drop of blood pop with vivid intensity.
⚔️ Features:
Instructions:
To install ReShade presets, follow these general steps. ReShade is a post-processing injector primarily used to enhance visuals in video games or applications like emulators and simulators.
✅ Step-by-Step Guide to Install ReShade Presets1. Install ReShadeIf you haven’t already:
3. Install the Preset File
⚔️ Features:
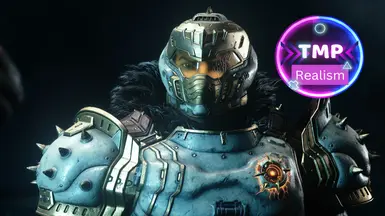
- Crystal-clear sharpness without over-sharpening artifacts
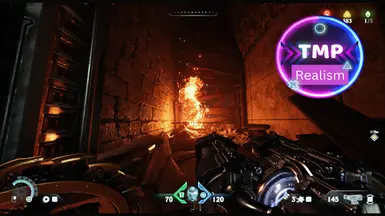
- Bold contrast that deepens shadows and highlights brutality
- Subtle brightness boost to enhance visibility in dark, oppressive environments
- Maintains the gritty, medieval tone of the game while adding a modern visual punch
Instructions:
To install ReShade presets, follow these general steps. ReShade is a post-processing injector primarily used to enhance visuals in video games or applications like emulators and simulators.
✅ Step-by-Step Guide to Install ReShade Presets1. Install ReShadeIf you haven’t already:
- Go to the official site: https://reshade.me
- Download the installer.
- Launch the installer.
- Select the game or executable you want to apply ReShade to.
- Choose the correct rendering API (Vulkan).
- When prompted, install all effects.
3. Install the Preset File
- Locate your game directory, where the game .exe is,
- Drop the preset ".ini" file into the same folder as the game executable.
- Example:
C:\Games\YourGameFolder\preset_name.ini
- Example:
- Launch the game.
- Press "HOME" in older versions) to open the ReShade menu.
- The first time, it will run a tutorial — you can skip it.
- In the drop-down at the top, select my preset file.
- Done! You can toggle individual effects and tweak them live.