About this mod
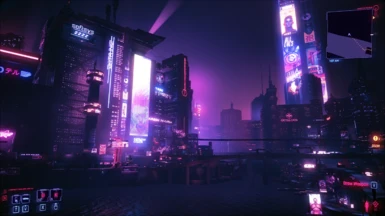
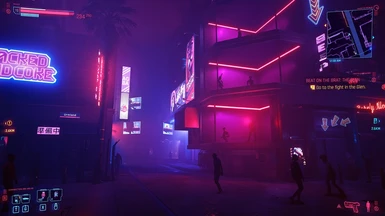
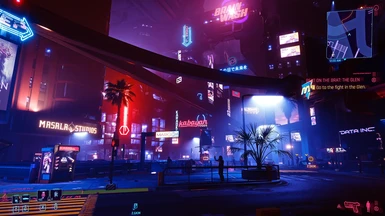
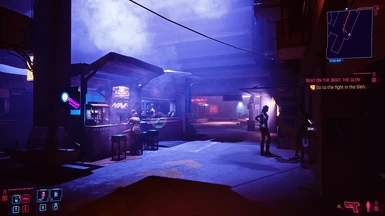
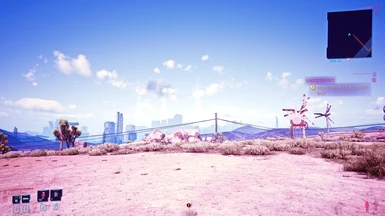
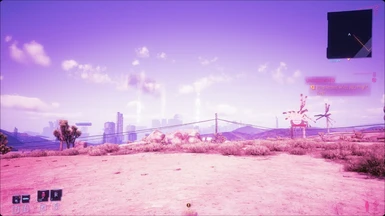
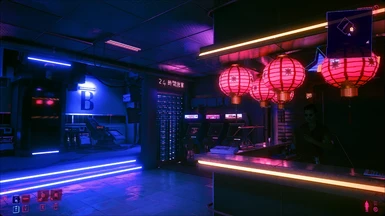
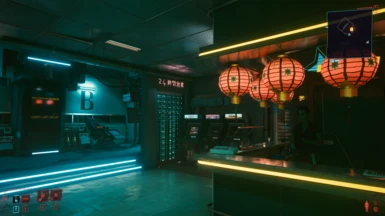
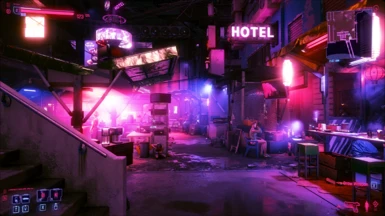
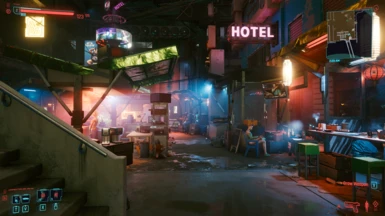
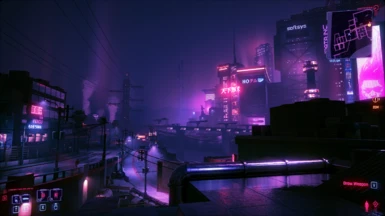
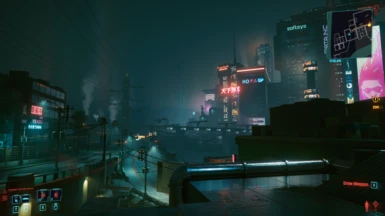
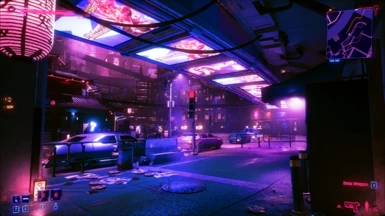
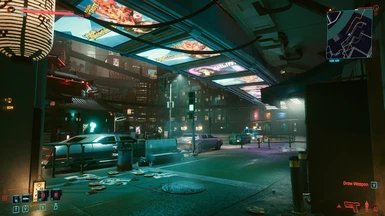
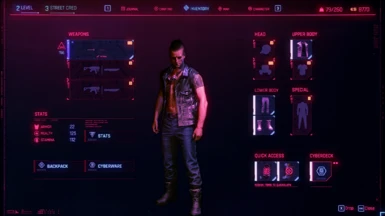
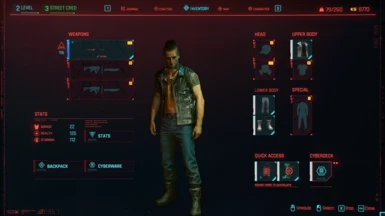
This is a ReShade preset that gives the game a more of a synthwave look.
- Requirements
- Permissions and credits
Update 03/20/21 - optional file Synthwave 2077 2.0 added
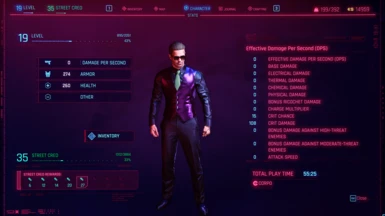
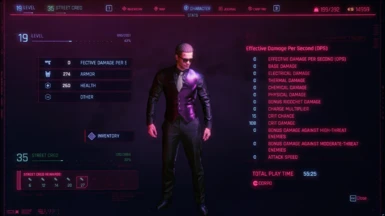
The original Synthwave 2077 reshade preset was a bit too pink for my tastes and was admittedly more of a novelty preset intended for screenshots or temporary use. I changed it to make it more fit for constant use. The scanlines have been removed and I modified the overall hue so there's not quite as much pepto-bismol and a little more blue. I really dig the result and I hope you do too.
- Note: Newer versions of ReShade need to have all packages except for the Depth3D, OtisFX, and fubax packages installed. The Clarity shader will still exist in duplicate so you will need to either disable one of them from the in-game ReShade menu or delete the extra fx file found here: (Steam\steamapps\common\Cyberpunk 2077\bin\x64\reshade-shaders\Shaders\Clarity.fx)
Installation
1. This mod requires the reshade program. If you already have reshade installed then skip to step 2. If you don't have it installed for Cyberpunk then all you need to do is visit https://reshade.me/ and download the executable. Run the exe, click the big button to select a game, and navigate to wherever your Cyberpunk2077.exe is installed and select it. Then click on Direct3D 10/11/12 and check all the boxes on the next screen. ReShade will then start to install a bunch of shaders but a lot of them are unchecked. Be sure to check every box.
2. This mod contains both the normal and lite ReShade ini files. Simply extract those files into your game directory. For me, that directory is: Steam\steamapps\common\Cyberpunk 2077\bin\x64.
3. Run the game. If you've installed reshade properly, you should see a menu pop up once the game starts running, letting you know it's installed. Go through the tutorial or skip it.
4. On the ReShade window, click on the dropdown at the top (if the menu is hidden hit the home key to bring it up again). You should see both Synthwave 2077 and Synthwave 2077 lite in the list of files in the dropdown. Select one of them, hit the home key again to hide the menu, and you're all set. You can change to the other preset by using the same steps.
Feel free to open the menu up again and tweak the settings if you want. ReShade is a lot of fun to mess around with.
Note: Steam won't open the correct game file by default. You will need to run the Cyberpunk2077.exe file found in the \bin\x64 directory if you want to use ReShade. The good news opening the game from this directory will bypass the CD Projekt Red launcher altogether. I recommend adding a shortcut for easier access.


