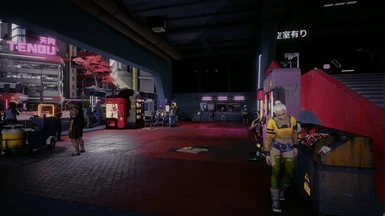
About this mod
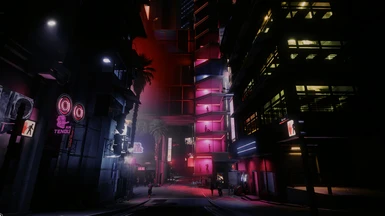
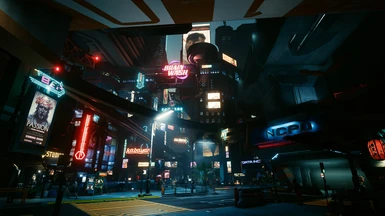
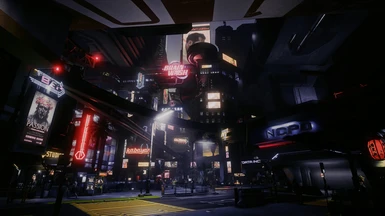
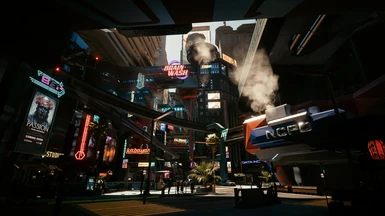
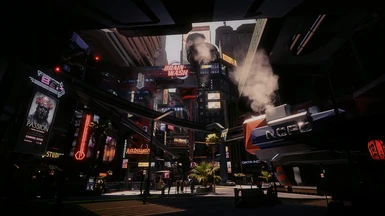
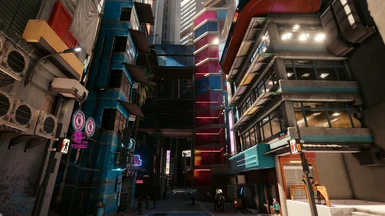
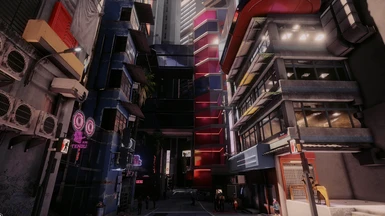
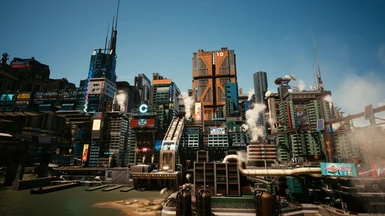
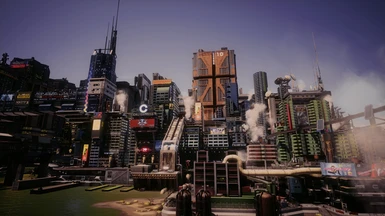
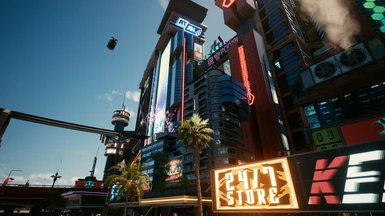
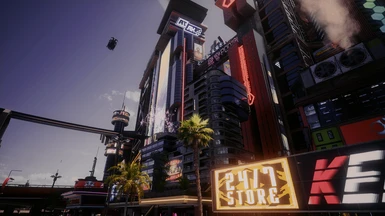
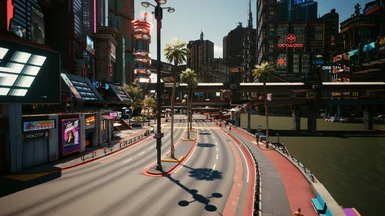
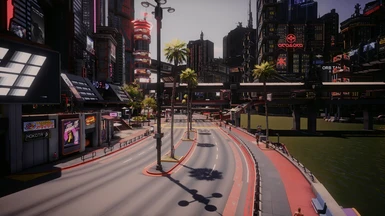
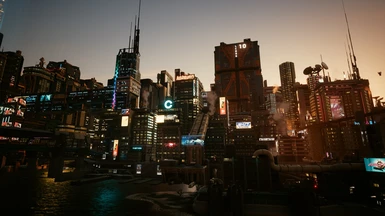
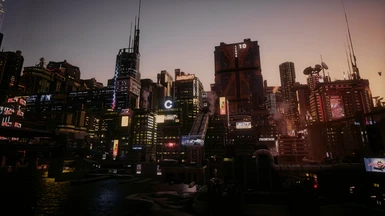
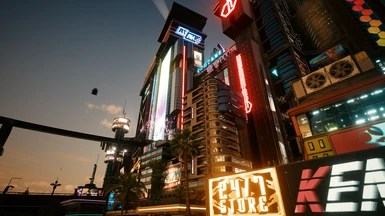
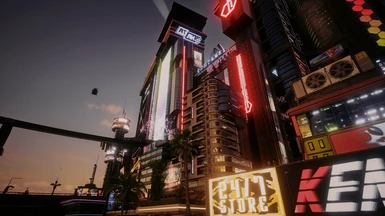
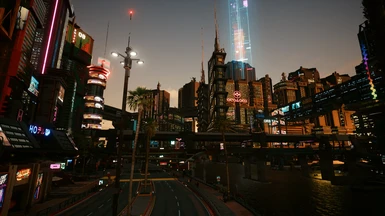
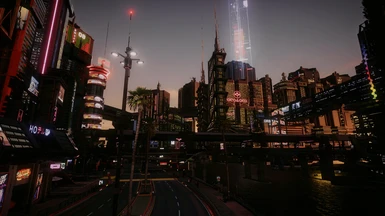
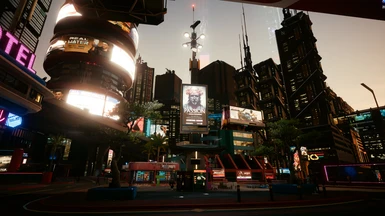
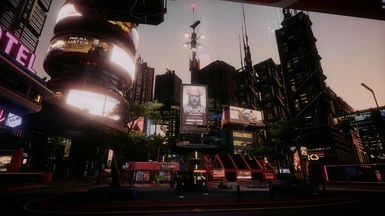
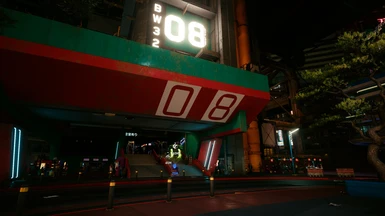
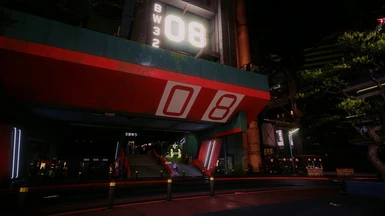
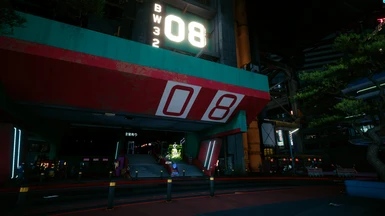
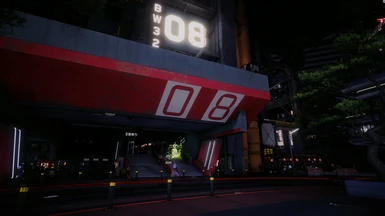
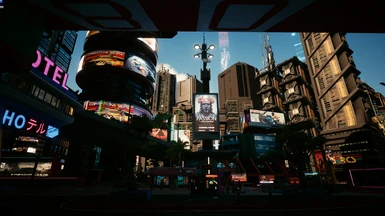
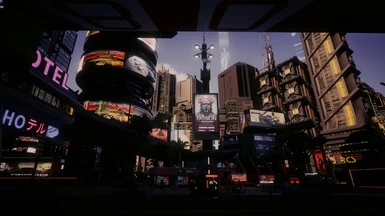
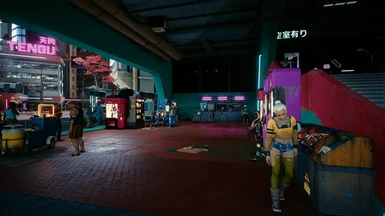
New Shaders I've been working on.
Nothing extreme, mostly color correction to suit my needs.
- Requirements
- Permissions and credits
- Changelogs

Settings I use for the monitor are pretty default ones.
FPS Mode, 80 Brightness, 50 Saturation, 50 Contrast, Color Temp Normal.
In game I use Gamma Setting of 1.32.
These shaders do not use effects that steal that much performance.
I see ~5-7FPS drop on heavy situations.
I am running AMD Ryzen 5 1600 & GTX1080 with 16GB RAM.
Generally My Graphic Settings are ~Medium with some settings set to high or off.
I also use E3 2018 lighting, so it might have some effect on the overall look.
I do not disable TAA anti-aliasing from CET menu or otherwise. The blur that TAA
adds doesn't bother me too much, but the added Luma Sharpen of the Shader should counter any blurriness a bit.
I did try unique approaches (HQAA, HQAALite, FXAA, SMAA) with disabled TAA, but nothing really worked well on 2560x1440.
If you have 4K monitor the jagged edges that disabling TAA gives might be less of an issue.
To add to this, if you are using a 4K monitor you might have a better experience disabling TAA.
If you do, then I would suggest to take a look at Lordbean's HQAA, Lite version specifically.
This from my experience have been the best AA solutions without introducing too much blur.
Just drop the shader files into ...\reshade-shaders\Shaders
And drop the 2 texture files into ...\reshade-shaders\Textures
Setting the value to Medium on HQAALite within ReShade menu should give the best look without sacrificing performance or introducing blur.
OVERVIEW
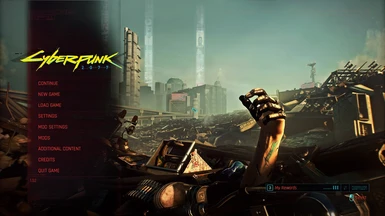
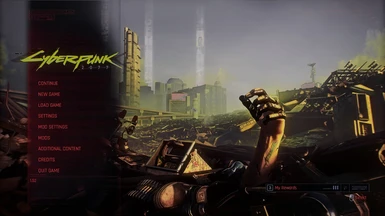
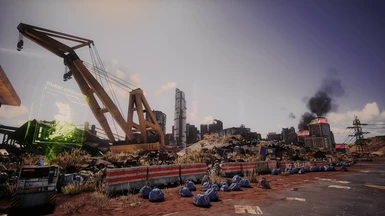
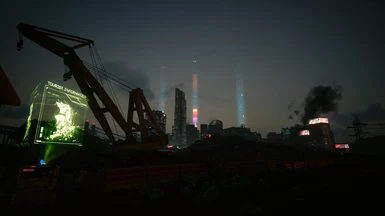
I mainly tried to focus on color accuracy and try and take away the green and blue hues off of everything as much as possible.
This is why I use multiple different coloring effects to target specific colors, ranges and hues.
There were several key aspects I wanted to target.
1. I wanted the Green Hue gone.
2. I wanted concrete and asphalt reduce the blue hue and keep grey colors grey.
3. I wanted -some- vibrancy on colors, but not too much.
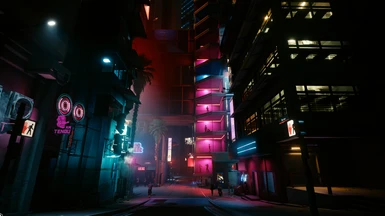
4. I wanted the colors of Blue, Red, Yellow, Magenta & Grey to actually be those colors.
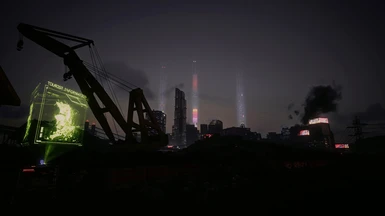
5. I wanted dark areas and shadows to look black, not green.
6. Magenta hue begone!
...Just to name a few.
And I think I did an ok job at these.
The shaders also add some LumaSharpen & Eye Adaptation which I think are subtle enough to not be straining to the eyes.
Could this same effect be done with 2 shader effects? Maybe...
I don't know that much about ReShade.
KNOWN FLAWS
But luckily there aren't too many spots like this.
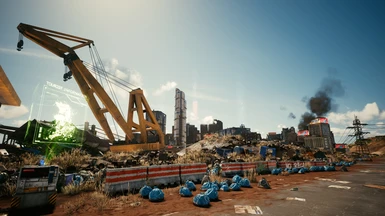
(As of now, the Bad Lands, especially the junkyard looks horrible imo, but it looks horrible without shaders too.
I might look into LUT's that change on area, but no promises.)
The current build I think takes a better approach at tackling hue on many more situations.
Night time will still look a little blue, but it's way more subtle now and day time has a good balance of
looking bright, having some yellow tint where needed, but not too much to effect the color of concrete, which I tried to keep grey.
1. Most likely isn't going to look good on HDR monitors.
2. Because of how the game's LUT works, scenes with alot of one singular color might be either over saturated or grey as a graveyard. (Can't do much about this unless someone makes a mod that removes the in-game LUT files)
INSTALLATION
1. Install ReShade 4.9.1 as you would normally.
2. Choose your Cyberpunk2077.exe in ...\steamapps\common\Cyberpunk 2077\bin\x64
3. Choose option DirectX 10/11/12
4. Installer might ask for a preset, skip this for now.
5. From the effects you want to choose the following packs:

Alternatively you can just select all if you want.
6. If you chose only the specific packs, the installer will ask which specific effects to install.
Here is the list of effects you should choose:

7. Head over to Debbie ReShade and download the "ReShade 4.9.1.1003 Debbie" file.
(This is optional, but current default ReShade doesn't work well if you want to play with Ambient Occlusion like MXAO in CP77!)
8. Rename the ReShade64.dll file into dxgi.dll and drop it next to;
Cyberpunk2077.exe in ...\steamapps\common\Cyberpunk 2077\bin\x64
9. Download the file from this mod-page main files.
And drop the .ini file inside the .rar next to the
Cyberpunk2077.exe in ...\steamapps\common\Cyberpunk 2077\bin\x64
10. Launch the game.
Once in the main menu, press HOME on your keyboard.
Go through the ReShade tutorial.
11. From the preset dropdown list choose; Braindanshaders.ini
12. ENJOY!
13 (Extra). If you did decide to get HQAA files (& using a 4K monitor & have TAA disabled), enable HQAALite in the ReShade menu and set the preset to "Medium"
Also consider Disabling Luma Sharpen,
since it's purpose is to reduce blur that TAA introduces.
Will try to update mod-page as needed.
No promises though.


