


0 of 0


About this mod
A tutorial for weather and lut modders to get the best out of their mods.
-Photoshop required- (For Advanced Users.)
- Permissions and credits

A complete color management solution
geared towards motion picture production with an emphasis on visual effects and computer animation.
AgX - Display Rendering Transform
A step by step tutorial to give your mods
the final visual touch.
For experienced modders who know how to edit the "luts" and "Weather" in Cyberpunk 2077.
1) Download the OCIO plugin for Photoshop, and extract
the plugin to the Photoshop plugin folder.
Click Me!
2) Download AgX for OCIO, and extract the content
of the OCIO folder into your Photoshop plugin folder.
Click Me!
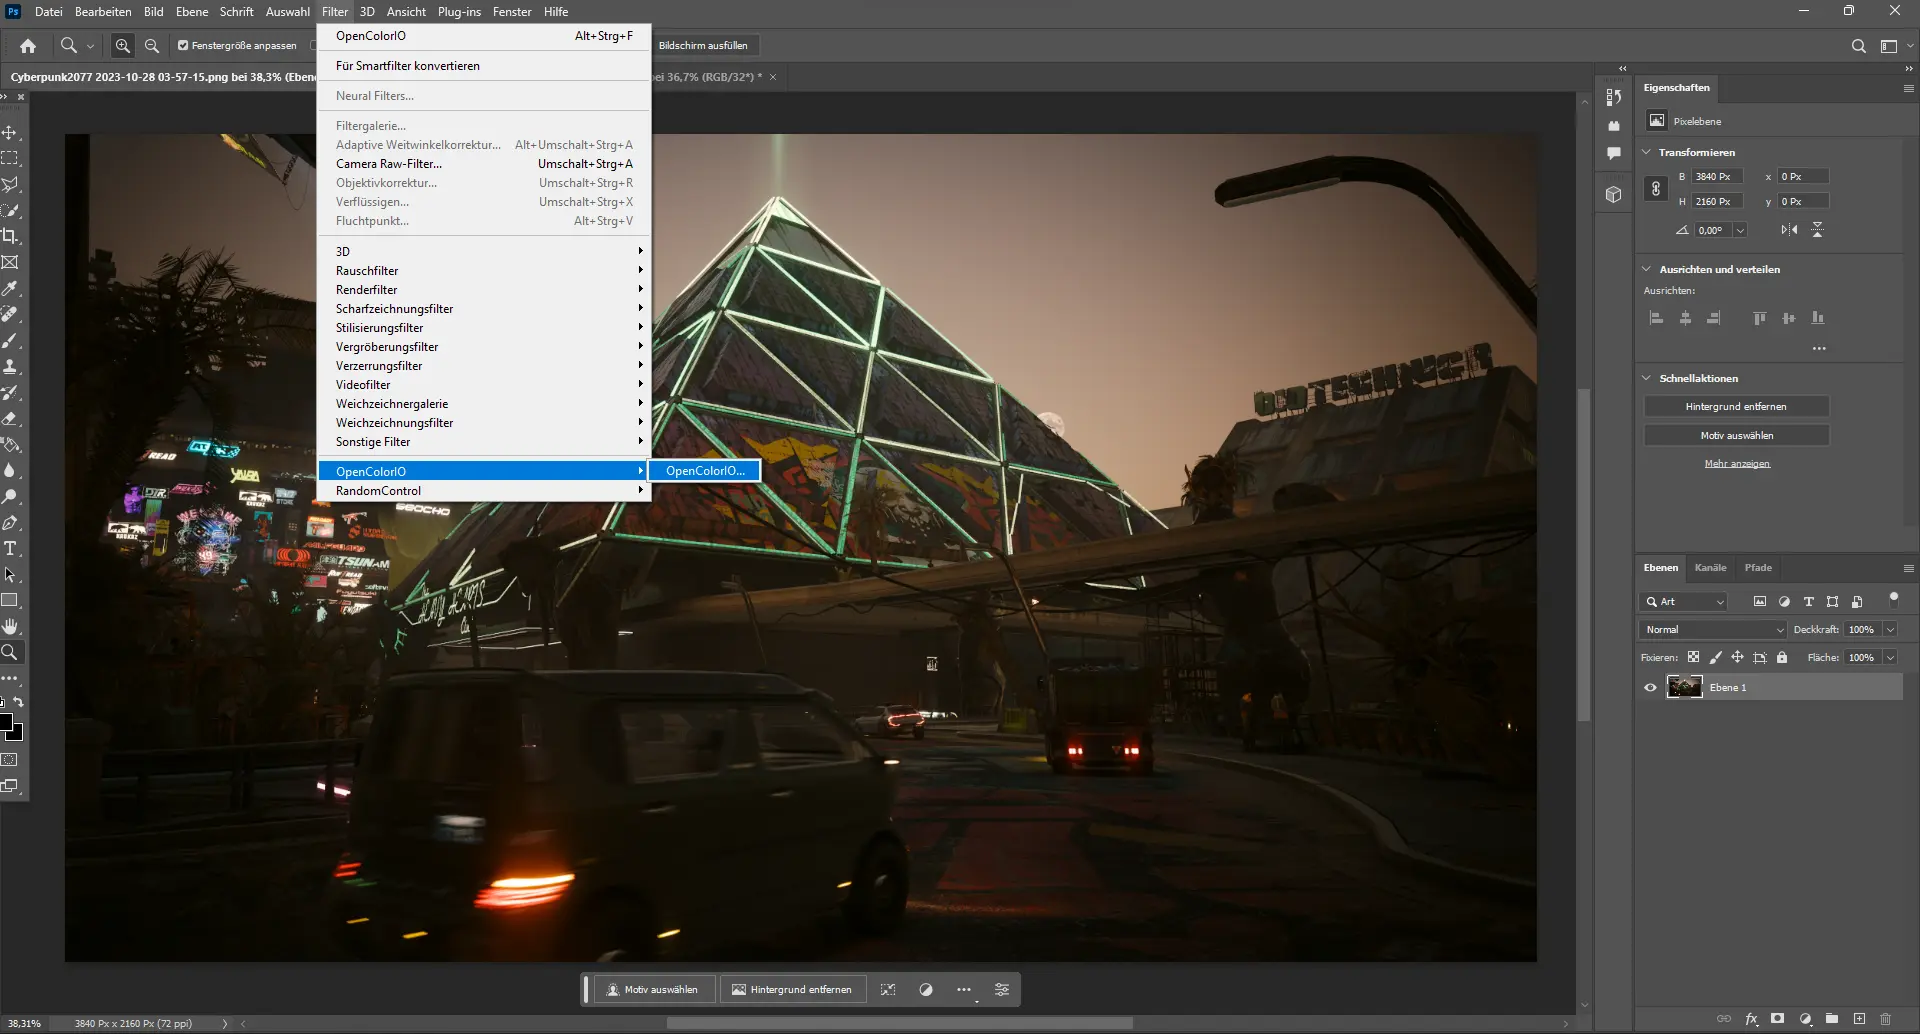
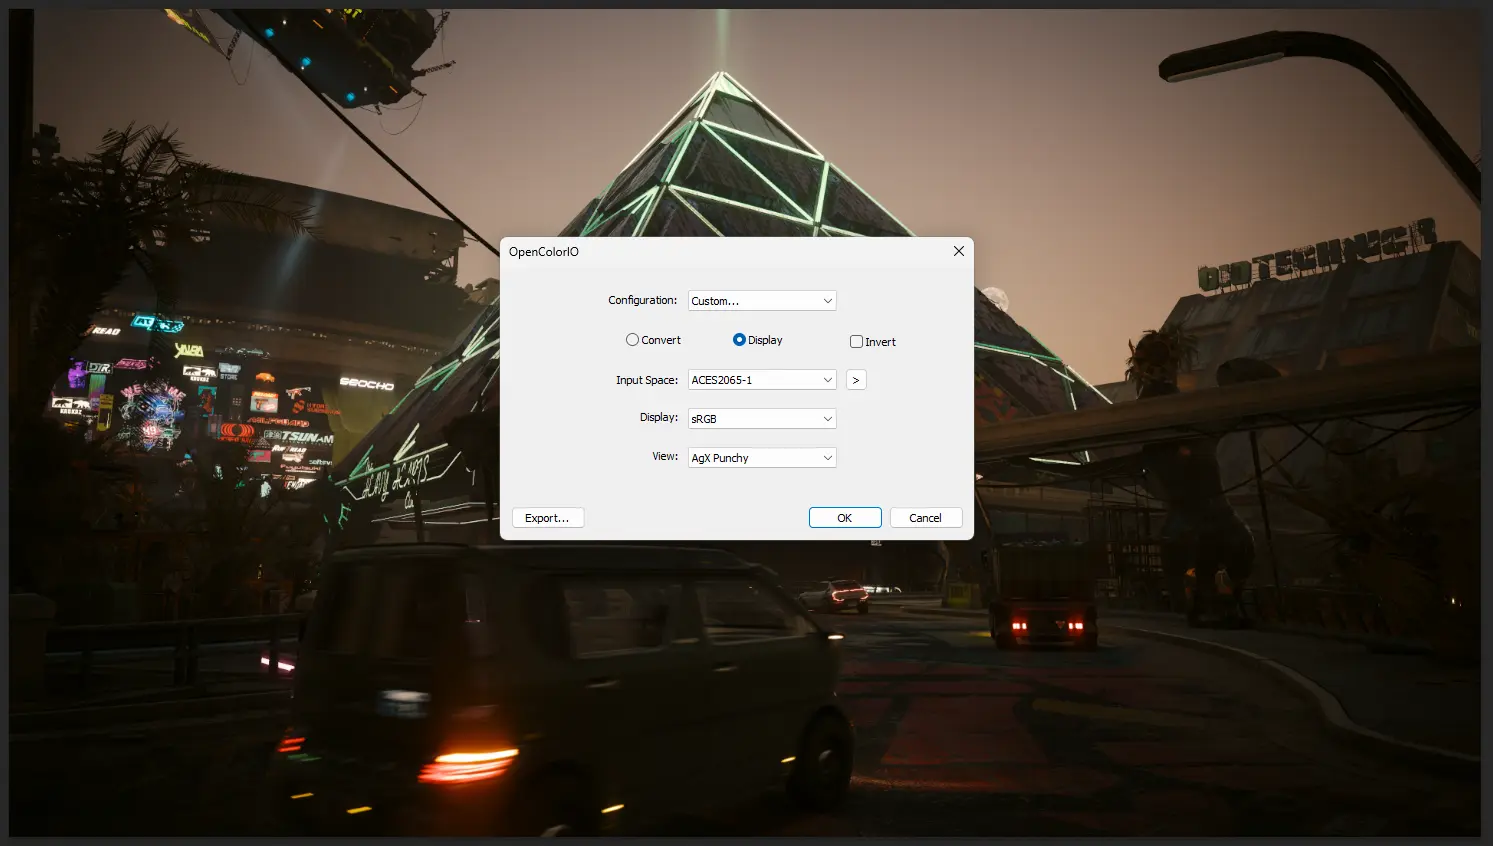
3) Open your screenshot in Photoshop, and convert it to 32 bit color space. Then select the OCIO plugin from the filters.
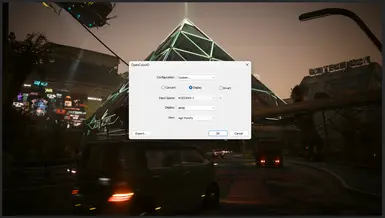
4) Under Configuration, select Custom, then go to your Photoshop Plugin folder, and select the file "config.ocio".
4) Now select "Convert" or "Display". As -input space- choose "ACES", and
as -View- AgX. Then press OK to apply it to your screenshot, this is just for preview, to see what you like best. If you want to apply it to the CyberPunk 2077 "Lut", select "Export". It will then export it as a "Lut", which you can then apply to the Cyberpunk 2077 "Lut". If you choose "Convert", you have to choose "ACES" as -Input Space- and "AgX" as -Output Space-.
When you open the "Cyberpunk 2077" "Lut "s in Photoshop,
select the "Embedded Color Profile.
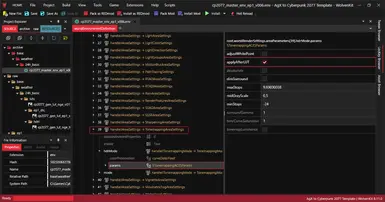
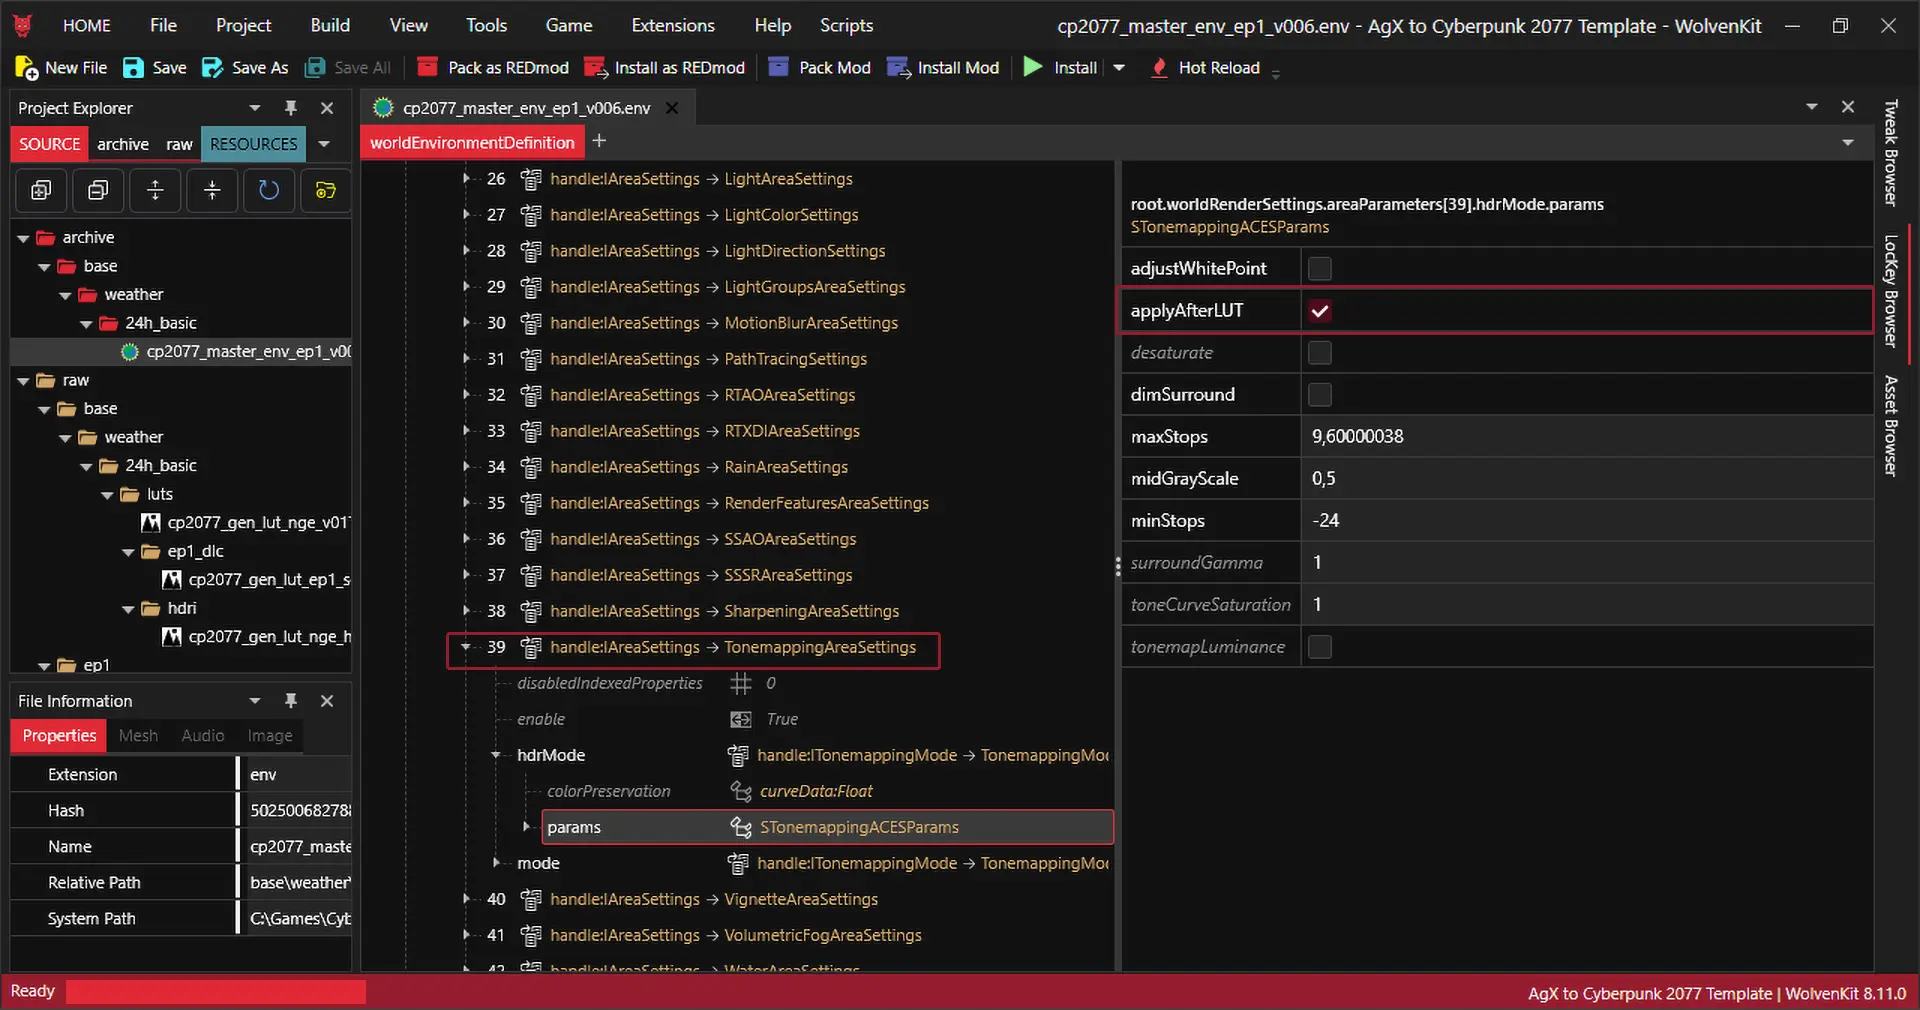
5) In each important "Weather.env" file, in the "TonemappingAreaSettings" -> "STonemappingACESParams", disable the "applyAfterLUT" button.
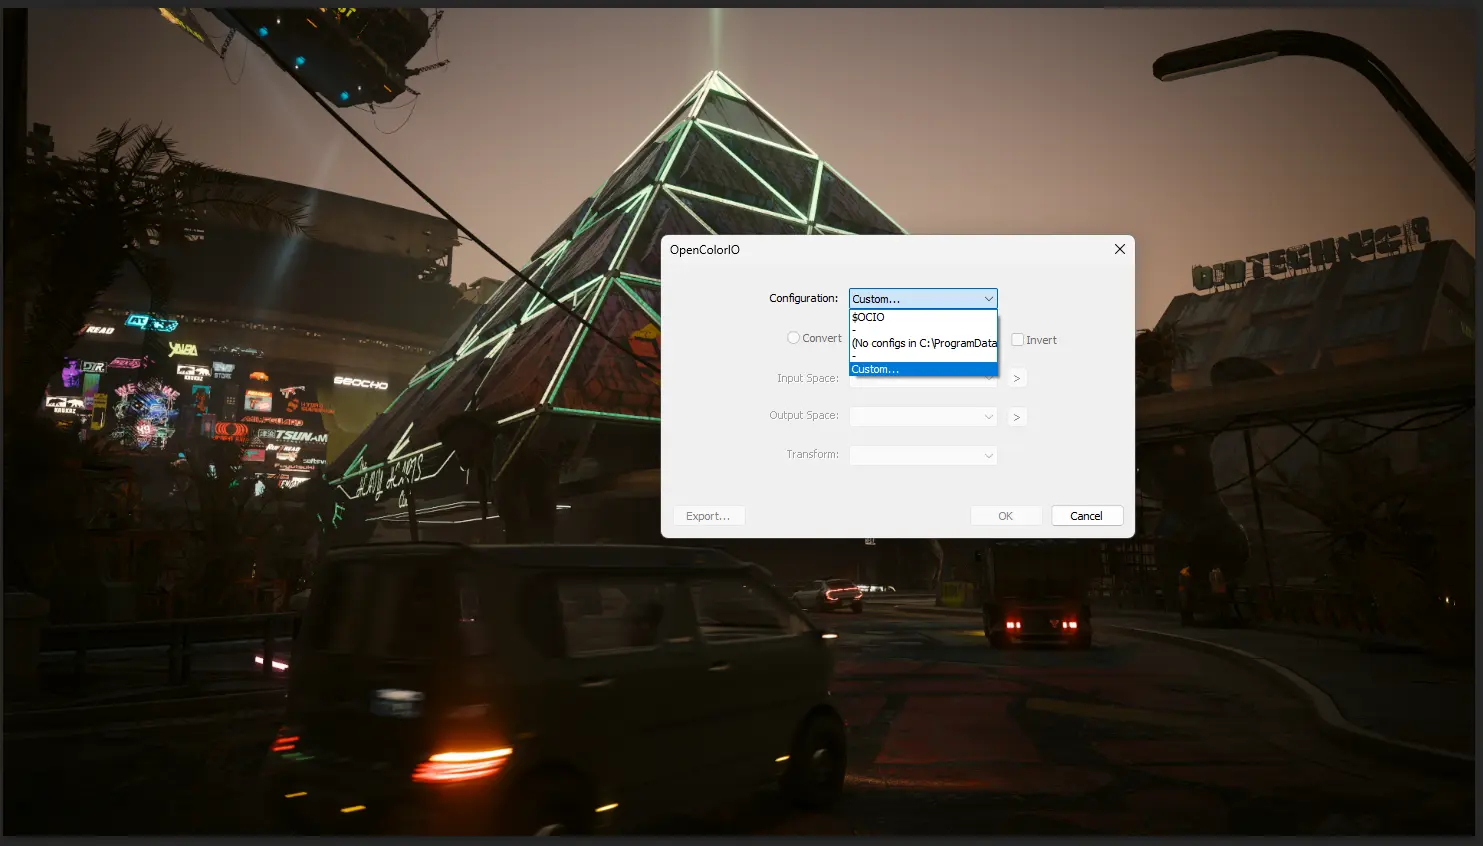
FINAL RESULT
(Serves as an example only)
