


0 of 0


About this mod
I made this simple ReShade preset for my own use after viewing some of the ones that have been posted already. They aren't bad at all, but I wanted to go further in removing the white-yellow veneer that the default game lays over everything, and in strengthening dark tones. In general I sought to make the game look more dramatic and cinematic.
- Requirements
- Permissions and credits
Disclaimer: I own only the trial version of this game so far, but I assume the file structure is the same. If there are problems with installation, let me know.
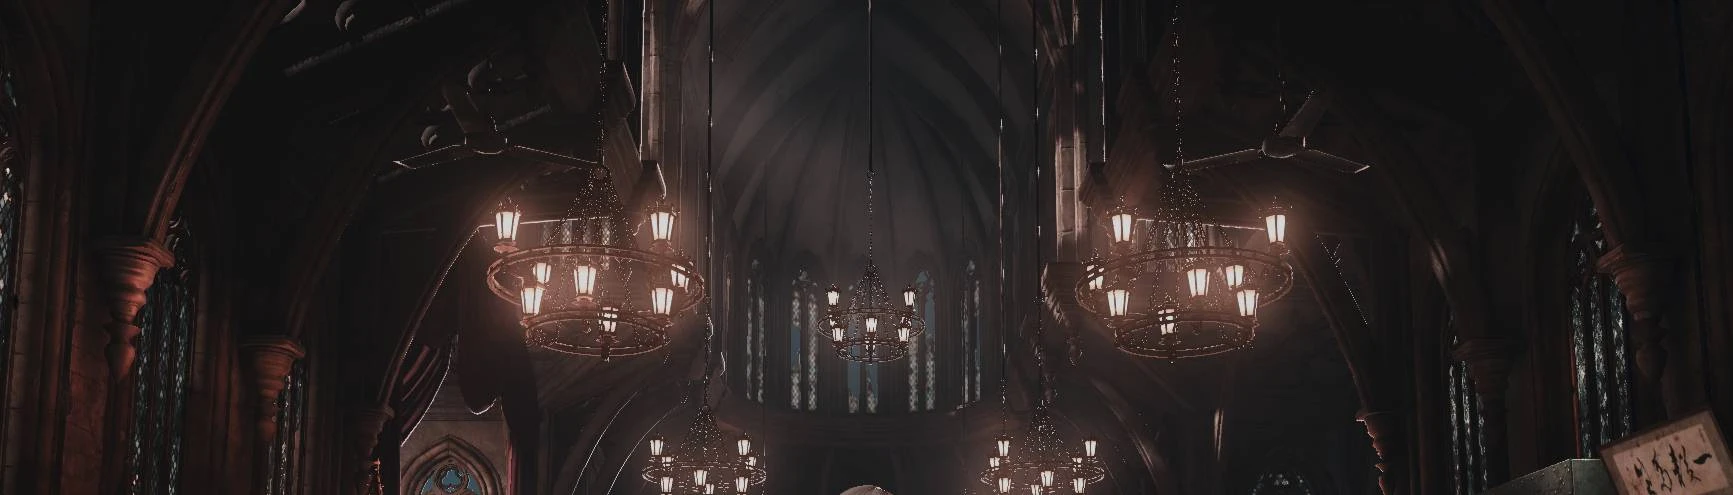
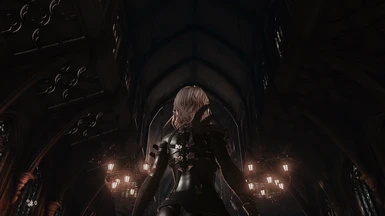
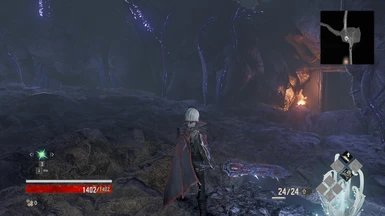
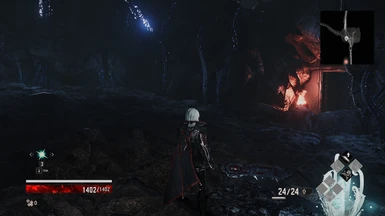
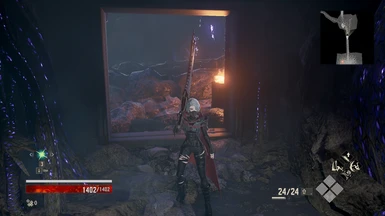
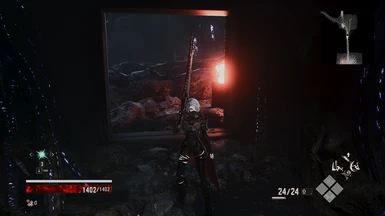
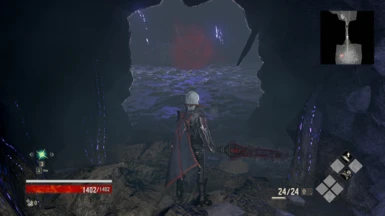
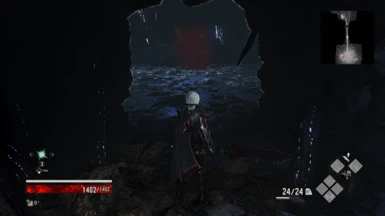
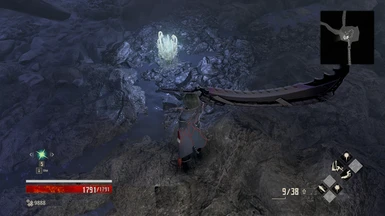
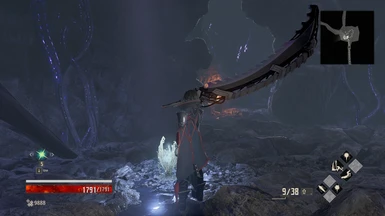
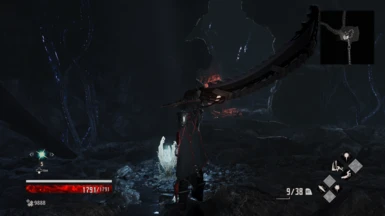
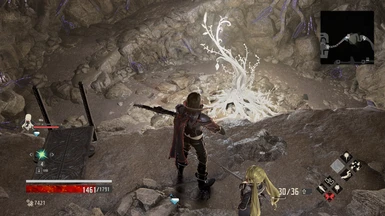
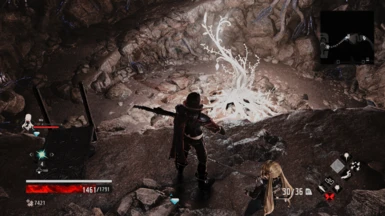
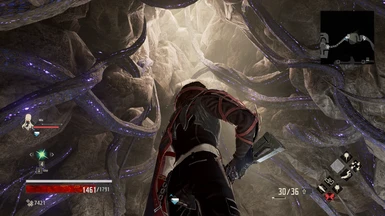
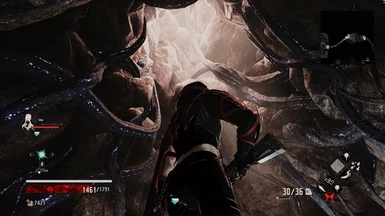
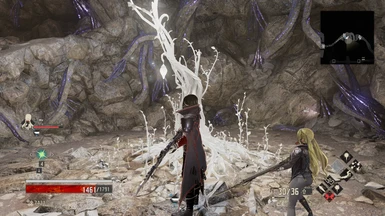
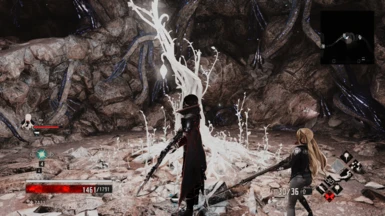
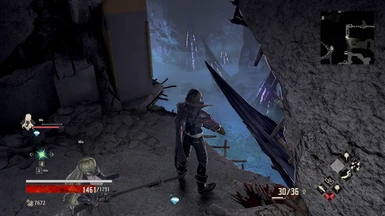
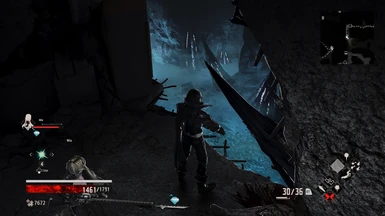
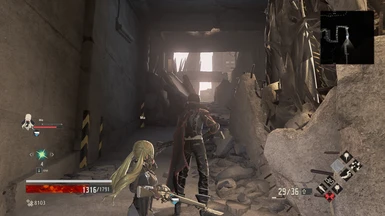
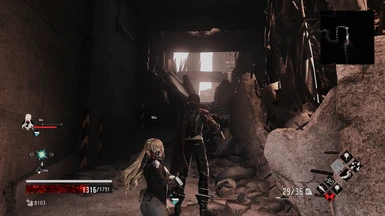
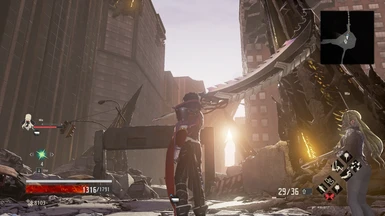
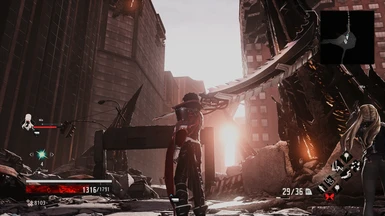
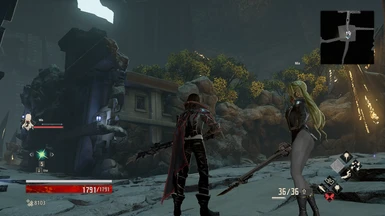
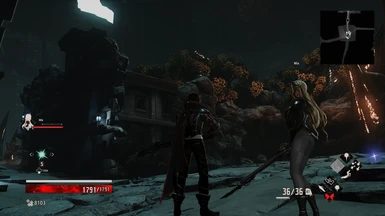
It struck me when I first fought the Queen's Knight that, despite the boss's impressive model and attack animations, the visuals of the fight still felt rather mundane to me. Upon reflection, it seemed that one main reason for this lay in the fact that the game has weak contrasts between lights and darks, and as a result everything looks somewhat flat. So, despite the quality of the animations, models, and music, I couldn't feel the same sense of awe that I felt in, say, a Dark Souls boss fight. I created this ReShade preset to see whether a change in the game's lighting and colors could be the fix, and was happy enough with the result to feel like sharing it.
Installation:
1. Download ReShade from here. I'm on version 4.6.1 rather than the latest, but I expect this not to make a difference.
2. Run the ReShade setup.
3. Select Code Vein's .exe file -- CodeVein-Win64-Shipping.exe, the one that is in the CodeVein\Binaries\Win64 folder. NOTE: it may not be the first Code Vein exe that appears in ReShade's suggestion list.
4. Choose Direct3d 10/11/12 from the options that the ReShade installer presents.
5. Next, you'll be asked which effect packages you want to install. Standard and SweetFX are selected by default; keep them. The other one you need is the Legacy standard effects package, which you will probably find at the bottom. Check that box. You can install other effect packages if you like, but my preset does not require them.
6. You will now be asked which files to install for each of the effect packages you selected. You don't need any effects from 'Standard' for this preset, though again, you can install as many as you like. From SweetFX, you only need FakeHDR and FXAA. The only file you need from the Legacy package is FilmicPass. You might see the FakeHDR and FXAA boxes checked when you view the Legacy files; that's fine.
7. Drag the file from this mod's download page into the Win64 folder where the game's .exe and the ReShade files are.
8. Run the game. Along the top edge of your screen you should see a ReShade prompt. Pressing the Home key should open the ReShade interface in-game. You can skip the tutorial if you want. You should be able to select this preset using the arrow buttons along the top of the ReShade interface. You'll also see tabs that will allow you to configure other settings, like which key will disable ReShade effects in-game.
This preset is extremely lightweight, using only three shaders. I don't expect it to cause any performance issues. If you encounter problems, feel free to post them in the comments.