


0 of 0


About this mod
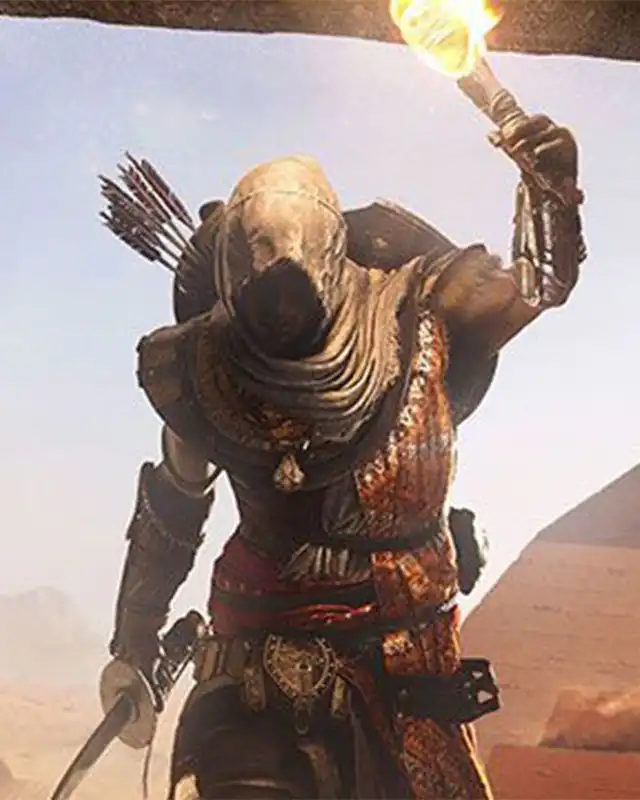
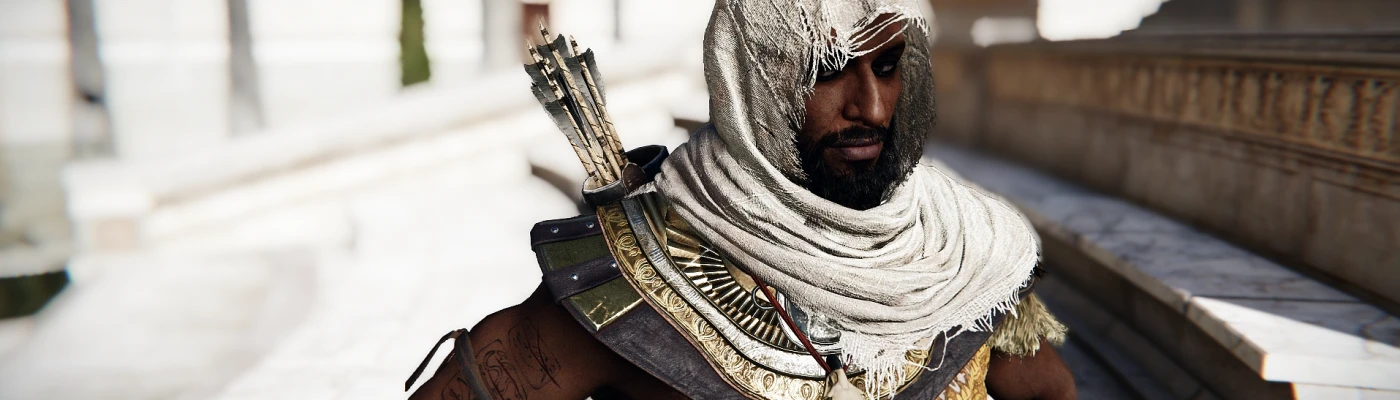
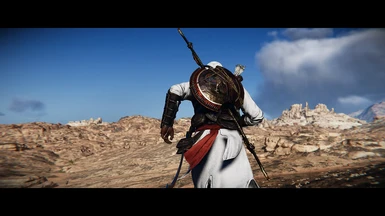
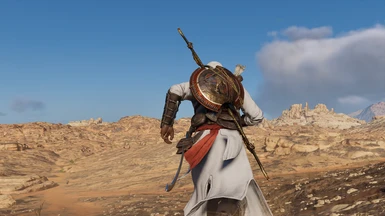
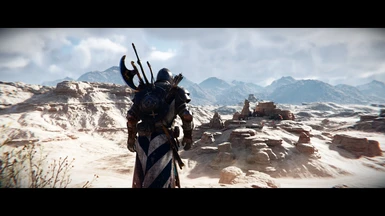
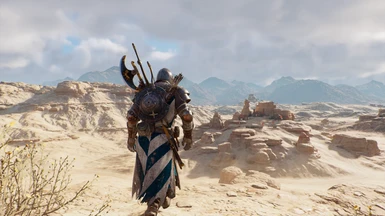
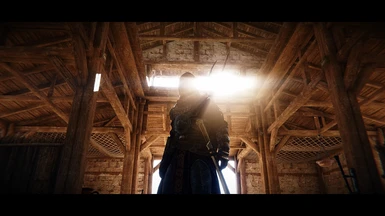
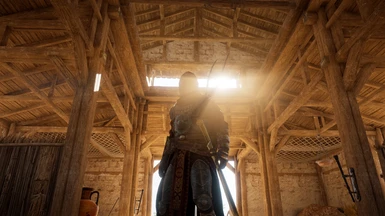
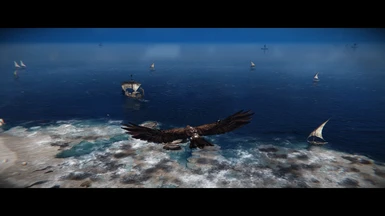
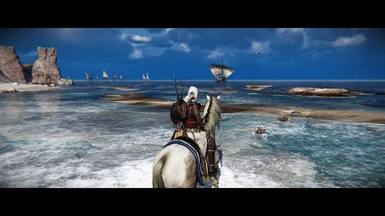
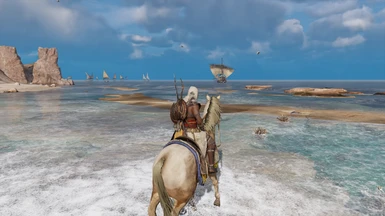
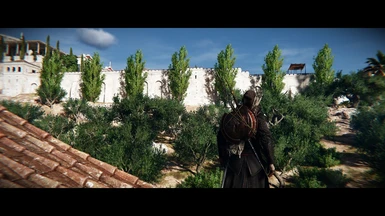
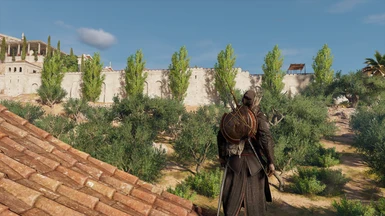
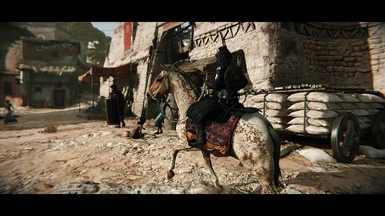
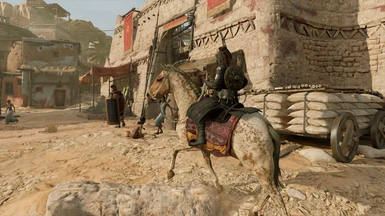
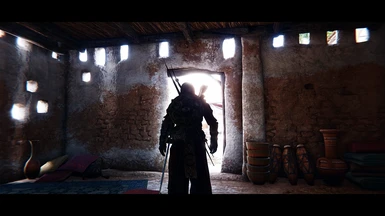
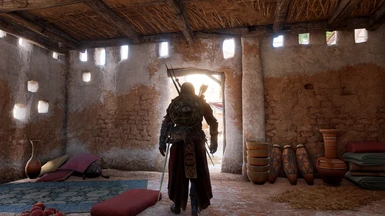
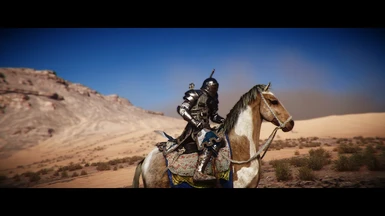
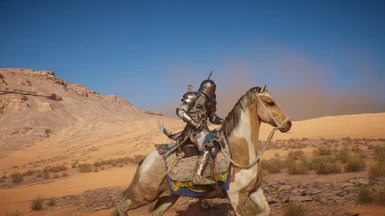
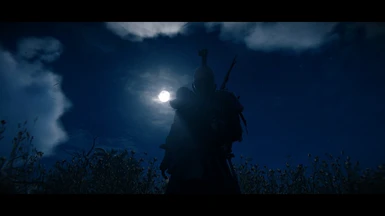
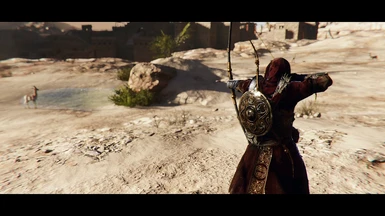
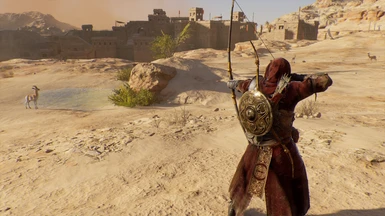
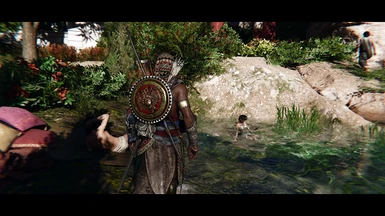
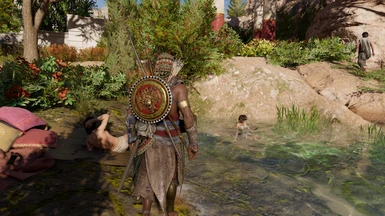
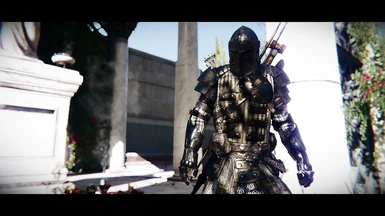
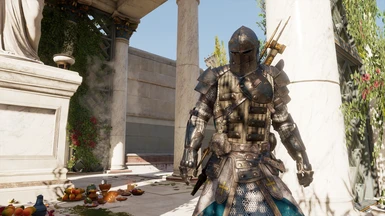
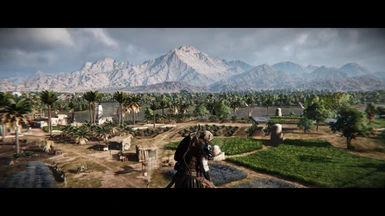
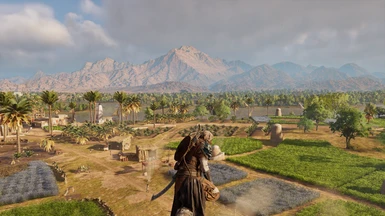
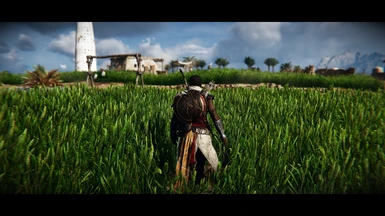
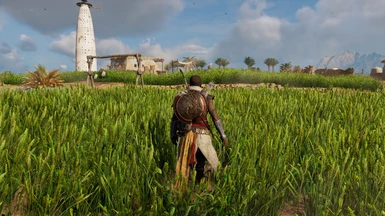
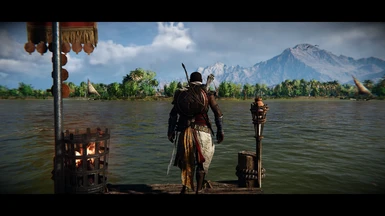
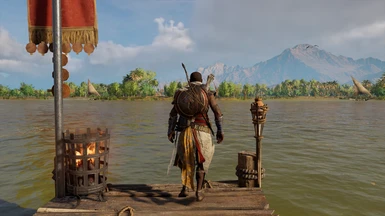
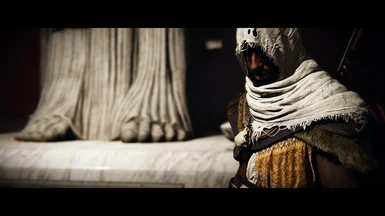
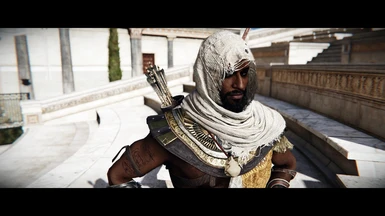
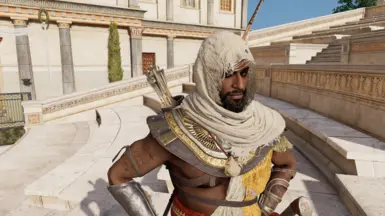
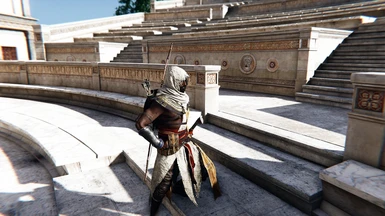
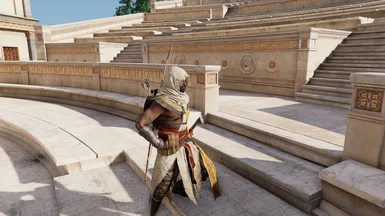
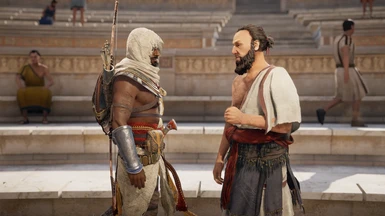
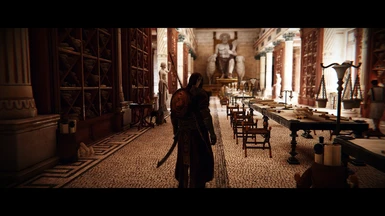
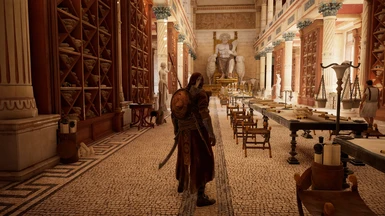
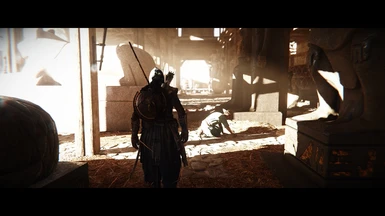
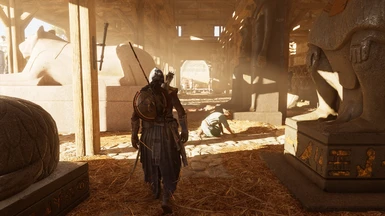
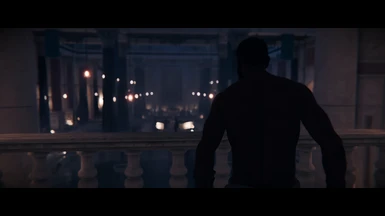
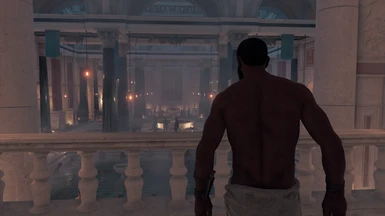
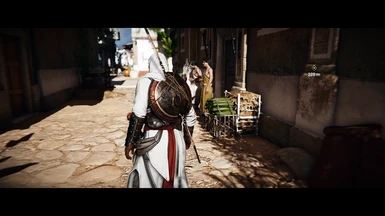
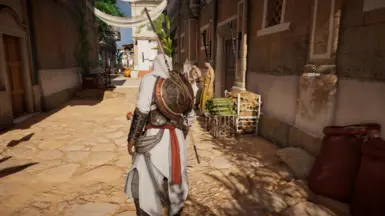
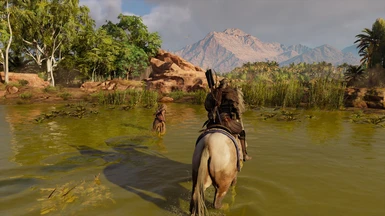
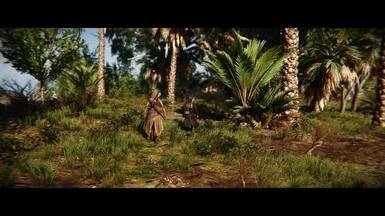
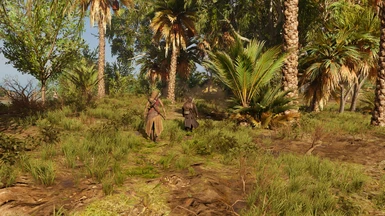
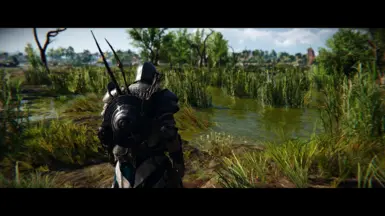
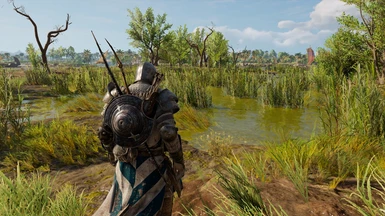
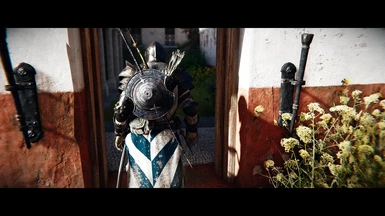
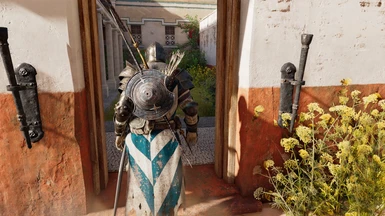
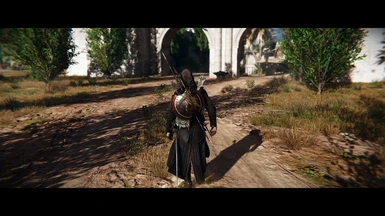
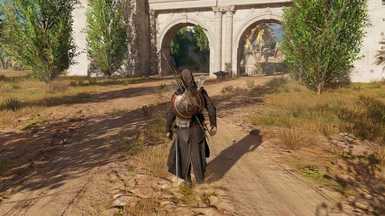
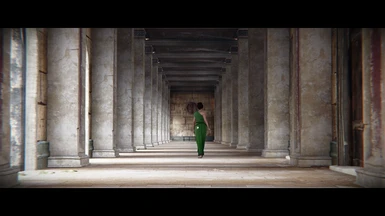
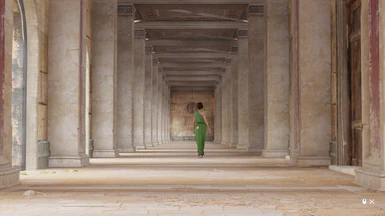
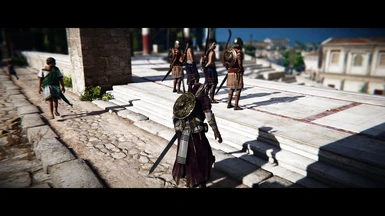
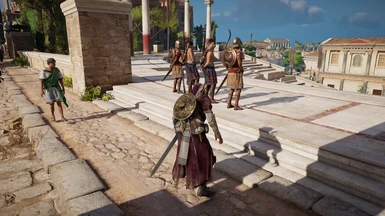
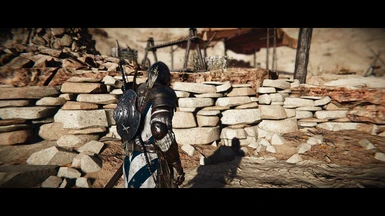
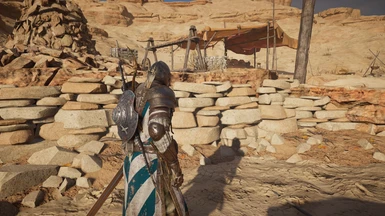
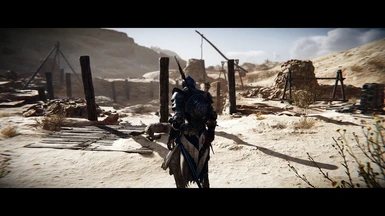
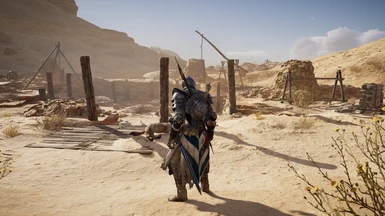
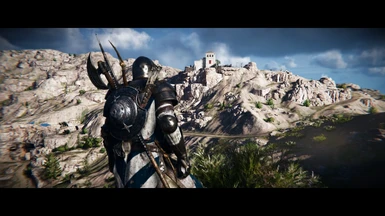
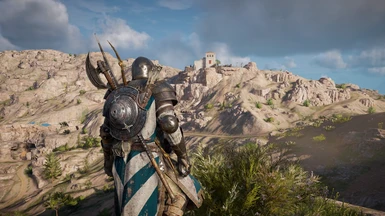
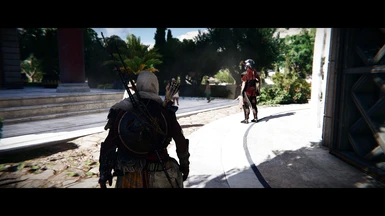
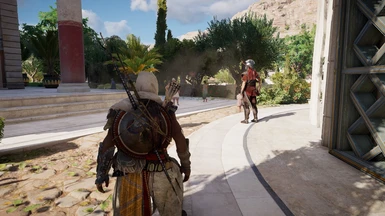
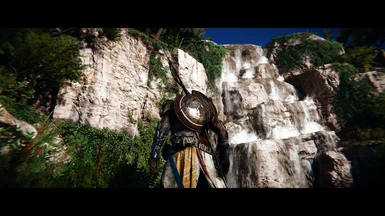
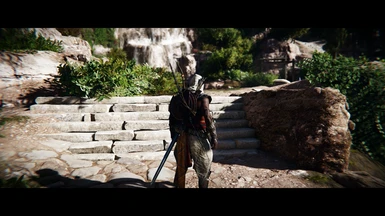
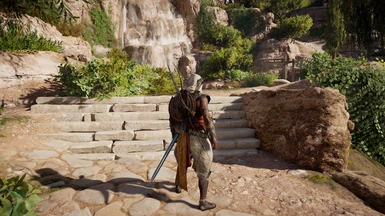
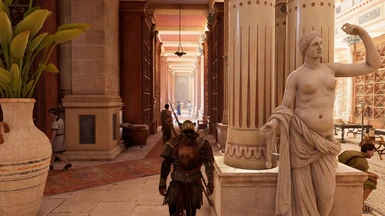
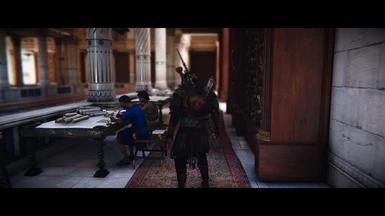
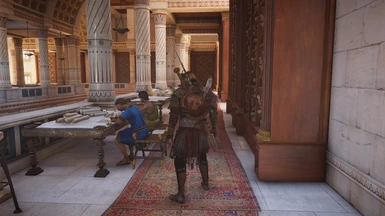
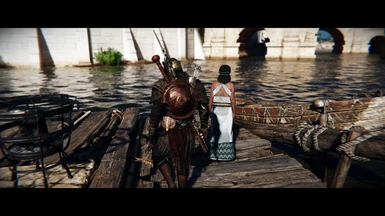
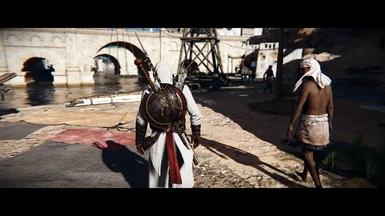
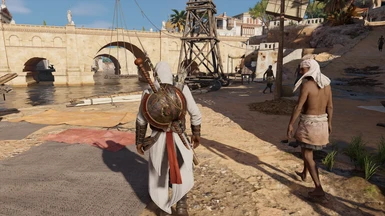
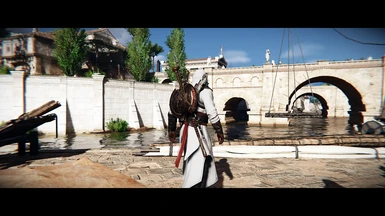
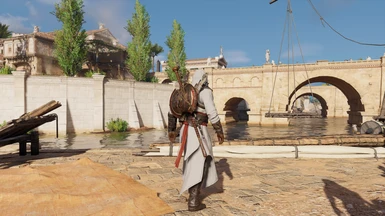
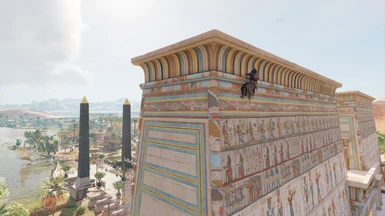
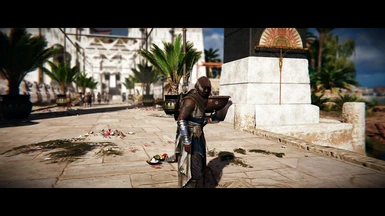
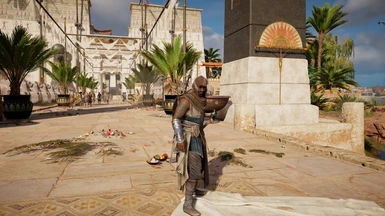
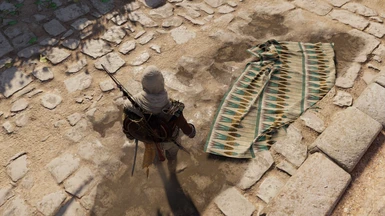
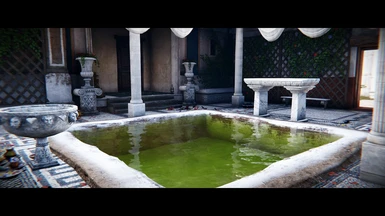
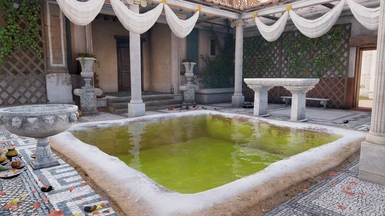
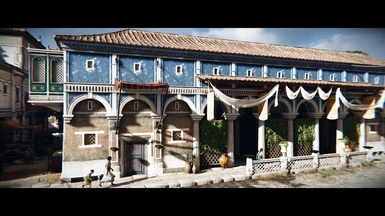
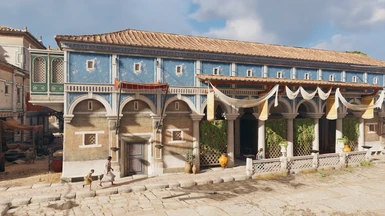
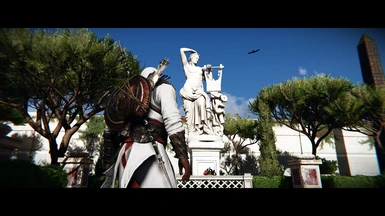
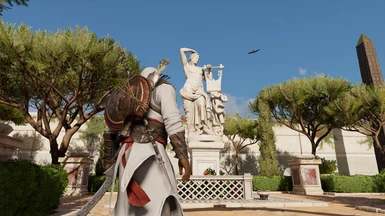
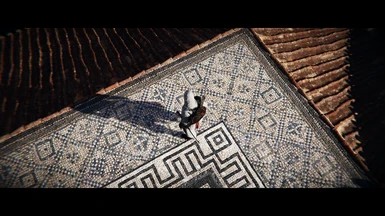
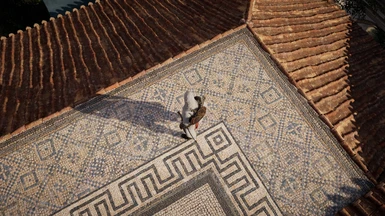
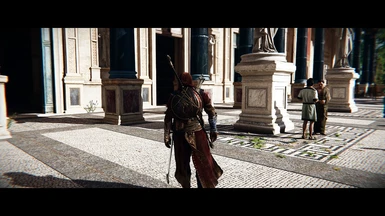
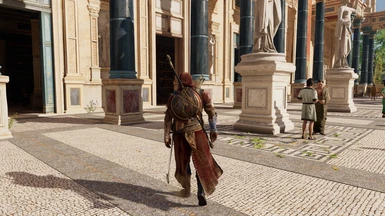
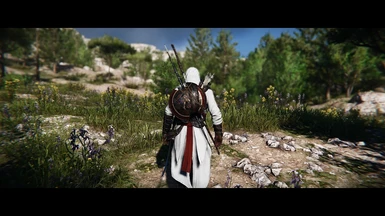
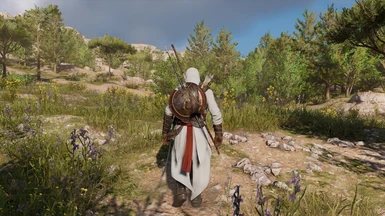
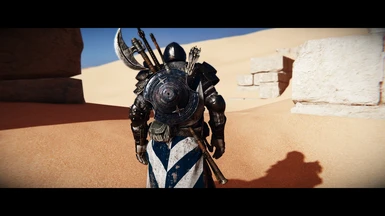
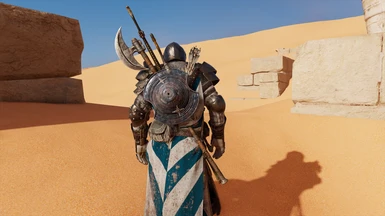
This is a vibrant and cinematic, yet tasteful, ReShade Collection with tons of optional effects and toggle keys. This mod has been through very vigorous testing and meticulous changes were made to each color to both correct the vanilla yellow image while saturating and changing the hue of each color in a pleasing way without over-saturation.
- Requirements
- Permissions and credits
- Donations
Nothing is true. Everything is permitted.
DESCRIPTION AND FEATURES:
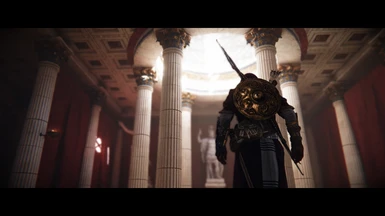
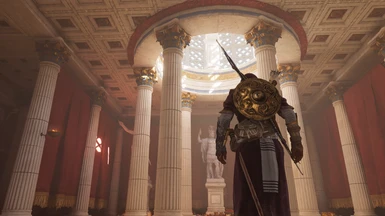
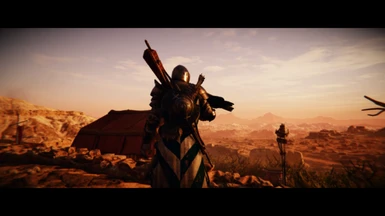
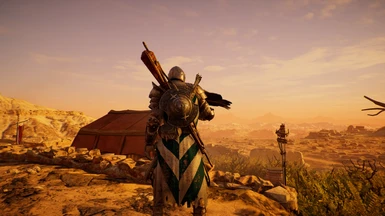
I've noticed that many people that try to do vibrant ReShades tend to go about it the wrong way, saturating each color equally. This usually leads to some colors looking great, while others look hideous, or in other methods one color being so over-sautrated that it starts to infect the shadows and highlights with itself or the entire image even, like a poison. There's a difference between saturation and vibrancy, and this reshade attempts to observe the latter to bring you a balanced yet bold and crisp image. This is a vibrant and cinematic, yet tasteful ReShade with tons of optional effects and toggle keys. This mod has been through very vigorous testing and meticulous changes were made to each color to both correct the vanilla yellow image while making colors pop and changing the hue of each color in a pleasing way without over-saturating the overall image. Additionally you will now have deep, true blacks and piercing, bright whites.
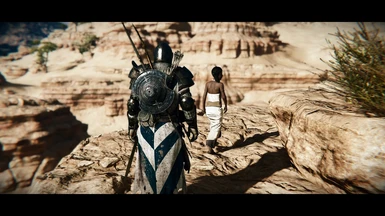
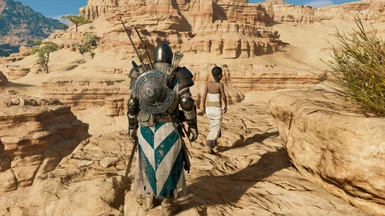
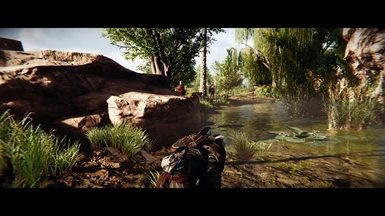
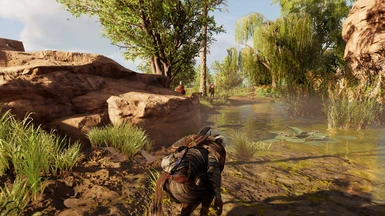
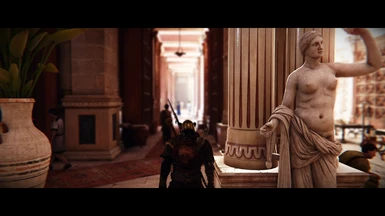
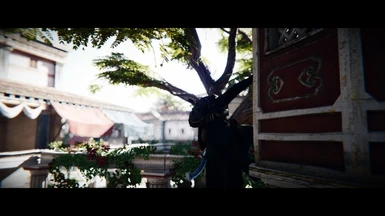
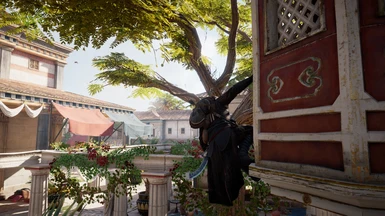
This preset includes a host of optional cinematic features, like Depth-of-Field (DoF), bloom, film grain, letterboxing, and more! In fact, I've set up toggle keys for all the major cinematic effects I've added. And they're remappable with the in-game ReShade menu.
PLEASE FOLLOW THE INSTRUCTIONS CAREFULLY AS YOU DO NOT INSTALL THIS RESHADE LIKE YOU WOULD MOST, EVEN MY PREVIOUS RESHADES.
Please let me know if you have any questions, but there's extensive documentation below on all sorts of things from detailed installation instructions to tutorials on how to adjust certain settings to your liking. Constructive feedback is welcomed, and kind words of thanks are extremely appreciated!
Hope you like it!
CRASHING AND UI/HUD FIX:
1. For me, the game crashes if I use any form of ReShade or SweetFx in fullscreen mode. So you must enable borderless window mode to use ReShade if yours also crashes when trying to load the game with Reshade enabled.
2. Recently I've needed to rename my reshade files, "dxgi.ini" and "dxgi.dll" to "d3d11.ini" and "d3d11.dll", respectively, to get the game to stop crashing on launch.
3. Use the in-game screen calibration setting to adjust your UI to fit into the letterbox (black bars). Shrink your UI borders to the smallest area available for best results.
4. I've tested and optimized this ReShade with the game set to 60% brightness in the options menu. Tested on Ultra settings with fog set to "0" in the game's .ini file.
HOW TO ADJUST CERTAIN EFFECTS:
*An optional white colored bloom version is coming later tonight or tomorrow. If you really want it now, I can tell you how to get a similar effect to what I'm planning. Just leave a comment.
*Siwa looks a little fugly... but this is not a new issue, it always has to me. It would compromise the rich visuals of the entire mod to make it look marginally better. It's always had weird fog which has always borderline crushed and looked weird. Nowhere else in the game seems to use it's hideous lighting and fog combination so that's that. You leave the town after about an hour, tops, of a 50-150+ hour game and it's not unplayable or anything like that with the mod on, so... yea.
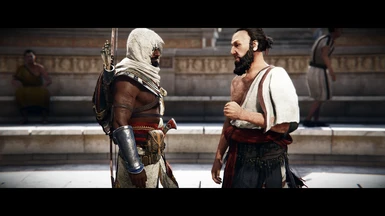
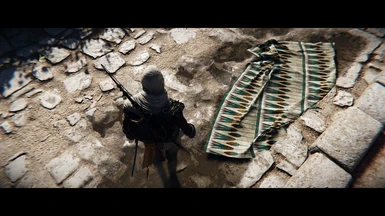
All the DoF effects you see are from the ReShade's DOF, not the one that come with the game's photo mode. So this DoF is active whenever you're actually playing the game, not just in screenshots.
Bloom and Lens Flares: Adjust fBloomThreshold or the fBloomAmount up or down in very small increments (of about .10 or .20) until you are happy with how much bloom you want. Increasing fBloomThreshold the value will give less bloom, while increasing fBloomAmount will give you more bloom.
To disable the lens flares from bright light sources at night, like the torch or firebombs, look under the Bloom effect in the ReShade in-game menu and look for the setting "bAnamFlareEnable" and change it from on to off with the drop down menu. You can reduce the amount it effects button prompts by raising the value - manually type in a higher number under "bAnamFlarethreshold". I recommend raising the threshold value in increments of .001. At a total value of 1.0, the effect will never trigger.
Brightness: If it is too dark lower the gamma setting in the in-game Reshade "Tonemap" setting in increments of 20.
DoF Quirks: To pull the DoF on far away out-of-focus areas closer to the player (and make it stronger), adjust DOF_FarBlurCurve down. Increasing the value will give less blur.
Look to the right and somewhat downwards when talking to a shop keeper to keep the menu from being somewhat blurred by DoF. In regular conversations, as with quest-givers, for example, I optimized to DoF to put Bayek and the quest-giver in-focus and blur their surroundings.
The ReShade DoF will also cut off when you're in photo mode and the screenshot overlay grid thing pops up as you're adjusting the image, but the DoF will come right back on once that goes away (just leave the camera steady for a couple secs and the grid disappears)
Generally: You may have to manually type it in certain values to adjust them. Just keep spam-clicking in the box until it gives you the typing cursor or use the .ini file.
CONTROLS:
All of these are remappable once in game. (make sure numberpad is enabled or the controls won't work)
-Toggle ReShade menu on-off - Shift+F2.
-Toggle all ReShade effects - Scroll lock
-Toggle depth-of-field - / on numberpad
-Toggle camera and lenz distortion (warping on the sides of the screen) & chromatic aberration (color bleeding on objects' edges) - 2 on numberpad
-Toggle sharpness - 5 on numberpad
-Toggle film grain - 3 on numberpad
-Black bars (letterbox) - 0 on numberpad
-Bloom and lens effects - 6 on numberpad
-Vignette (darkness around the corners) - * on numberpad
-Toggle soft DoF on horizon and foreground when looking far off in the distant (distant landscape) - 1 on numberpad
-Clarity (off by default, enable to more-or-less sharpen the image more and make the image pop more, unrealistic, but looks cool) - 7 on numberpad
-Toggle GuassianBlur (off by default, used to smoothen out image and give, I think, a more realistic, though less-visually stunning look) - 9 on numberpad
Additionally, I recommend opening the ReShade GUI's setting's menu and changing the following:
Toggle ReShade on and off with the END key
Toggle ReShade menu/gui with F4
INSTALLATION INSTRUCTIONS:
Be sure to completely uninstall any previous ReShade files and folders first. Set your brightness to 60 percent in game in the regular options menu.
1) Download Reshade framework version 3.1.1 (newer versions WILL NOT WORK with Ubisoft games) from here: http://www.mediafire.com/file/h3b0l50e8dsv8j3/ReShade_Setup_3.1.1.exe/file
2) Run the .exe in admin mode and select ACOrigins.exe in your Assassins Creed Origins main folder. (if installed to Steam's default location, can usually be found here: "... Steam\SteamApps\common\Assassins Creed Origins"
Choose the DirectX 10+ version
Say yes when it ask if you want to download a collection of shaders.
3) Now download my .zip package of files and the folder from this site (Nexus). Open the zip file and put the files and folder in your game's main folder where you found your ACOrigins.exe and overwrite any files already present (don't worry, the only files you are dealing with are the reshade files, as reshade doesn't overwrite any of your game's actual files).
You should rename your ReShade files, "dxgi.ini" and "dxgi.dll" to "d3d11.ini" and "d3d11.dll", respectively, to get the game to stop crashing on launch.
Run your game and after you get a message in a grey box saying reshade effects have loaded, press Shift+F2 to open the in-game ReShade GUI. Select the preset .ini file you wish to use from that drop down menu.
Click continue until the boxes go from red to gray/clear.
4) Now open on the ReShade menu, go to the "settings" tab and change the values in the big box to the following (you may be able to copy-paste it in):
RESHADE_DEPTH_LINEARIZATION_FAR_PLANE=10000.0
RESHADE_DEPTH_INPUT_IS_UPSIDE_DOWN=0
RESHADE_DEPTH_INPUT_IS_REVERSED=1
RESHADE_DEPTH_INPUT_IS_LOGARITHMIC=1
SufaceBlurIterations=3
Now go back to the ReShade home menu and click "reload" at the bottom of the menu to save the settings. Failure to do this will cause you DoF not to work correctly AT ALL.
5) PROFIT!?!
UNINSTALLING:
1. Delete the Reshade folder, dxgi.ini, dxgi.dll, and dxgi.log from your game folder. That's it.
Enjoy, leave comments below if you're having trouble installing or better yet youtube a Resahde 3.0+ install guide. It's extremely easy.
You may notice a slight decrease in performance, but it should still be pretty similar FPS to what you usually get. The visual difference is night and day to me and I can't ever go back to vanilla.
CONTACT:
-- Please subscribe to my YouTube channel for lets plays and demos of my upcoming and released ReShades: https://www.youtube.com/channel/UCn5KAZuLeVmeQLXSMJNBMcA --
-- Please follow me on twitter: https://twitter.com/MercsAssassin --
MY MODS FOR OTHER GAMES:
Exhaustive List Here, constantly updating it as I make new ReShades: https://www.facebook.com/MercsAssassin/
ps: I'm TheMercsAssassin on most other websites, including youtube, twitter and the nexus.
ps+: Do not use any part of my ReShade in your own work. Make your own through hard work and lots of time, like I did, please. Thanks.