About this mod
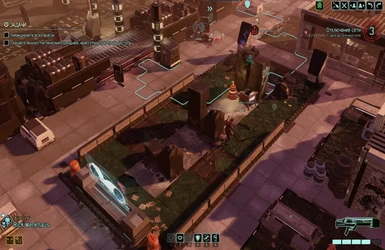
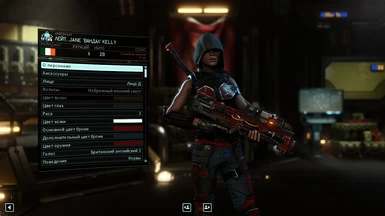
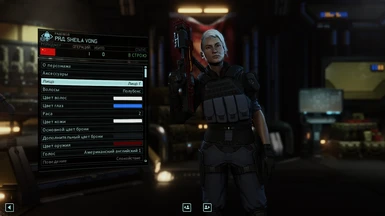
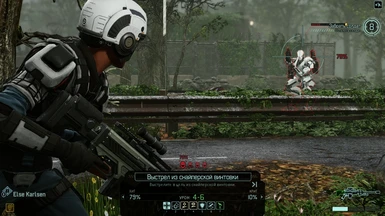
ReShade preset removes too much blue and red blur, cartoon colors; add more contrast, sharpness.
- Requirements
- Permissions and credits
Primary goal:
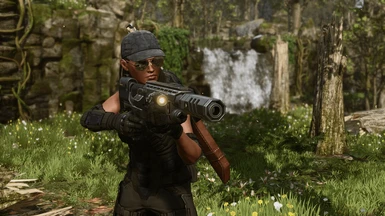
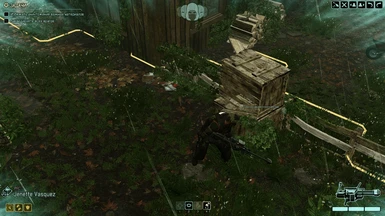
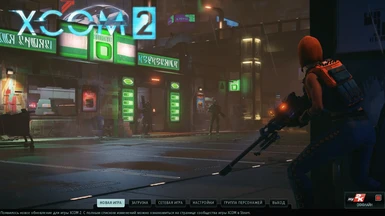
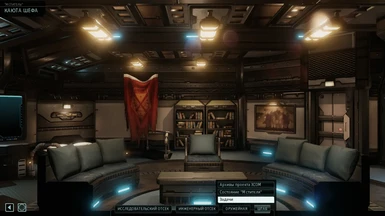
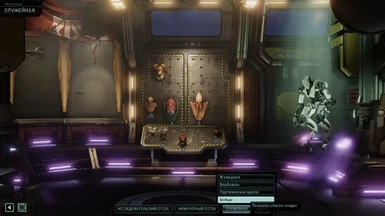
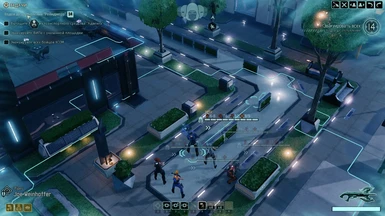
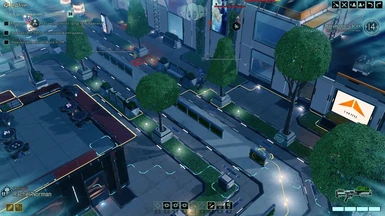
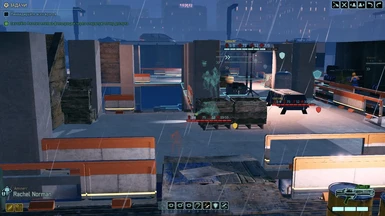
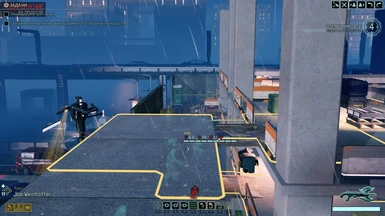
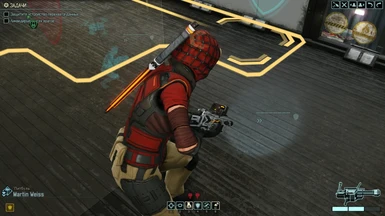
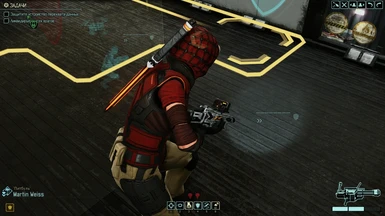
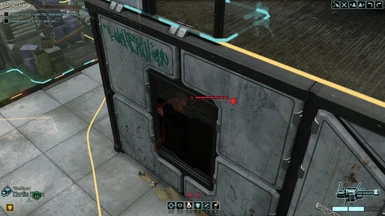
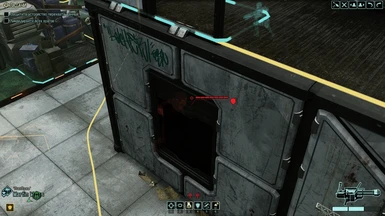
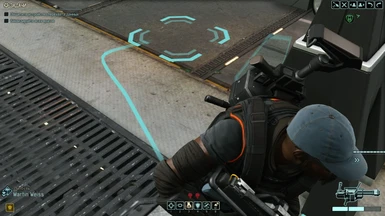
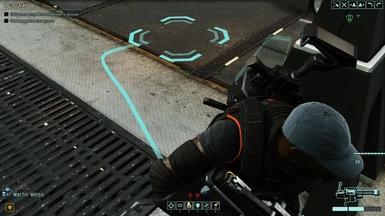
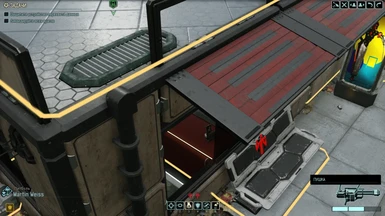
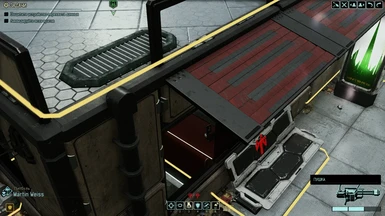
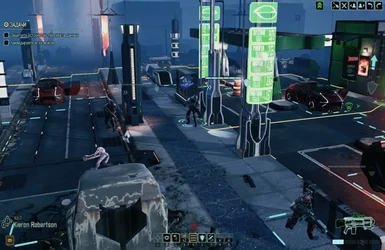
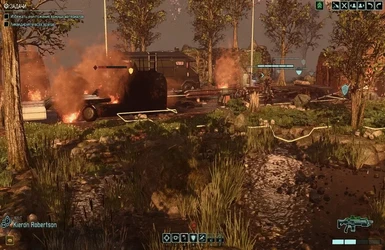
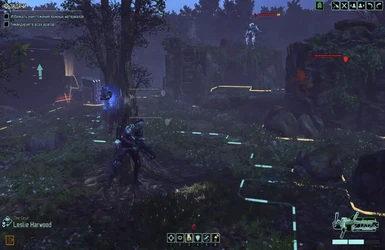
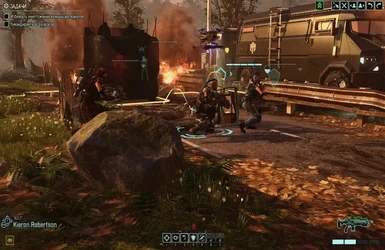
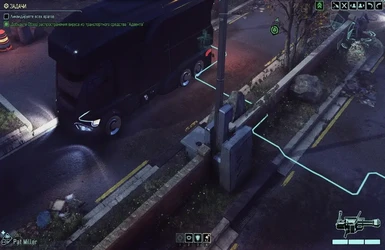
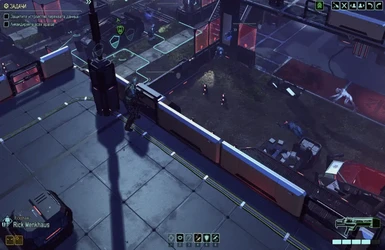
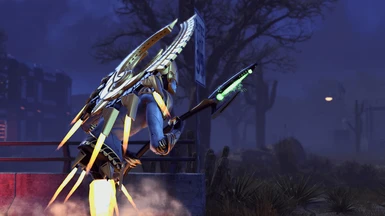
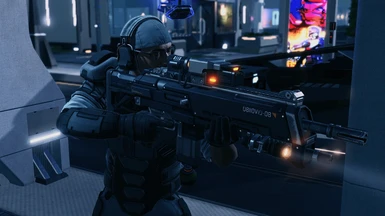
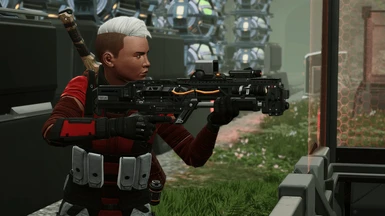
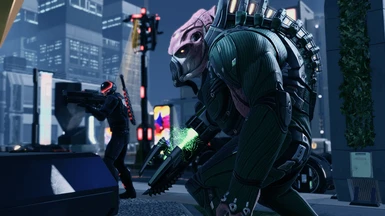
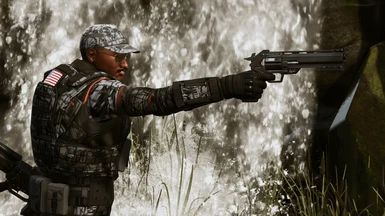
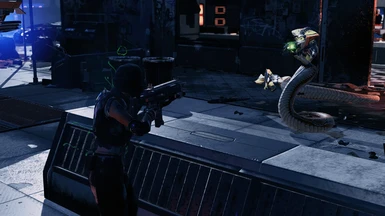
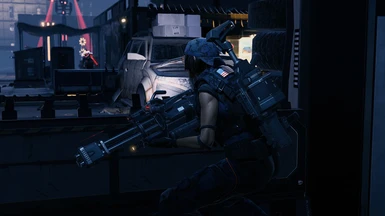
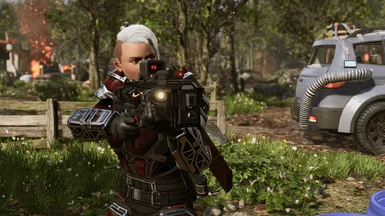
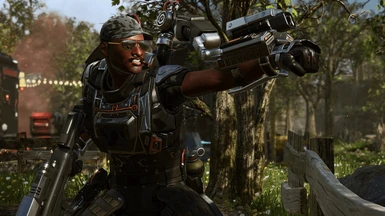
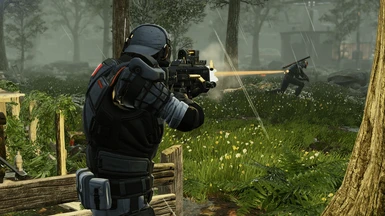
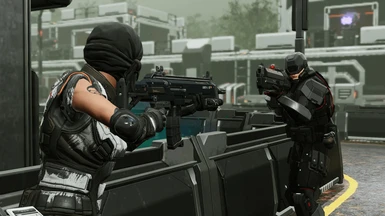
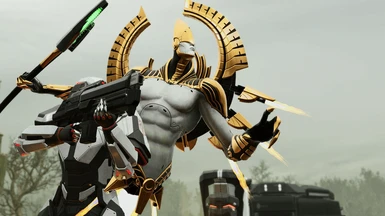
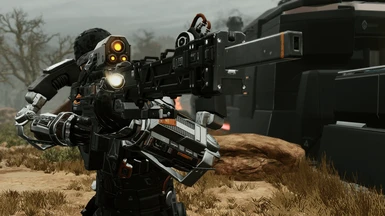
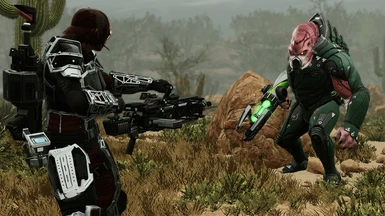
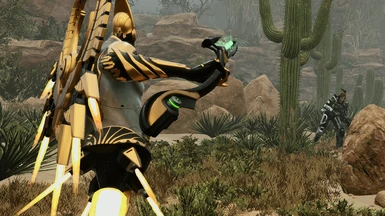
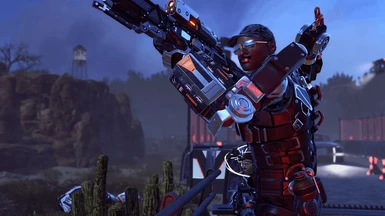
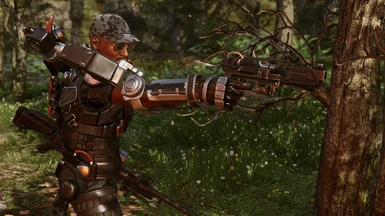
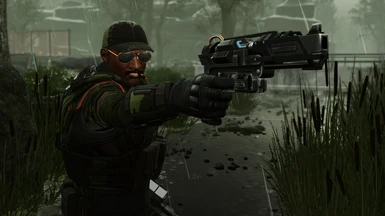
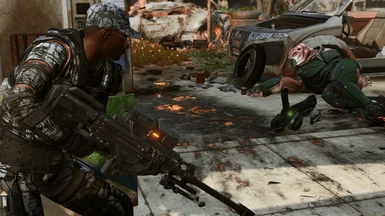
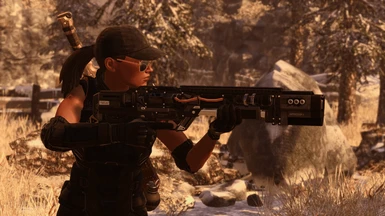
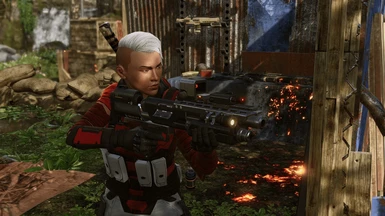
This preset removes too much blue and red blur, add contrast, sharpness, making the shadows darker and colors less cartoon, saturation аnd bright; slightly changes gamma setting. All adjustments give the impression that you used the texture mode.In any case it is better to see the difference in the screenshots and video comparison.
Real Vision ReShade V1.0
Real Vision ReShade Grafics Enhancement V1.1
Update(16/04/2017) Real Vision ReShade No Red.ini (for ReShade 3.0xxx only)
This version created on request and removes red and yellow tints as much as I was able to do it without distortions of the other colors. Now all .ini files packed in one archive to make your choice easier. It contains:
-Real_Vision_ReShade v.1.ini
-Real_Vision_ReShade_ Light.ini
-Real_Vision_ReShade_ NoRed.ini (NEW)
-Real_Vision_ReShade_Cinematic.ini
-Real_Vision_ReShade_Extreme_Sharpness.ini (removes from MISCELLANEOUS section)
-Real_Vision_ReShade_Grafics_Enhancement.ini,
and reshade-shaders folder.
To install look at 23/01/2017 update description,
If your game crashing on launch, rename dxgi.dll (appeared in the folder where xcom2.exe located after installing Reshade) to d3d11.dll
All keys are stay the same
Some screenshots with slider (before/after):
screenshot 1, screenshot 2, screenshot 3,
screenshot 4, screenshot 5, screenshot 6,
screenshot 7, screenshot 8,screenshot 9,
screenshot 10
(open links in new tabs of your browser and wait a few seconds)
======================================================================================
======================================================================================
Update(04/03/2017) Real Vision ReShade Extreme Sharpness.ini (for ReShade 3.0xxx only)
This version use some shaders which were not included in official release ReShade 3++ and ported by community from previous versions for it.
To install look at previous update description
All keys are stay the same
Added some gifs
========================================================================================
========================================================================================
Update(23/01/2017) Real Vision ReShade ini-pack (for ReShade 3.0xxx only)
Using ReShade 3.0 will allow you to view all the versions and pick what you want right in the game.
There is no need to close the game and reinstall another version - a few clicks and you'll see a difference of one version from the other.
This ini-pack can be used ONLY with ReShade 3.0xxx
If you used any of previous ReShade it must be deleted.
Archive contains four main versions ini. files:
-Real_Vision_ReShade v.1.ini
-Real_Vision_ReShade_ Light.ini
-Real_Vision_ReShade_Cinematic.ini
-Real_Vision_ReShade_Grafics_Enhancement.ini ,
and reshade-shaders folder.
How to install:
1. Download the latest ReShade 3.0xxx from home page
2. Install by selecting the game's executable and select Direct3D 10+ API
(make sure to click YES when ReShade 3.X asks You if it should download "a collection of standard effects".)
3. Paste all files from the archive where your xcom2.exe located and overwrite.
5. Press SHIFT+F2 to open ReShade menu
6. Follow the tutorial and read carefully
7. Open "Home" tab and on top you'll see the path where you put your ini. files
8. Choose version which you like and enjoy
F12 to toggle ReShade ON/OF
F10 to toggle SSAO Boost ON/OF (In-game SSAO options must be disabled)
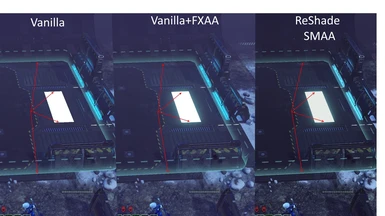
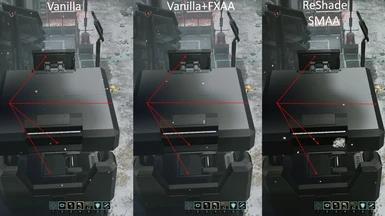
F8 to toggle SMAA ON/OF (In-game MSAA or FXAA options must be disabled)
============================================================================================
============================================================================================
Update (02/04/2016): Real Vision ReShade Cinematic V1.6 (ONLY for ReShade 2.0)
Recently my friends joked that "squad in these colorful armors looks like a team of snowboarders or ski jumpers who are going to take rest at weekend (lacking only boards and ski instead weapons), but not like people who ready to fight or die. And some gloomy areas are like an amusement park with bright banners and tons of colorful lamps."
Changes:
So this preset is a mix of my previous versions with adding FilmicPass shader, which allows make colors slightly faded (not disappearing, like " Monochrome" effect), with less contrast and picture getting more "lighter" and "cinematic".
This version can be used ONLY with latest ReShade 2.0.
Why do I suggest trying to use Reshade 2.0? I think the new ReShade 2.0 Assistant is the easiest way to make your own presets and changes in any game.
Before installing:
IMPORTANT !!!
If used previous ReShade 1.1.0, you MUST delete (make back up) these files from your <...>\ XCOM 2 \ Binaries \ Win64: - Reshade folder
- Reshade.fx
- d3d11.dll or dxgi.dll
If you do not, ReShade 2.0 will not work (new preprocessor incompatible with these old files)
Installation:
1. Download ReShade 2.0 (homepage)
2. Download Real Vision Reshade Cinematic v.1.6.7z
3. Follow the links below to do everything correctly:
- ReShade 2.0 Assistant Tutorial
- Installing ReShade 2.0
(the second video shows installing preset for The Elder Scrolls Online, but the principle is the same)
--------------------------------------------------------------------------------------------------------------------------
For those who still have questions about installing, I suggest using this quick guide:
1. Create a folder in ANY PLACE WHERE YOU WANT (on Desktop, for example) and rename it like you want
2. Extract the official Reshade 2.0 into this folder
3. Extract the Real Vision Reshade Cinematic v.1.6.7z INTO THE SAME FOLDER where you extracted official Reshade 2.0 and overwrite files
4. Run Reshade Assistant.exe
5. Open the "Profiles" tab in Reshade Assistant, click "+" at the top of the application and find your XCom2.exe (<....> \ XCOM 2 \ Binaries \ Win64); then hit select and "Open"
6. In the "Profiles" tab, select dxgi , then click "Confirm" and "Save"
7. Open the "Presets" tab, select <Real_Vision_Reshade_Cinematic> and click "Save" and "Confirm"
8. Open the "Shaders" tab, click "Save" and "Confirm"
And that's it!
-------------------------------------------------------------------------------------------------------------------------------------------------------
Check it after installing: only two new files must appear in your <...>\ XCOM 2 \ Binaries \ Win64:
-dxgi.dll
- Reshade.fx
Default is the SCROLL LOCK key.
To change the key, open the Profile Settings tab in ReShade Assistant and edit line RESHADE_TOGGLE_KEY VK_SCROLL
Testing on my W10(64) shows it's work fine.
Several links to comparison screenshots (Vanilla vs. Real Vision Reshade Cinematic) with "before and after" slider:
pics 1; pics 2; pics 3; pics 4; pics 5; pics 6; pics 7; pics 8; pics 9; pics 10; pics 11; pics 12
====================================================================================
Update (20/03/2016): Real Vision ReShade No Blur V1.5 (based on Real Vision ReShade Grafics Enhancement V1.1)
Changes: added group of shaders (Clarity, BilateralFilter, ColorFilter) which allows further clean up the image from blurring.
Several links to comparison screenshots with "before and after" slider:
1. Compare A
2. Compare B
3. Compare C
4. Compare D
5. Compare E
6. Compare F
7. Compare G
8. Compare H
9. Compare I
Installation: First of all, you need to install version 1.0. Then extract the ReShade folder to the < ... > \ XCOM 2 \ Binaries \ Win64, merge it with the existing ReShade folder and overwrite files.
Default is the SCROLL LOCK key.
To enable/disable filters separately from the basic version, edit the file ioFX.cfg and change the key SCROLL:
- line 47 #define Clarity_ToggleKey VK_SCROLL //[undef] //
- line 60 #define BilateralFilterr_ToggleKey VK_SCROLL //[undef] //
- line 110 #define Filter_ToggleKey VK_SCROLL //[undef] //,
detailed description below.
=================================================================================
Update (05/03/2016): Real Vision ReShade SSAO Boost V1.4
Changes: added SSAO. It can be used in any version.
In some locations the SSAO in-game setting is almost invisible or too vague, so I decided to slightly increase the effect (added several .gif screenshots for more visual)
1) McFX.cfg - drop into < ... > \ XCOM 2 \ Binaries \ Win64 \ ReShade folder and overwrite it.
2) SSAO.h - drop into < ... > \ XCOM 2 \ Binaries \ Win64 \ ReShade \ McFX folder and overwrite it.
You can enable or disable SSAO shader separately from the basic version which you use (or maybe someone wants to use it with vanilla - just turn off the basic version, but the SSAO shader will continue to run). Press DELETE to turn SSAO effect On / Off in game (you'll see a message «AO_Tech enabled\disabled.»)
To change the key edit McFX.сfg ( line 30 << #define AO_ToggleKey VK_DELETE //[undef] //- >>) - detailed description below.
===================================================================================
Update (22/02/2016): Real Vision ReShade SMAA V1.3 (for all versions - 3 in 1 )
Installation: First of all, you must have installed v1.0. Then unzip files from the archive v1.3, select which you want to apply ( v1.0 or v1.1 or v1.2L), drop file into < ... > \ XCOM 2 \ Binaries \ Win64 \ ReShade folder and overwrite it.
====================================================================================
This is not the same as version 1.1, but I tried to get a minimum difference between them without settings, which are lost frames. Performance cost 0...2 fps
Installation: First of all, you need to install version 1.0. Then unzip file from the archive v1.2L, drop into < ... > \ XCOM 2 \ Binaries \ Win64 \ ReShade folder and overwrite it.
====================================================================================================
Update (13/02/2016): Real Vision ReShade Grafics Enhancement V1.1
Changes:- аdded BLOOM; HDR; CURVES; DITHERS
- maximum clear
- a little bit darker and more contrast
- correcting the lighting in dark areas and light sources (it's clearly seen in night missions)
- tried to make the colors look as more real as possible
Installation: First of all, you must have installed v1.0. Then extract archive file v1.1 into < .... > \ XCOM 2 \ Binaries \ Win64 \ ReShade folder and overwrite it.
=====================================================================================
Main: Real Vision ReShade V1.0 ( ReShade Framework 1.1.0 already included)
Installation: Extract archive files into your < .... > \ XCOM 2 \ Binaries \ Win64 folder (where your XCOM2.exe located), to uninstall - remove it.
If everything is correct, when the game launch, you'll see a message at the left top corner of your monitor.
To change the key:
- open your < .... > \ XCOM 2 \ Binaries \ Win64 \ ReShade \ Common.cfg (use Notepade++) and edit line 14:
#define RFX_ToggleKey VK_F12 //[undef] //-Set the global key that should toggle the effects On/Off.
- insert any other key which you want instead VK_F12 (VK_END, VK_INSERT... etc.)You should get:
-------------------------------------------------------------------------------------------------------------
#define RFX_ToggleKey VK_END //[undef] //-Set the global key that should toggle the effects On/Off.
or
#define RFX_ToggleKey VK_INSERT //[undef] //-Set the global key that should toggle the effects On/Off.
----------------------------------------------------------------------------------------------------------------
All additional key codes are < ... > \ XCOM 2 \ Binaries \ Win64 \ ReShade \ PersonalFiles \ KeyCodes.h (use Notepade++).
You can edit keys during the game, there is no need to switch off and launch again. Just use ALT+TAB and make changes ( don't forget "save" your file), than back to game and make sure that it works correctly.
======================================================================================
Troubleshooting:
- if your game crashing on launch, rename d3d11.dll (it's one of the three files from the archive) to dxgi.dll
- "latest Steam Beta crashes games using Reshade"- check here
======================================================================================
All credits to ReShade Team
Hope these presets would help to make your XCOM 2 walkthrough a more enjoyable !!!
Just install it and feel the difference, hope you like it!
