


0 of 0
About this mod
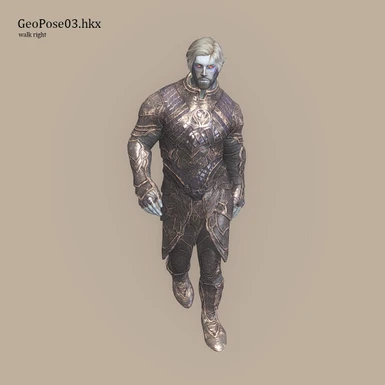
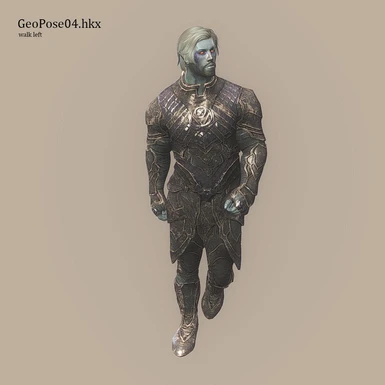
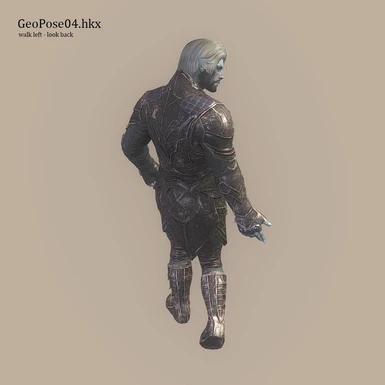
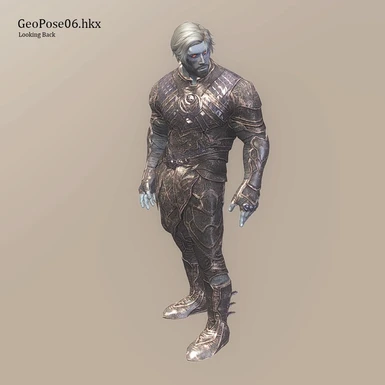
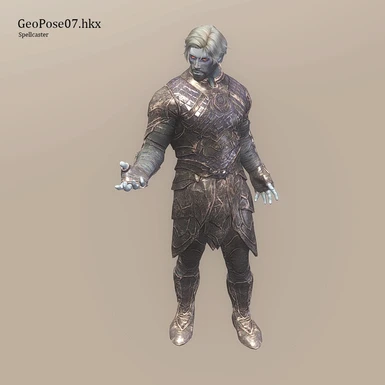
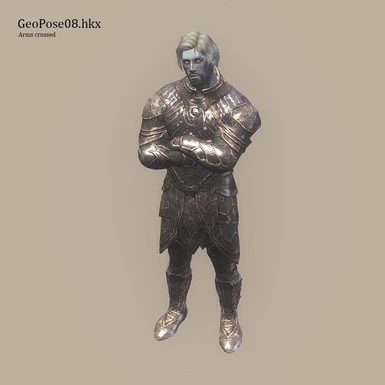
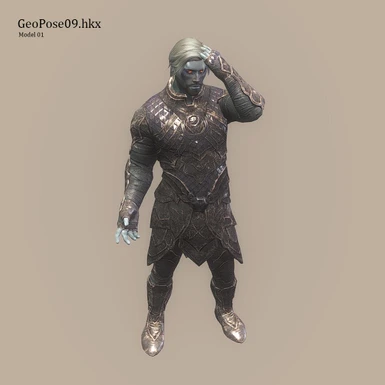
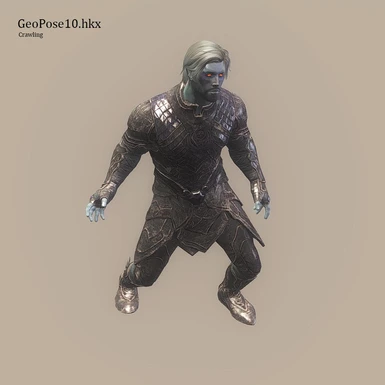
I was requested to share my custom poses with the world, so here it is. Any new custom poses featured in my screenshots will be added here.
- Permissions and credits

DESCRIPTION
Hi there! I've been getting some requests to share my custom poses from my screenshots with the world so; here they are! I'll keep on adding new poses as I go along making them. Have fun with them!
INSTALLATION
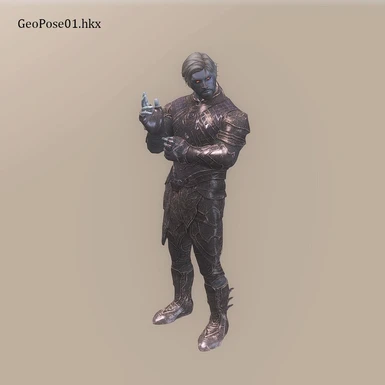
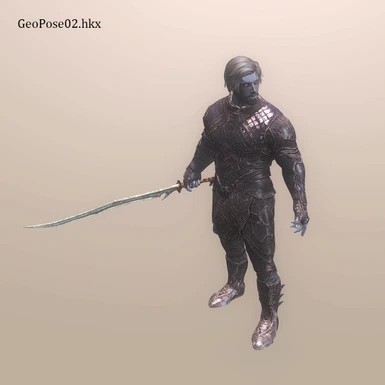
In the download section you will find the .hkx files corresponding to the poses in the screenshots section. Please note that this mod will not automatically add the poses ingame. I've already made the poses, now it's your turn to get to work ;)! Download any of the desired poses, rename and overwrite them with any hkx file from any pose mod, or install them for FNIS using the "Skyrim Custom Pose Tutorial" on the Lovers Lab boards (begin with step 12 and follow it till the end!)
I use these poses with SAM Body and simply replace one of the SAMposexx.hkx files, and load them up ingame by running player.SAE Samposexx (xx being the number of the pose)
USER PERMISSION
This mod has been released as a free modders resource pack. Feel free to use to use this mod in any way. No permission needed to release this mod but don't forget to credit me. Uploading this mod as it is outside of SkyrimNexus without my permission is not allowed!
TUTORIAL (How to make your own poses)
Obviously when you don't have any modding or 3d modelling skills it might look a bit overwhelming to get into it. However making poses couldn't be any easier with the help of so many great modders resources out there. It's quite a bit of text but I'm going into every detail, assuming you don't know anything about posing. However the process of setting up the pose and exporting it wil literally take two minutes once your pose is finished.
This tutorial is based on Bubbajones_ya's tutorial on the Loverslab boards. My version goes a little bit more into dept on how to pose and uses Tktk's custom rig instead of Anton's Animation Tools default files.
Here's what you need (make sure to get the right versions):
blender version 2.78
The N3 folder from Anton's Animation Tools
IMPORTANT - TkTk's Custom Rig
Step one
Download all of the above and make sure you get the correct version. For Blender that means not the latest version but the 2.78 version, which is very important since the latest version will screw up the interface for Anton's Animation Tools.
Step two
Download Anton's Animation Tools and only extract the N3 folder. Then download Tktk's Custom rig and extract it as well. Select all the files from the tktk custom rig folder and copy paste/replace them in Anton's N3 folder.
The original .blend files from Anton's Animation tools come with a constraint version of the skeleton. Meaning that the hands and feet are locked to the ground as though they are affected by gravity. It's impossible to move individual bodyparts such as upperarms, shoulders etc. separately. Tktk made a custom skeleton which allows you to simply grab and move each bodypart separately, which is much more easy to use.
Step three (interface explained)

Open up the Example_Male_Vanilla.blend. Everything is already set up for you by Anton and Tktk. First of all, your screen layout shout look somewhat like the screenshot above. If it doesn't make sure you've selected the right file and make sure you are working in the right blender version.
Forget the entire menu on the right, however take a look at the menu on the bottom. There's only three features you will have to use:
View Angles
First off left click on the "view" button. A menu will pop-up with a list of features. Near the bottom you will see the following options; "Left, Right, Back, Front, Bottom, Top" These will adjust your camera angles. Sometimes it's easier to grab and rotate a body part from a different angle. This is where these will come in handy.
You can also manually rotate the camera around the character using the MMB (middle mouse button obv). Just play around with it for a bit until you get the hang of it. You can zoom in and zoom out by scrolling the MMB and pan the camera using SHIFT+MMB.
Pose Mode
Next to the view menu you'll see a button with an icon of a little stick figure that says "Pose Mode". Your file should be set to this mode by default but make sure it's always in this mode and you didn't accidentally change it.
Script Window
All the way on the right of the bottom menu there's a small light grey screen with a script set up. Underneath this window you will see a button "Run Script" Once you are done posing you will need to click this button to export your pose. (easy right?)
Step Four (Let's Pose)
The best way to make a pose is to work off of a reference picture. Find any kind of pose you like on google and use it as a reference photo for your pose.
You will notice your character is completely grey however there's a couple of green colored rings placed on each individual body part.
The green rings are the controllers to move individual body parts:
To move the body parts you will need again three buttons ;)! One is your right mouse button to select a controller. The other two are your "R" and "G" buttons on your keyboard.
Let's try to pose the left arm by clicking on the ring just below the left shoulder. This ring should control the upperarm, lower and hands. One you've selected the controller it should lit up neon green, indicating that it's been selected.

R & G buttons
While having a controller selected press "R". A black dotted line should appear with two arrows on the bottom. Try moving your mouse to the left and right and you will notice that the arm is moving. You can move your cursor up and down to make the dotted line longer or shorter. Play around with it and you will see that the length of the dotted line is linked to the rotation speed, meaning that if the line is shorter, the controller reacts much more intensely than when the line is longer:

If the arm is in the desired angle, left click to confirm the position, or right click to undo the rotation if it's not.
Now select the same controller again and press "R". While in rotation mode press "R" again, you will notice that the arrows on the bottom of the dotted line will change color. By pressing "R" twice you can change the controller angle from left to right, to front to back. Play around with it some more and notice the difference.
G button
I don't use the G button often on anything else but the pelvis or feet. Sometimes I use it on individual bones if it makes the pose look better but I prefer not to. The G button allows you to move the controllers, up down left or right.
Try grabbing the feet. Only this time instead of selecting the green rings select the dark red controller. Press "G" and move the feet around (it should become bright red once selected), you will notice that the feet and legs work a bit differently than the arms.

As opposed to the arms which can be posed individually the legs have to be controlled by the feet, so you cannot actually grab the lower leg and rotate it like the lower arm for example. It'll take some practice to get the hang of it but it's quite easy once you get used to it.
Step Five
Play around with the features I described above and see what everything does and how everything reacts to get a sense of how to move the skeleton.
Step Six (EXPORTING)

Once you are satisfied with your pose click the "RUN SCRIPT" button on the bottom right of the lower menu (right below the light grey window). Keep an eye on the top menu. You might see a yellow warning sign, next to it are two buttons, "reload trusted" and "ignore". Press ignore and run the script again if this happens.
Step seven (converting the file)
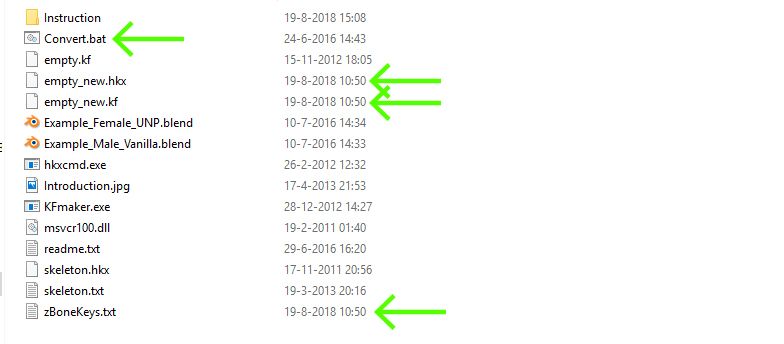
Go to the N3 folder of Anton's Animation Tools. There should be a file called "zBoneKeys.txt". Check the changed date on it and see if the time and date correspond with your export time to make sure it has been exported successfully. If the date still says 2017 go back and read the tutorial again ;)!
There will be a file which says "Convert.bat" Open it up. It should load up some kind of code in a black cmd screen. Simply press enter and it'll close by itself after running the conversion code.
Notice the empty_new.hkx and empty_new.kf files in the folder, they too should have also been modified by now and their modify date should be updated.
If it has changed; congrats you've done it! You've made your first pose!
Step Eight (FINAL)
The hkx or kf files are ready to be installed ingame. There's numerous ways to go about it, read any FNIS tutorial and it'll tell you how to do so. You can also simply rename and overwrite these files with any other hkx or kf files in the skyrim data folder. Hkx files should be in any of the subfolders of "...\Skyrim\Data\meshes\Actors\Character" . Make sure you know what file you are replacing!
Hope it helps! And have fun posing!
TROUBLESHOOTING
1. Your character setup should always look like my character setup in the screenshots. If it looks different, for example it doesn't have rings as controllers but it has some kind of bone structure as controllers, then you are working in the wrong, default file which comes with Anton's Animation Tools. Download TkTk's rig and overwrite the files in Anton's folder with TkTk's files.
2. If for example you get an error that the script has failed open up the blender console window and see what the problem is. Make sure that you are not working from TkTk's folder but you've copied these files into Anton's folder and you are working from Anton's N3 folder. Also make sure you're working in the right blender version!