About this mod
How to mod Skyrim LE. A step-by-step guide, as simple and clear as possible. Includes a well curated "Vanilla Plus" mod list with links.
- Permissions and credits
- Changelogs
Introduction
This is a performance-friendly step-by-step guide to modding, based on over 3000 hours of researching and playing mods.
I wrote this because (in my opinion) most other guides are not clear or concise enough. They tend to require powerful PCs, and have bloated mod lists.
To keep this guide simple and performance friendly, I will only cover the essentials, so no ENBs etc. I hope this guide helps you save time and avoid some frustrations while modding Skyrim.
Avoid unrealistic expectations:
"Modding is easy and quick. Anyone can do it"
"You can have 200+ mods installed that are 100% free of bugs and glitches"
"My 100+ graphics mods and ENB make Skyrim look epic, with no performance loss"
"Mods fix and improve every aspect of the game"
"If you follow all instructions and use common sense, you won't run into problems"
While the above statements are sometimes true, they are also very misleading. Modding takes time, usually has some bugs, and will affect performance. Even today in 2020, there are still many things mods don't fix or improve. Sometimes things go wrong, whether you carefully follow this guide or not.
Have you tried Enderal?
Enderal is a 1-click-install supermod for Skyrim. It is a great alternative if you don't have the time or energy to go through this guide.
Prerequisites (what you will need):
- Skyrim and all DLC (or legendary edition) on Steam.
- Your PC should be able to run vanilla Skyrim at max settings smoothly (for example: i3-3220 + GTX750ti + 8GB RAM).
- Windows 7 or higher with UAC disabled (if you keep UAC on for security reasons, you must install skyrim to a directory other than "program files")
- nexusmods.com free account, for downloading mods.
- large amount of free time and perseverance.
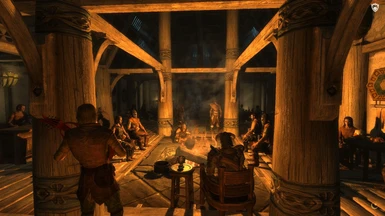
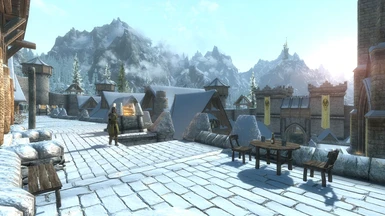
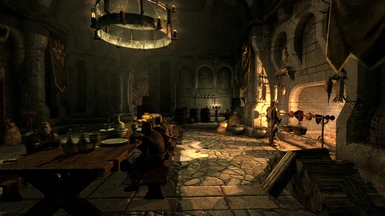
A note about the screenshots:
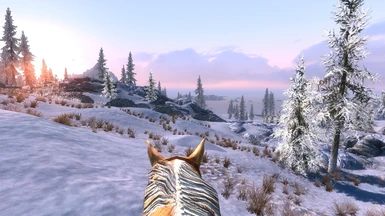
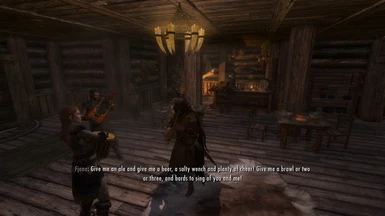
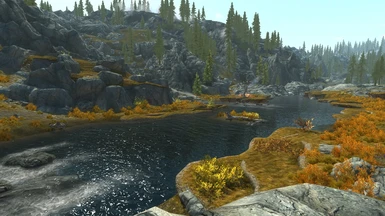
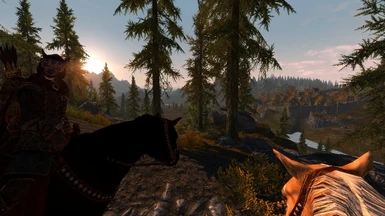
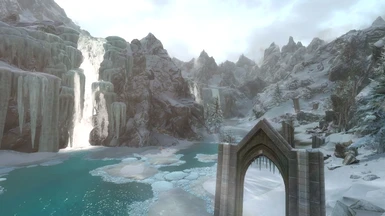
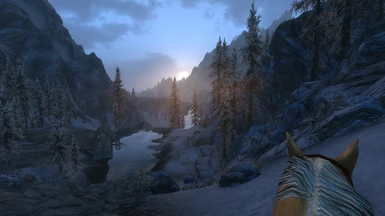
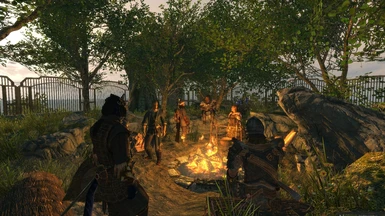
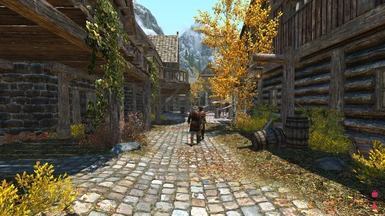
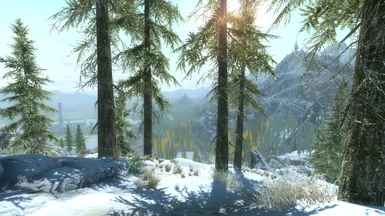
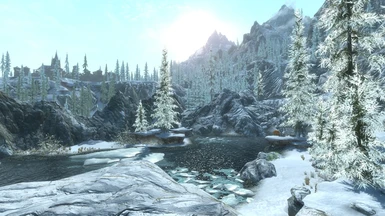
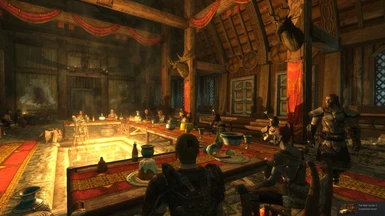
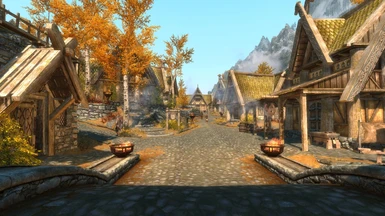
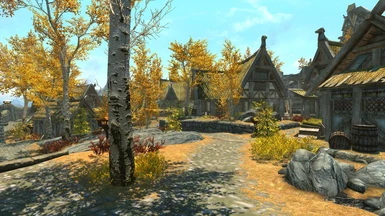
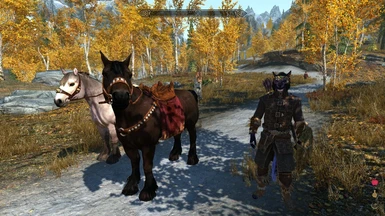
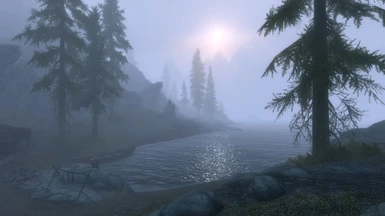
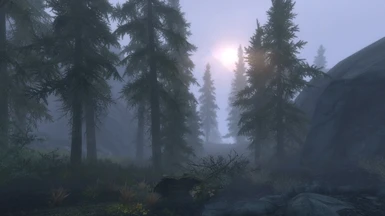
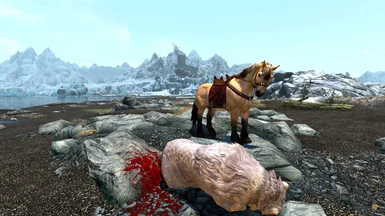
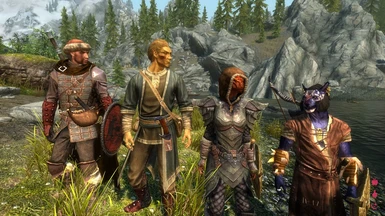
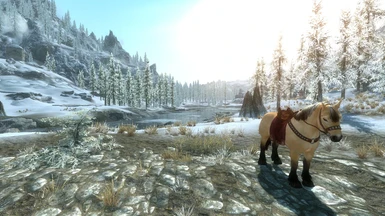
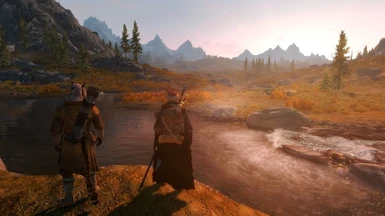
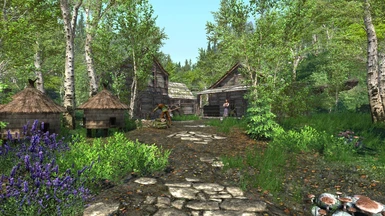
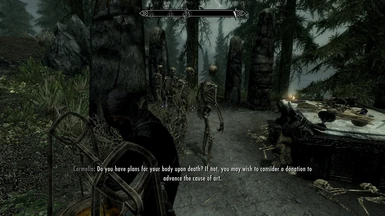
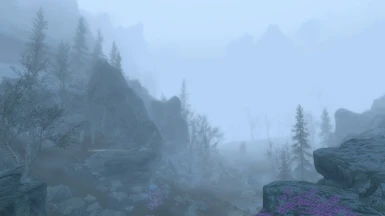
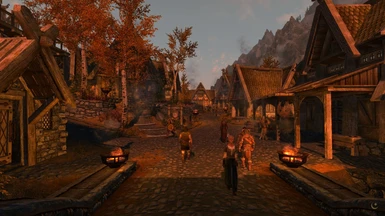
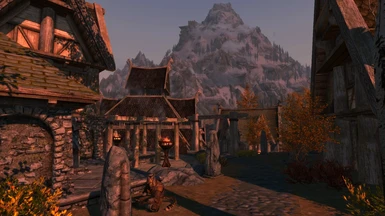
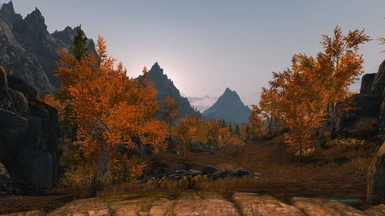
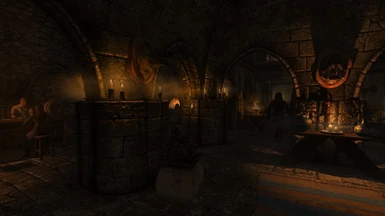
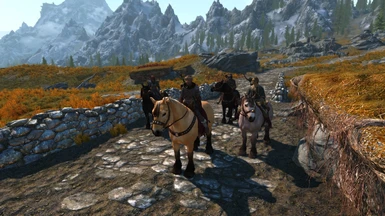
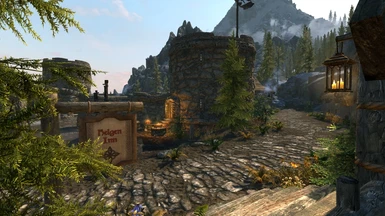
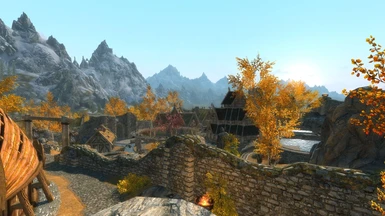
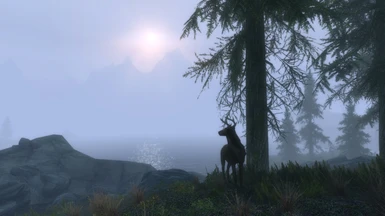
I know these visuals are not very impressive, but they are still significantly better than vanilla, with nearly no performance loss.
Also note, I am not using a landscape texture pack in the screenshots. What you see is just the official HD DLC.
Preparing Skyrim for Mods
Before installing mods you must follow these steps:
- Download and install Skyrim Legendary Edition
- (optional) delete the intro logo video in
C:\Program Files (x86)\Steam\steamapps\common\Skyrim\Data\Video - Run Skyrim once - select "Play" in the launcher and exit from the main menu. (this is so the engine generates ini files).
(if the launcher did not auto select "ultra" graphics settings, your PC may not be powerful enough for proper Skyrim modding) - On the steam front page, do a search for "SKSE" (Skyrim Script Extender), and install it.
- now enable the SKSE memory patch:
go to steamapps/common/Skyrim/Data, and create folder "SKSE".
in new skse folder create "skse.ini" file.
open "skse.ini" with any text editor and add the following lines:
[General]
EnableDiagnostics=1
ClearInvalidRegistrations=1
[Memory]
DefaultHeapInitialAllocMB=768
ScrapHeapSizeMB=256
save and close - create a folder where modding resources will be installed (outside of skyrim's directory but on same drive). An example: "C:\Skyrim Mod"
- download and unzip Tes5Edit. To make skyrim more stable when modded, clean Bethesda's master files like this:
open TES5EditQuickAutoClean.exe, select "Update.esm" and then click "OK". wait 5-10 min till done, then close TES5Edit.
now re-open TES5EditQuickAutoClean.exe and repeat for "dawnguard.esm", then "hearthfires.esm", and then "dragonborn.esm" - Note: before installing "Mod Organizer", I recommend you edit graphics settings in the default launcher to your liking, as once MO is installed, you will have to edit graphics setting inside MO using a much more complicated interface (tools menu > 'configurator'). Any changes made in the default launcher will not work when using MO.
- install MO - "Mod Organizer 2" in your modding folder. Also note: MO uses a virtual file directory system, so most of the utilities you may end up using must be run from within MO. For example, if you wanted to examine a mod in SSEEdit, you would need to click the cogwheels icon in MO, then click the plus symbol icon > "add from file", and navigate to SSEEdit.exe. From then on, in the main MO window you can select SSEEdit next to the big "Run" button.
- From now on, you will always start skyrim from within MO by selecting "SKSE" , and pressing "Run". MO can create a desktop shortcut of this for you. Note: if you do not start skyrim this way, any mods installed through MO will not work!
- open MO, press the spanner "configure" button, select workaround tab and click "back date BSAs"
- (optional) in MO, press "tools" button (looks like puzzle pieces) and select "ini editor". Edit/add the lines shown below. All of these are optional tweaks, but highly recommended. (be careful, any careless mistake or typo can cause severe problems)
Note: the skyrim ini files in your "My docs" don't work with MO. Only edit these ini files in MO.
SKYRIM.INI:
[General]
fFlickeringLightDistance=8192 (fixes indoor light pop-in)
[Display]
fDecalLifetime=256.000 (makes blood splat on ground stay longer)
iPresentInterval=0 (OPTIONAL! - disables v-sync for lower input lag, but causes screen tear. limit fps to 60 (in RTSS) or it bugs out)
fDefaultWorldFOV=76 (good compromise for wider view, higher values can cause clipping problems)
fDefault1stPersonFOV=76
fSunShadowUpdateTime=0.000 (less irritating updating of shadows as sun moves across sky)
fSunUpdateThreshold=0.200
[Combat]
f1PArrowTiltUpAngle=0.7 (reduces how much an arrow overshoots where you aim)
f3PArrowTiltUpAngle=1.5
f1PBoltTiltUpAngle=0.7
f3PBoltTiltUpAngle=1.5
[Controls]
fDualCastChordTime=0.02 (reduces chance that a mouse click is not registered when using a weapon, but narrows dual wield click window)
[VATS]
bVATSDisable = 1 (OPTIONAL - disables slow-mo kill cam, but is glitchy in first person view, 3rd person kill animations still play ok)
[Weather]
fSunBaseSize=150 (reduces how much the sun incorrectly penetrates through solid objects)
fSunGlareSize=150 (if using ELFX weathers, this reduces 1st person view sun glare if it was too much)
SKYRIMPREFS.INI:
[General]
fDefaultFOV=76
[Display]
bDrawLandShadows=1
fMeshLODLevel1FadeTreeDistance=6144 (fixes irritating transition from low detail tree to high detail tree)
fMeshLODLevel2FadeTreeDistance=4096
fTreesMidLODSwitchDist=8192
iMaxSkinDecalsPerFrame=100
iMaxDecalsPerFrame=250 (allows more blood splat on ground at same time)
[Controls]
bMouseAcceleration=0 (likely a placebo, but does not hurt to use it just in case it makes the mouse slightly more responsive)
[Trees]
uiMaxSkinnedTreesToRender=200 (fixes irritating transition from low detail tree to high detail tree)
[Launcher]
bEnableFileSelection=1
[Water]
iWaterReflectHeight=1024 (improves reflections in water)
iWaterReflectWidth=1024
---------------------------------------------------------------------------------------------------------------
Installing mods general info
(optional) You should first play vanilla skyrim till you exit the tutorial dungeon (Helgen), and then make a save. Use this save when testing new mods.
All mods will be obtained from the nexusmods.com website. Before downloading a mod, it is recommended you read it's description page.
The basic mod download and install process:
- On a nexus mod page, go to the files tab and click "manual download" for the file you want. Don't "extract" or "unzip" the files.
- In MO, press the "Install a new mod from an archive" button (second button top left of window).
- Select the file you downloaded and press "open", then "OK". If a menu appears, follow on-screen instructions.
- Once the mod is installed, find the mod in the left window of MO and click the check mark box next to its name to activate the mod.
Mod "conflicts", and the "Load Order"
Skyrim's game engine loads mods one by one in an order you can control - the "load order".
If two mods edit the same thing, the mod that loads later (lower in the load order) will overwrite the change made by the other mod, taking priority. This is called a "mod conflict". As you install more mods, conflicts become inevitable. Most conflicts are harmless or only cause small problems, but some can cause serious problems, so you should be aware of them. Many problematic conflicts can be made harmless or "resolved" by changing the load order (explaned below). To avoid conflicts, try not to install mods that seem to do the same or very similar things, and always check the mod's description page on nexusmods.com for any "conflict", "compatibility" or "load order" information (use Ctrl+F in your browser).
Automatic load order sorting:
After installing new mods, click the "Sort" button in MO (above the right window). This runs a built in version of "LOOT" (Load-Order-Optimisation-Tool). You may hear claims this is inferior to a full separate LOOT install, but for the purpose of this guide, the built in "Sort" button is good enough.
This will sort most mods correctly and ensure most conflicts are not problematic. Once done, it will show you a report about your load order. This will include useful info on potential incompatibilities and patches you may need. Note that some of the warnings and recommendations may be out of date, or not enough of a problem to bother with. Any warnings about "ITMs" (aka "dirty edits") can generally be ignored.
Manual load order sorting:
LOOT should sort most of the mods in this guide correctly, but it can make mistakes, especially with less well known mods. Therefore it is useful to know how to sort mods manually:
But first some general knowledge you should know - mods can include 3 different catergories of files.
1. Plugins - files with a ".esm" or ".esp" extension. They can modify vanilla game data and tell the game engine what to do with the following:
2. BSA archives - A single large file containing the bulk of the mod's custom assets (textures, audio files, meshes etc). They need a plugin to work.
3. Loose files - Also contain custom assets, and load after (overwrite) any conflicting data in BSA archives. They don't always need a plugin to work.
Some mods may only have a plugin by itself (a spell mod), or loose files by themselves (a texture mod), while other mods may have a combination of all three.
The left window in MO:
This controls the load order of loose files.
If a mod has no loose files, it does not matter where it is positioned in the left window. You can see if a mod's loose files conflict in the left window if it has a small yellow lightening bolt icon next to it. If you select one of these mods, some other mods in that list light up as red or green. Red overwrites the selected mod, green is overwritten by the selected mod. (remember, this only shows loose file conflicts, not other types of conflicts). The official DLC (like dawnguard and dragonborn) tends to get overwritten, this is not a problem.
The right window in MO (plugins tab):
This controls the load order of plugins and their respective BSA archives. ".esm" plugins always load before (above) ".esp" plugins.
Unlike the left window, MO has no equivalent way of telling you if there is a plugin conflict in the right window. The only way to know is to rely on the info the mod author has provided, or to test the mod ingame, or to examine the plugin's data in SSEEdit (there are other guides for this on the internet).
Manual sorting is done by dragging and dropping mods up or down.
Note that the "Sort" button (LOOT) only sorts Plugins in the right window, it can't sort Loose files in the left window.
If you install the suggested mods listed later in this guide, I have listed some manual load order adjustments for you at the end, so you don't need to figure them out yourself.
Other notes:
MO will show a large red warning triangle in the top right corner when something requires your attention. Click on it to open its window and get more info. A common example is a warning message saying "There are files in your Overwrite mod directory". Read the on-screen explanation to decide if anything needs to be done. You can find the overwrite folder at the bottom of the left window.
You can only have a maximum of 255 plugins active at the same time.
Some mods need to have their file tree structure adjusted before installing. MO will say something like "no game data on top level", and you should see a tutorial on screen on how to resolve this. If you are unsure, just google "mod organizer no game data on top level".
If you install any mod patches, remember to always place the patch below any of the mods it patches in both the left and right MO windows.
When in game, many mods have a "MCM" (mod configuration menu) that can be accessed from the game's system menu after loading a save.
If subscribing to steam workshop mods, first open the vanilla game launcher, wait for messages at the bottom to confirm mods are up to date, then close the launcher, and run MO to sort/activate if needed. Workshop mods in MO will show up as "Unmanaged:" and "Non-MO". This is fine, they will still usually work.
Changing Mods During a Playthrough
You can usually install new mods during a playthrough without any trouble. Changing your load order mid-playthrough is also usually ok. But, always first make a new separate save file, making sure you never overwrite it from now on. This is a backup save you can revert to if anything goes wrong. (also called a "Clean save", but this can have other meanings)
It is best to be very careful when uninstalling mods during a playthrough, but you can usually still do so without problems. Just be aware there are risks. This is because save files contain data from mods, even after those mods are uninstalled. This can sometimes cause problems that range from minor glitches to permanently corrupted save files. The risk depends on the type of mod. Script-free mods, and mods that don't have an esp file (texture mods etc) are usually safe to uninstall. Quest mods tend to have moderate risk. Heavily scripted gameplay overhauls are the most risky, so you should avoid uninstalling them. Always make a backup save first.
If you are updating a mod during a playthrough, the same risks may apply. Always make a backup save first.
Risks when uninstalling mods can be minimised (but not eliminated) by following the below procedure, which uses the "Save game script cleaner" found on nexusmods.com
The correct mod uninstall procedure:
- - Always make a backup first!
- - If the mod has an MCM menu with an enable/disable mod button, use that first to disable the mod.
- - Save the game (preferably in a vanilla interior location). Quit Skyrim.
- - Uninstall the mod(s) in MO (right click on the mod name in the left window and select "remove mod...").
- - Start Skyrim and Load the save. Select "yes" when the warning message about missing content appears.
- - Save the game again. Quit Skyrim again.
- - Load the "Save game script cleaner" tool. Near the top right corner press "open", and select and open your save file.
- - Press "FixScriptInstances", then "Delete all #", then "Clean other", then "Del. broken actives", and finally "Clean formlists".
- - Press "Save as", save the new file, then close the tool.
- - Start Skyrim and load the new cleaned save file. Continue playing as normal.
This procedure can sometimes be used when updating mods (NOT quest, follower, and perk mods, as this method would wipe any ingame progress you made with the mod). Always check with mod authors for any specific update instructions.
If the script cleaner does not fix a serious problem with a save file, the only remaining option is to revert to one of your backup saves that was created before the offending mod was installed/uninstalled.
Installing and uninstalling quest mods during a playthrough:
If you intend to play through a large number of quest mods in a single playthrough, it is a good idea to only install a few of them at the start of a new game, and then install others only when you intend to play through them. After finishing a quest mod, you can either leave it installed or consider uninstalling it using the above uninstall procedure. This approach provides a more balanced and stable experience than having a huge number of quest mods installed at the same time. It reduces the chance of mod conflicts, and troubleshooting problems is also much easier.
As a real example, I have a 1000+ hours savegame on which over 60 different quest mods were installed as I played through them. After finishing each mod, I either left it installed, or used the uninstall procedure, or on rare occasions when the mod was unstable, reverted to the most recent backup save (rather than risk future instability with a contaminated save). Despite 1000+ hours of playtime, and uninstalling over 50 quest mods, my savegame remains quite stable and is about 25MB large.
Suggested Mod List
These were carefully selected for good performance, stability, production quality, lore friendliness, and gameplay balance.
This list only incudes mods that I personally use and trust. Many popular mods are absent for this reason.
All mods listed here can be used together (that's what I do), except for the optional quest mods at the end of the list (as explained above).
This is not an "ultimate mod list" for people with very powerful PCs and endless free time, but rather a solid "Vanilla Plus" list for most people.
Where there was a trade-off between graphics or gameplay balance, priority was given to gameplay.
Bug fix mods:
Unofficial Skyrim Legendary Edition Patch
Unofficial high resolution patch (if you use Bethesda's high resolution texture pack)
Crash fixes
Bug fixes
Better MessageBox Controls
Better Dialogue Controls
Fuz Ro D-oh
(optional) Load Game CTD Fix (you only need this if you have CTDs when loading a savegame)
(optional) Leave Combat (a cheat power that can be used to fix "stuck in combat mode" bugs)
Interface mods:
SkyUI
SkyUI Tweak - By Type Inventory Sorting
Enhanced Camera
Immersive HUD - iHUD
moreHUD
Display Enemy Level
Even Better Quest Objectives (includes patches for "Cutting Room Floor" and "Enhanced Follower Framework")
(optional) Consistent Sensitivity (actually an SSE mod, but it works fine in original Skyrim)
(optional) Floating Damage
(optional) AH Hotkeys (also get "controlmap" on it's download page - needed for spell autocast functionality)
Graphics mods:
Realistic Waters Two (if waterfall animations feel too fast, you can delete the meshes/effects folder in the mod)
Static Mesh Improvement Mod - SMIM (select lite performance option if your PC is weak)
Improved NPC Clothing (this overwites some SMIM files)
Enhanced Lighting and FX - "ELFX" (recommended: "Enhancer" and "Weathers" modules)
Unofficial ELFX SMIM ENB fps patch
ELFX Fixes
ELFX - Exterior fixes
Leanwolf's Better Shaped Weapons
Enhanced Blood Textures
Lorkhans Vision - Night Sky V2 (low saturation version recommended, even if not using ENBs)
Special Edition Fragrance
A Quality World Map and Solstheim Map
(optional) Detailed Cities (adds some trees and clutter to all cities. very lightweight and highly compatible)
(optional) Warmth - Light Armor Replacer SSE (no more skimpy bandits in freezing weather)
(optional) No Menu and Loading Smoke (seems to speed up loading times slightly)
(optional !!!) Mitigate HDR Eye Adaptation and disable Bloom (incompatible with all lighting/weather mods, unless you use the TES5Edit script patch version to merge it with your lighting mods - a guide on how to do this is included on the mod page)
Audio mods:
Audio Overhaul for Skyrim 2 (install this mod after all other mods so that it's installer can auto-detect which patches are needed)
Better Animal Footsteps
(optional) Irish Flute Bard
(optional) No Combat Screams
Gameplay and other mods:
To Your Face - Sensible NPC Commenting (SKSE)
D13 Faster GET UP STAND UP animation
No Spinning Death Animation
Realistic Ragdolls and Force
Guard Dialogue Overhaul
The Choice is Yours
Immersive Citizens (includes patches for ELFX)
Immersive Horses
Protect your People
Diverse Skyrim
Player Headtracking
Richer merchants - With perks support
High-level Loot Rarified (actually an SSE mod, but it works fine in original Skyrim)
Realistic AI Detection (if using the full ELFX suite as recommended in this guide, get the "High Interior, High Exterior" version)
Better Stealth AI for Followers
Combat Behaviour Improved (fixes enemy attack animations so you take damage mid-swing rather than at start of swing. makes timed block viable)
Realistic Melee Range
Traps Make Noise - More Dangerous Traps
Earlier Health Warnings
(optional) Wildcat - Combat of Skyrim (I recommend you disable the injuries system)
(optional) Simply Stronger Dragons (much safer than "deadly dragons" mod)
(optional) Isilmeriel LOTR Weapons Collection
(optional) Campfire (you need this if you use a survival mod like "Hypothermia" or "Frostfall")
(optional) Hypothermia, and Hypothermia Plus (compatible with "Campfire". More realistic, reliable, and customisable than Frostfall. Be sure to enable the camera shake effects)
(optional) iNeed - Food Water and Sleep (you can lower the game timescale in it's MCM menu)
(optional) Extensible Follower Framework (you can also get the "EFF Patch" on the "Interesting NPCs" mod page. Note: mod followers can only be dismissed with the command wheel if using this patch)
(optional) EFF - Follower distance Fix
(optional) Skyrim -Community- Uncapper
(optional) Timing is Everything
(optional) Block Random Dragons
(optional) Encounter Zones Unlocked
(optional) Carriage and Ferry Travel Overhaul
(optional) No Auto-Aim
Quest mods to install at game start:
Interesting NPCs
Beyond Skyrim: Bruma
(optional) Lucien
(optional) INIGO
(optional) Immersive World Encounters
Quest mods you may want to install later, one-by-one, when you intend to play through them:
Note: a recommended player level is suggested for some of these quest mods if they are unsuitable for low level players.
(optional) The Cheese of Ages
(optional) MediEvil - Hero of Gallowmere (has an alternate game start function, so is not compatible with other alternate start mods)
(optional) EasierRider's Dungeon Pack
(optional) Clockwork (level 20+)
(optional) Carved Brink (level 20+)
(optional) Yellow King (level 20+)
(optional) Wyrmstooth (level 30+)
(optional) Away - Come Away (level 30+)
(optional) Helgen Reborn (keep this mod disabled till you finish the game intro sequence at Helgen. level 30+)
(optional) Moon and Star (level 30+)
(optional) The Evil Mansion - Final Edition (level 30+)
(optional) The Shire (level 40+)
(optional) Hammet's Dungeon Packs and Land of Vominheim (level 40+)
(optional) Falskaar (level 50+)
(optional) Voyage to the Dreamborne Isles (level 50+)
(optional) Unslaad, and Unslaad English Voiced (level 50+)
(optional) Darkend (level 70+)
(go to the article section of this mod page for a more extensive list of recommended quest mods, sorted by suggested player level etc)
(also, for an even longer list of reviewed quest mods, scroll to the bottom of my Realistic AI Detection page. some are not recommended though)
Load order tweaking:
Now run LOOT to sort your mods. Then adjust the load order of the following mods if necessary (since LOOT sometimes gets it wrong).
These manual adjustments are based on mod author instructions and my own testing.
special ed fragrance right at the top, after Update.esm but before the official DLCs
detailed cities after unofficial patches but before everything else
ELFX (main esp) before 3DNPC
3DNPC (interesting npc) load before immersive citizens
Immersive citizens after interesting npcs
ELFX enhancer load after immersive citizens
realistic melee range after any combat mods like wildcat
consistent sensitivity after any combat mods like wildcat
better animal footsteps load after audio overhaul 2
realistic ai detection as close to bottom of load order as possible
ELFX weathers load after all other ELFX plugins
Done!
You can now start playing (or install more mods).
Go find Lucien, Inigo, and Rumarin (three of the best custom followers with the largest amount of dialogue) and start adventuring!


