About this mod
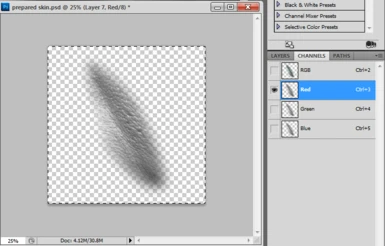
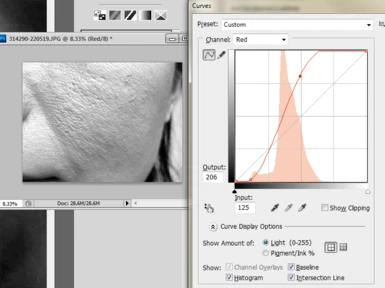
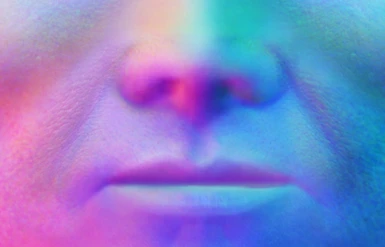
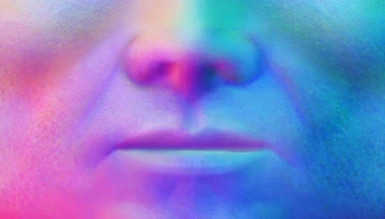
This is a brief tutorial on working with photoshop and stock photography to increase the level of detail in Normal maps for DDS game textures.
- Permissions and credits
I am writing this under a few assumptions:
1: You are experienced in use of multi-layered raster editing programs (Photoshop or GIMP) which can create and export DDS textures (DXT5) with embedded alpha channels.
The techniques discussed herein require some knowledge of photoshop. As there are a number of great photoshop tutorials out there, I will not be covering that.
2: You have HD stock photography to work with. You may find this at any number of stock sale sites if you don't have a camera and your own collection as I do. Taking your own stock images is the professional way to do it but starting out it's fine to use other sources too!
There are also a bunch of stock photography sources for free which you can find with some dedicated searching. Try looking around on deviantart (you can visit me there too at nitocris.deviantart.com too!), but remember that every stock collection has its own usage permissions. You wouldn't want someone else ripping off your work, so respect stock artists too.
3: You have a game texture you want to work with. I'll be working with textures derived from the standard male player face in this tutorial but you could just as easily use this tutorial's methods on any texture, even one made from scratch or from an entirely different game.
4: You have a Photoshop CS5.1 or can muddle through with a similar program. There are trial licenses and student licenses for a lot of these programs, as well as low cost alternatives. I won't be looking at compatibility methods for GIMP but based on what I do and say, someone experienced with GIMP (which I am not) should be able to follow along and gain from this tutorial.
That's how I do it, in three steps (lol) as requested by doomfunk. Maybe you have your own way and would like to share it with the rest of us!
I hope this has been helpful to you, remember to endorse this file and leave a comment to let me know what a radical awesome lady I am in the comments section of this upload. Thanks in advance for being kind, I am a shy and sensitive robot.
-Nitocris


