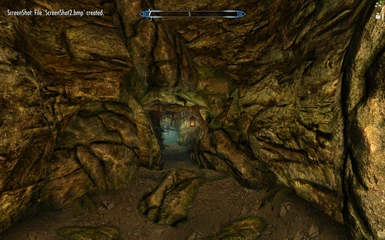
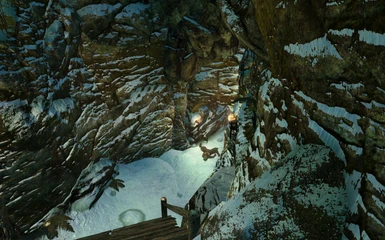
About this mod
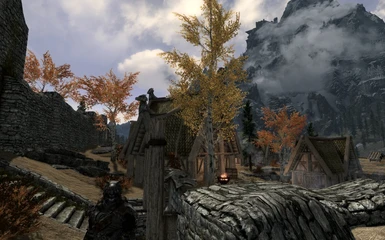
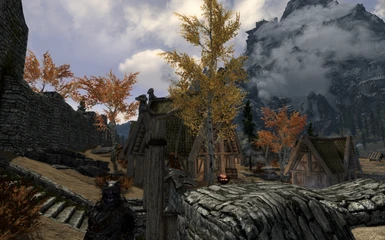
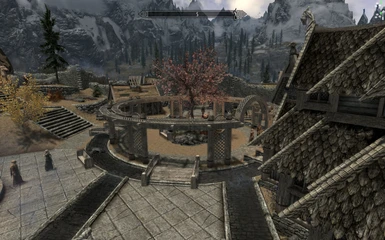
A profile for FXAA Injector with Vanilla like look, with a delicate sharpen and saturation (i don't like oversaturated things, so it's really small touch, only what was needed).
- Requirements
- Permissions and credits
This profile sharpens the textures (very little sharpen, i hate all those oversharpen profiles you can find on nexus), adds a very very very small saturation boost (needed for FXAA and blur, without it it looks washed-out) and small blur (rly small, don't worry).
In case of FPS i haven't found any FPS drop while using FXAA Injector at all.
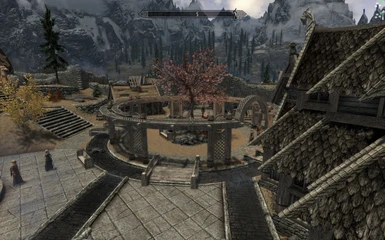
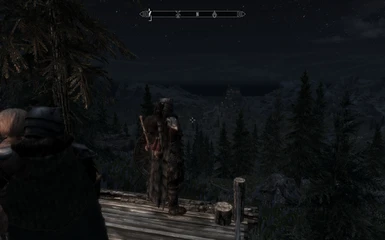
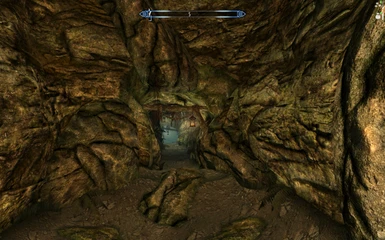
Also check the screenshots (i'll add some in future, when i find some good location for comparison). And if anyone is interested, i'm not using any ENB, just the FXAA injector.
--- Installation ---
I've tried quite a few setups with some versions of fxaa injectors you can find on nexus and the one from Jellinn worked the best on my pc... But I realize it doesn't have to work for you. Just try it and you’ll know.
You have to manually install the mod (not by NMM), but it's really really simple, just copying few files from archives.
1) Download the FXAA v1.1 from this page: http://skyrim.nexusmods.com/mods/384//? (again thx dude for you work, your setup was almost 90% of what i wanted :) )... Don't forget to endorse that guy :)
2) Install it (extract files to Skyrim root)
3) Download my "mod" and extract the injFX_Settings.h from the archive to skyrim root (overwrite the one provided by Jellinn's mod).
4) Run the Skyrim Launcher (or use the Skyrim configurator, which won't mess up your tweaked ini files) and set the AAx2 and turn off the FXAA - it works the best with the FXAA Injector and the AAx2 has almost no performance hit (on decent machine).
5) Run the game
--- How to uninstall ---
Just delete all files you have placed into Skyrim root directory. It's not a bad idea to turn the Injector off in game first... Not sure if that's really needed, but you should always deactivate (if you can) anything before uninstalling.
--- Some stuff you should know ---
Here i want to mention some inportant info you might want to know (some of it is quite hard to find).
* You can turn on and off the Injector at ANY TIME by pressing "Pause" key (it's the one next to Scroll Lock)
* I found that the Injector might blur the Steam UI a bit (mostly noticable on chat font) - since you can enable/disable the Injector at any time by pressing Pause, i think it's not that big of a deal (you can turn it off to write somebody and then turn it back on to continue playing the game).
* It's using d3d9.dll (like any enb), so you cannot use any HW monitoring UI (Afterburner, Crossfire, EVGA Precision, D3DOverrider etc). If you try to do so, the game will just CTD. There is a way to force the MSI Afterburner to work, however any screenshot taken with forced Afterburner will have the MSI Hud on screenshots as well (and the font will be blured because of the Injector.... so in my opinion it's not worth it). Still if you're interested in this, then check the section below.
* You have to take screenshots using Printscreen button instead of Steam screenshot button - the Steam takes the picture in different way, capturing the game without the FXAA layout. So if you want to take some pictures with your FXAA, you have to use that Printscreen (the game will save screenshot in Skyrim root).
--- Forcing MSI Afterburner ---
If you still want to try the MSI Afterburner with FXAA, then follow this:
1) Turn off Skyrim (you don't really have to, but the changes will work after the game is restarted, so you might wanna just turn it off :) ).
2) Create a custom profile for TESV.exe in the MSI OSD menu
3) Go to /MSI Afterburner/Bundle/OSDServer/Profiles/TESV.exe.cfg and open it with Notepad (or any other text editor)
4) Under the [Hooking] section add: EnableDynamicOffsetDetection=1 (the line might already be there, only with 0 value, so in case you have it there already, just change it to 1)
5) Now you can launch your game, still have your OSD, and not CTD!!
(Thanks and credit for this goes to guy named WhipDiddyWhip)
Thank you for your time and i hope you'll enjoy my setup.
In case you have question, just ask.
Exe


