About this mod
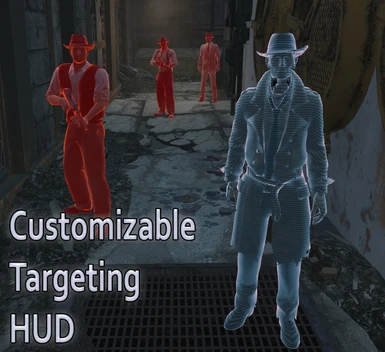
Customize your Targeting HUD! Choose when it is active, change its color, highlight friendlies in a different color and more.
- Requirements
- Permissions and credits
-
Translations
- German
---------------------------------------
Description
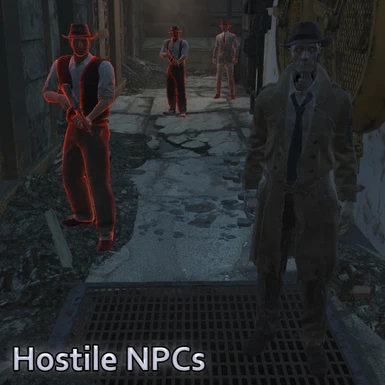
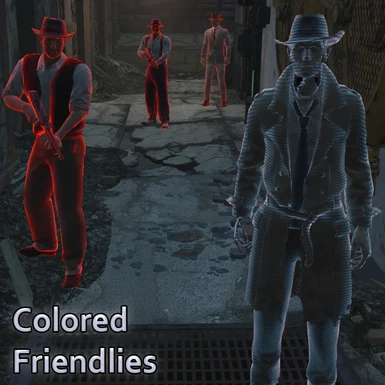
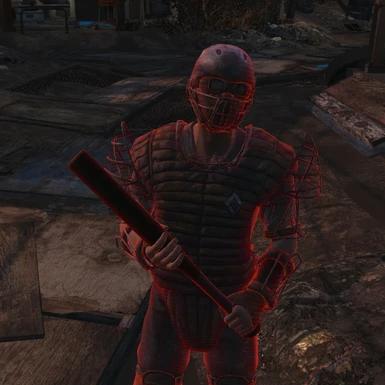
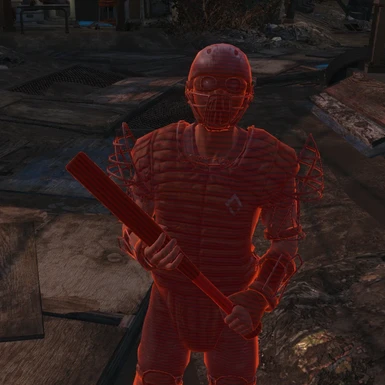
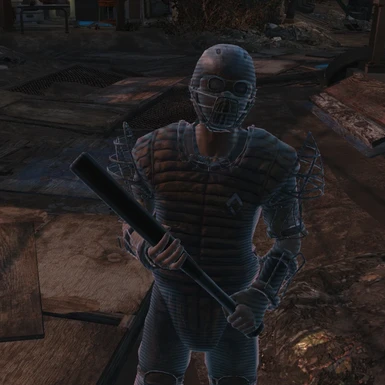
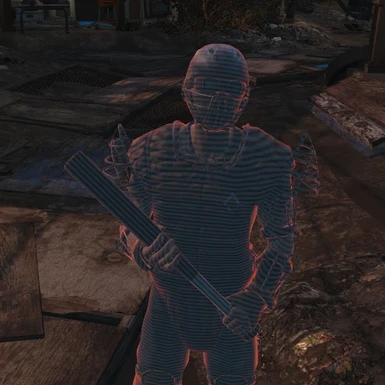
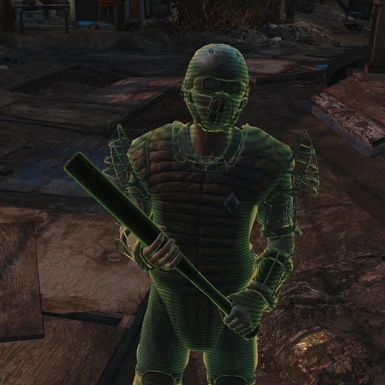
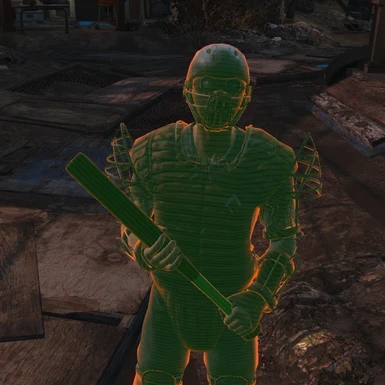
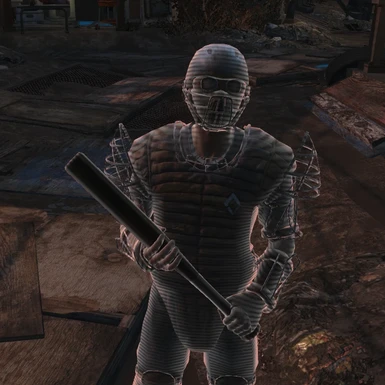
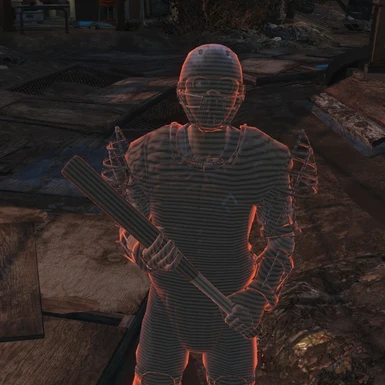
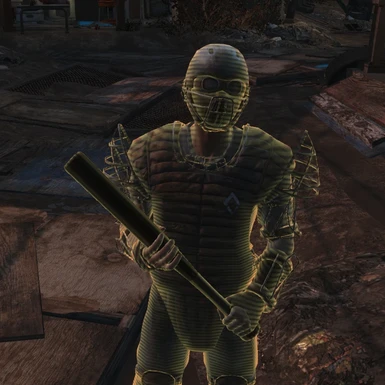
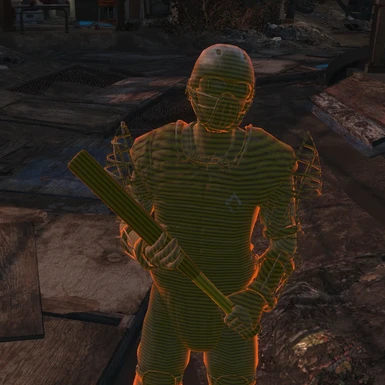
With this mod you can choose when the Targeting HUD will be active, change its color, highlight friendlies/neutrals in a different color or highlight only hostile NPCs and creatures, as well as remove the scan lines effect from the Targeting HUD.
Colors
There are currently five colors available: Red (same as default, but slightly brighter), Blue, Green, White and Yellow.
Each of these colors also have a "High Visibilty" variant, which is excellent for sniping from long distances.
You can choose any of these colors to highlight hostiles or friendlies.
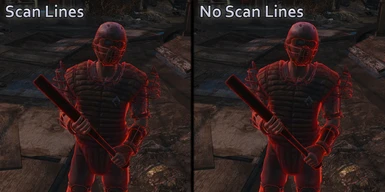
No Scan lines
Removes the scan lines from the Targeting HUD.
Highlighting options
- Hostile NPCs only
- Hostile NPCs and colored friendlies
Note: The different color on friendlies will only work if you're using any of the original Power Armor Helmets.
- All NPCs
Toggle options
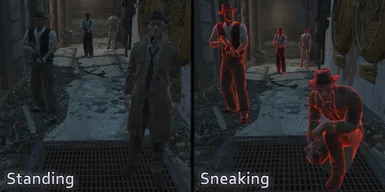
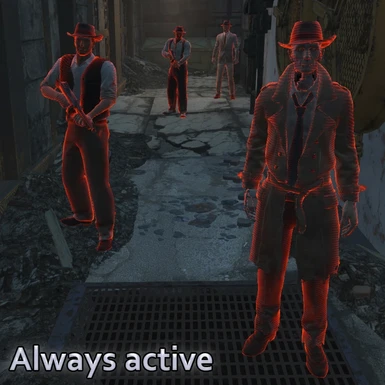
- Always active
- Sneaking
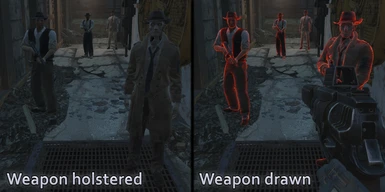
- Weapon drawn
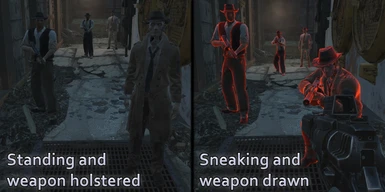
- Sneaking AND weapon drawn
- Sneaking AND/OR weapon drawn
This mod is fully compatible with Nexus Mod Manager (NMM), and I highly recommend you use it. It makes installing, uninstalling and managing this and all your other mods simple and easy.
---------------------------------------
Installation (with Nexus Mod Manager)
1. Click the "Download with manager" button on the Files section of this mod.
2. Double click the mod or press the Install/Activate button on the Nexus Mod Manager.
3. Select your preffered options on each page and click next, then click finish.
4. After loading your game, you might have to un-equip and re-equip your power armor helmet so the effects can work properly.
Uninstallation (with Nexus Mod Manager)
1. Double click the mod or select it and press the Disable button on the Nexus Mod Manager.
2. Right click the mod and select Uninstall Mod.
3. (Optional) Press the Delete button on the Nexus Mod Manager to completely remove the mod.
---------------------------------------
Manual installation
Attention: Since v0.3 there are a LOT of .esp files and you should only use ONE for the mod to work properly. I've organized the folders in a manner similar to the options you have on NMM, but it is still fairly easy to mess things up if not done properly. If you don't have any experience with installing mods manually, you really should be using NMM as it will automatically install the correct files according to your preferences.
If you haven't yet, you must configure fallout 4 to enable mods. You can see how to do that here:
http://wiki.tesnexus.com/index.php/Fallout_4_Mod_Installation
1. Download and extract the file.
2. Select your desired options by navigating through the folders. Read the description above and look at the preview images to see what each one does.
3. Copy the .esp file you've chosen to your Fallout 4\Data folder.
4. Go to the "Colors" folder . Inside there are two other folders, "Main" and "Friendlies". Inside "Main" are the colors for all NPCs or only hostile NPCs, depending on which version you've chosen. The colors from the "Friendlies" folder will apply to friendlies/neutrals ONLY if you've chosen a variation from the "Colored friendlies" folder.
5. Copy the "Textures" folder from inside the folder with the name of the color you want to your Fallout 4\Data folder. Note: If you want to change the color of both hostile and friendly/neutral NPCs you must copy the "Textures" folders from the colors you want from the "Main" AND "Friendlies" folders to your Fallout 4\Data folder.
6. Open the "plugins.txt" file (usually located at C:\Users\YOUR USERNAME\AppData\Local\Fallout4).
7. Add the name of the plugin (.esp) you've chosen after the last line and save the file (for example, if you've chosen "CTHHostileNPCs.esp", you will need to add "CTHHostileNPCs.esp").
8. After loading your game, you might have to un-equip and re-equip your power armor helmet so the effects can work properly.
Manual uninstallation
1. Delete the .esp file you've chosen from your Fallout 4\Data folder.
2. Open the "plugins.txt" file (Usually located at 'C:\Users\YOUR USERNAME\AppData\Local\Fallout4').
3. Delete the line with the plugin (.esp) you've chosen and save the file (for example, if you've chosen "CTHHostileNPCs.esp", you will need to delete the line containing "CTHHostileNPCs.esp").
4. Go to Fallout 4\Data\Textures\Effects\Gradients and delete "PATargetingDetectGrad.dds". If you were using a plugin from "Colored friendlies" you will also need to delete "PATargetingDetectGradCTH.dds".
---------------------------------------
Recommended mods
Targeting HUD Eyewear by guffeh. If you would like to use the Targeting HUD without having to wear Power Armor, this mod is for you.
---------------------------------------
Changelog
0.3.1 (05/Jan/2016)
- Fixed some neutral NPCs turning hostile on the colored friendlies version.
- NMM no longer incorrectly detects the scan lines option.
0.3 (16/Dec/2015)
- Option to remove the scan lines included in the main file.
- Added several colors for both hostile and friendly/neutral NPCs.
- Also added colors with high visibility.
- Added an option to activate the HUD when you're sneaking and/or have your weapon drawn.
- New preview images addeed.
- Reorganinzed folders and NMM options.
0.2 (06/Dec/2015)
- Added new preview images and updated old ones.
- Compressed images to reduce download size.
- New options added, including a toggle for the HUD effect when you have your weapon drawn.
- NMM Installer remade to include the new options.
0.1.1 (03/Dec/2015)
- Fixed some neutral NPCs turning hostile.
0.1 (03/Dec/2015)
- Initial release.
---------------------------------------
Special thanks to
guffeh for helping me with the friendly detection.
MookittyBonnie for letting me include a fix from his Simple Bug Fixes into this mod.
---------------------------------------
Made with FO4Edit.


