===========================================================================================
Ceanos SweetFX v2.0 - ReShade version 1.1.0
===========================================================================================
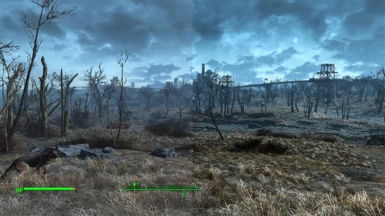
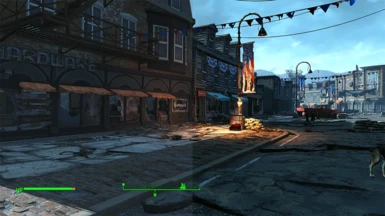
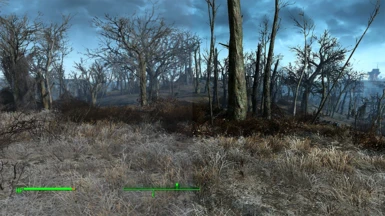
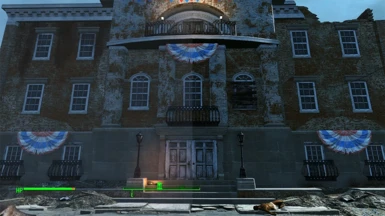
This is my SweetFX preset for the game Fallout 4.
_______
VERSION
-------
FINAL
- New ReShade version 1.1.0
- Made some minor changes and im happy how it looks now, so this is FINAL version.
---
1.4
- Adjusted Tonemap settings
- Added Vibrance: Intelligently saturates the pixels depending on their original saturation.
---
1.3
- Adjusted Tonemap settings
- Adjusted Levels
- Adjusted Curves
Fixed the over bright issue and the black and white point, better contrast with a bit more
color (not to much tho).
---
1.2
- Adjusted LumaSharpen, less over bright and darker nights.
---
1.1
- New ReShade version 1.0.0
- Tweaked Cuves a bit to get a better looking contrast, not so dark as before.
---
1.0 (sharpening, contrast and colors)
- SMAA Anti-aliasing: To smoothen jagged lines using the SMAA technique.
- LumaSharpen: To sharpen the image.
- Levels: Sets a new black and white point.
- Tonemap: Adjust gamma, exposure, saturation, bleach and defog.
- Curves: Contrast adjustments using S-curves.
__________
Quick Keys
----------
Scroll Lock: Toggle Enable / Disable SweetFX.
Print Screen: Take screen shot, the screen shots will appear in your Fallout 4 folder.
____________
INSTALLATION
------------
1. Unrar the contents from Ceanos.SweetFX-(Win.7.and.8.1).rar
2. Copy all files from Ceanos.SweetFX-(Win.7.and.8.1) folder to your Fallout 4 folder.
3. Then run the game as usual, SweetFX will automatically run when you start the game.
The file structure should look like this...
Fallout 4---SweetFX (folder)
Fallout 4---dxgi.dll (dll file)
Fallout 4---Sweet.fx (file)
____
NOTE
----
To get it to work with Win 10 just change the name on dxgi.dll to d3d11.dll
===========================================================================================
CEANO
===========================================================================================


