About this mod
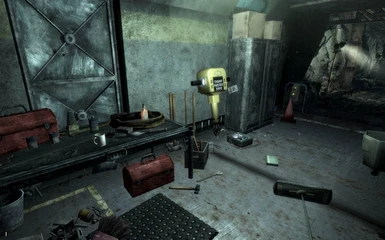
The biggest, most complex vault you will ever find in FO3. Requires only base game. I finished work on it over 5 years ago and sadly never finished it, but its still massive in size and fun. Includes many thing you may never see in another mod, such as the working 'arcade' room.
- Permissions and credits
- Donations
===============================
by WillieSea
version Beta 020 - 09/14/2015
THIS README FILE CONTAINS EVERYTHING YOU NEED TO KNOW ABOUT THE MOD.
Please read it before asking questions...
Requirements
============
- Fallout 3
=========================
Known Issues and Cautions
=========================
Tested with game version 1.7
I have not had any major issues with it. No ingame objects are changed.
This mod makes several changes to :
1. Exterior map for Vault 64 entrance
2. Vault Tech H.Q. - Administration office (add note)
3. Capital Building West Entrance (add 4 terminals)
4. Statesman Hotel Alfresco lounge (add briefcase container)
INSTALLATION
============
1. Download the 7z file.
2. Unpack the 7z file to your game folder \Fallout3\Data\*.*
That means you copy everything in this archive into your Fallout3\data\ folder.
3. Copy the \textures\ folder to your game's \Data\ folder. Since this replaces NONE of the vanilla textures, you can over-write if asked.
\Fallout3\data\textures\williesea\*
4. Copy the \Meshes\ folder to your game's \Data\ folder. Since this replaces NONE of the vanilla meshes, you can over-write if asked.
\Fallout3\data\meshes\williesea\*
5. Activate the mod from the 'Data Files' list on your start menu.
6. Play the game. After a few minutes in-game, you will find a note fluttering in the wind. It gives you the first clue on where to go.
Playing the Mod
===============
QUEST
-----
1. Read pamphlet you find blowing in the wind for your first clue where to continue the search for this mysterious vault.
===========================
THE FOLLOWING ARE SPOILERS!
===========================
2. Travel to Vault-Tec HQ. Make your way to the Administration offices upstairs. Find main office with Vault-Tec banner and in left office, find note on desk. Read Letter to Senators for your next clue.
3. Travel to the Capital building so you can read the Senators emails. The Senate would be located in the West wing, go there. In this first area, you will find the 4 senators terminals, which will be very difficult to hack into. *SAVE YOUR GAME FIRST* in case you get locked out, or you will never get the code from the email to get into the vault. Read the note on all 4 terminals. You can visit the Capital building rotunda to find a mini-nuke if you wish.
4. Travel to the Statesman Hotel and may your way to the Western Alfresco Lounge. You will find a Vault-Tec banner near a podium. In the podium is a briefcase with the key you need to get into the vault.
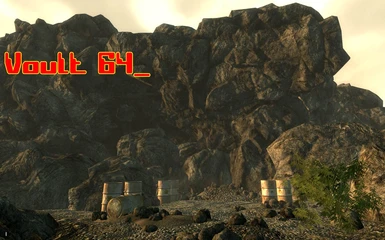
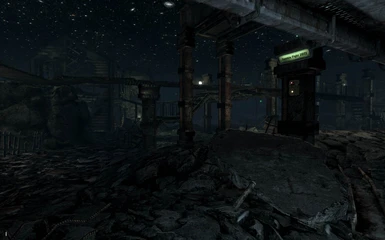
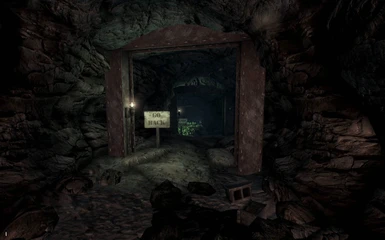
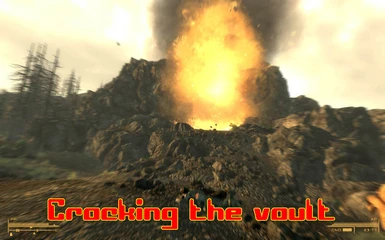
5. Travel to the far North-East to find the entrance to Vault 64. A landslide has completely covered the entrance to the vault. If you don't have a mini-nuke, you can find one in one of the shipping containers near the entrance. Activate the big boulder near the entrance to set the mini-nuke to blow up the rocks, then run like hell!
6. To open the vault, you must have the key from the briefcase and the codes from the senators emails.
INSIDE
------
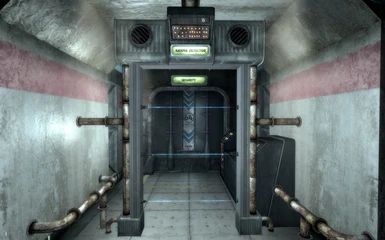
7. Entrance area has the control room, security and welcome projection room.
a. Welcome projection room - In podium is a holodisc note with codes to Security room.
b. Security room - Cell block G has the fuse you need, under a bucket.
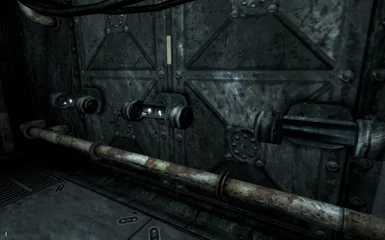
c. Control room - Replace the fuse to open the doors. There are 'invasion' settings which will cause enemies to come down the tunnel now that its open to the world.
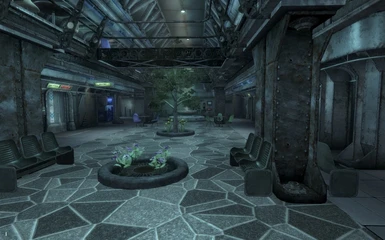
8. Vault Atrium - Lower level
-----------------------------
a. Reactor - Collect all the green rods hidden all over this level. Place the rods in the reactor cores, along the walkway over the pool of water. #1=Teleporter #2=Utilities #3=Simulator I recommend you place the rods in #2 first and get the ventilators working to clear out the radiation before looking for the remaining rods. Once you have enough rods for a reactor, you can then turn the switch for that reactor on which will power the corresponding equipment.
b. Utilities - Go to Air Filtration and activate the terminal to start the air fans. Now search the entire level for the 9 water chips. (dont miss the one between the two water foutains) Most will be found on containers. Open the 3 sets of water chip holders, place the water chips in each one, then close the water chip holders. With all 9 water chips placed, activate the Master Terminal and start the water pumps.
c. Operations - Turn on Power Main switch. The mainframe here can give you experience, lots of it. The Currency Terminal should be used to set 'caps' as the currency used in the vault.
d. Manufacturing - Turn on the Manufacturing Power Breaker in the power room to the left. The center room allows you to create placeable turrets and incendiary grenades. There is an ammo press that will take normal 5.56mm ammo and create 5.56mm DN ammo for the vault gun, but this takes time so after inserting the ammo, come back later for the converted ammo. There is also a Mr. Gutsy robot that can follow you, a Vindicator XL-7 model. The 'Enhancement chips' are incomplete.
e. Research Lab - *INCOMPLETE*
f. Simulator Pod - Find the game box 'Zombie Fight 2072' and use the terminal to load the game. Now use the pod to start the simulation. In the simulation, use the terminal to choose to enter the arena or be a spectator. Each has some fun things you can do. The arena has buttons that will cause explosives to go off at certain locations (same with the spectator room). Once in the arena or spectator room, click the 'start' button to begin the carnage! When your done, click the start button again to stop spawning enemies. Once all enemies are dead, you can leave the arena or spectator area. In the arena, is an ammo chest (in the broken house, lower floor) that will spawn ammo each time an enemy is destroyed.
g. Living quarters - *INCOMPLETE* - There is an elevator if you wish to go to any of the 5 levels. You start on level 5. Dont get lost! Its big.
9. Vault Atrium - Upper level
-----------------------------
a. Administration - Overseer door key on desk. Then use Entry Terminal to program your access to the overseers office.
b. Overseer office - Toggle switches below the safe on the wall must be in the proper sequence to open the safe. Check the Overseer Terminal for 'binary' number display. Perhaps 6 and 4 would open the safe? There is also a 'teleporter board' in here that can be used to teleport yourself around the wasteland. A number of unique weapons are also in here. It also has an escape tunnel to the vault entrance.
c. Services :
c1. ATM so you can convert your caps to game tokens, or back to caps.
c2. Lounge, Ye Olde Shoppe, Repair Shop, Stylist. Just decoration.
c3. Slot machine - Insert tokens, activate lever on right side and hope for the best!
c4. Catch the Ball - Start game, move left and right to try and catch the ball when it falls.
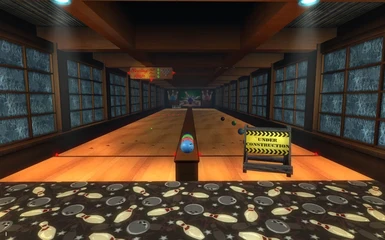
c5. Bowling - THIS MAY OR MAY NOT WORK FOR YOU - Press the button. Look down to start the ball rolling down the alley. The second set of 'lights' in the floor will push the ball again, so move view left or right to light up where you want the ball pushed 'from'. This final push will hopefully knock some pins down. The more pins you knock down, the more tokens you win!
c6. Shooting Gallery - Start the game and start shooting the moving targets. More credits will give you more time to score. The targets on the top give more points than the targets on the bottom.
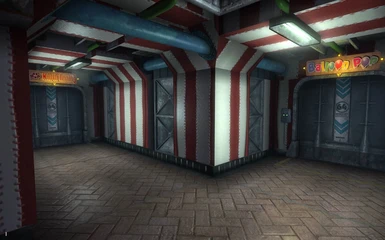
c7. Ballon Pop - Start the game and shoot the ballons. Each color balloon gives different points. The higher your score, the more tokens you can win.
c8. Ninth Inning - Start the game and throw baseballs at the milk bottles to knock them down. The more you knock down, the more tokens you win.
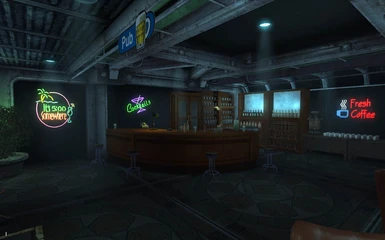
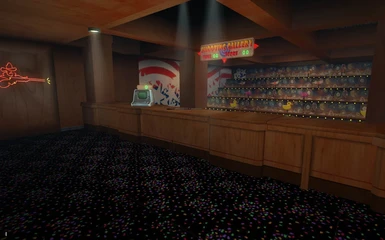
d. Starry Night Diner - Open 24 hours, mostly decoration, but you can take stuff from the upright coolers. The juke box will let you play any of the songs that are in the vanilla game.
e. Bathrooms - All contain auto-flushers, stand in front of it a few seconds until the red light blinks. Step away and it will flush! The hand driers also work, give them a try!
f. Showers - This also goes to the exercise room. The exercise room has the secret entrance to the secret research area.
g. Secret Research Area - In the exercise room, click the 'Unmarked switch' and quickly jump into the pool and swim to the bottom left where you will find a door. Activate it and go through it quickly!
g1. The weapons locker code can be found on the wall, behind the door above the room exit door. Its hard to see so you may have to go above and look down to find the code. Enter the code into the code terminal next to the door and press enter and the door will unlock. Lots of fun weapons in here.
h. Clinic - This 'was' going to be where you had surgery to implant the Enhancement Chips, but it is incomplete. So this area is incomplete.
i. Training Room - Contains terminals that you can use to increase your skills. The max level they will increase is set at the entrance control room, the settings terminal.
j. Materialization/Storage room - Auto-sorter will sort out all your mundane equipment to the appropriate containers. The ammo press can over time create the ammo and place it in the ammo containers, or you can click the 'free' option to make the ammo now. The location teleport map has 38 locations it can display. Use the terminal to set the locations, based on which locations you have already visited and have loaded to your pipboy. The Materialization terminal can send you to 8 different locations, based on where you dropped a corresponding numbered Materialization Unit.
Version History
===============
Version Beta 020 - 09/14/2015 Beta Release


