About this mod
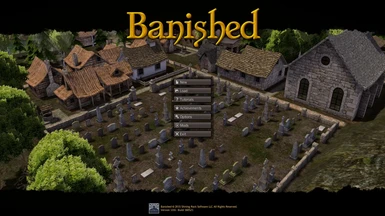
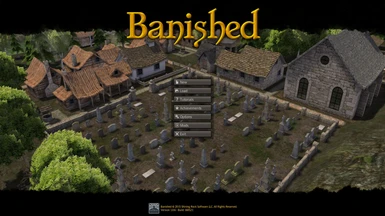
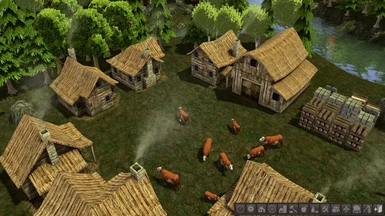
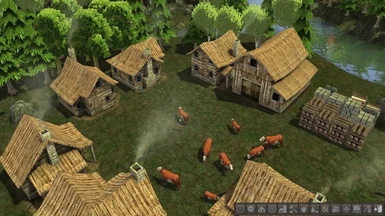
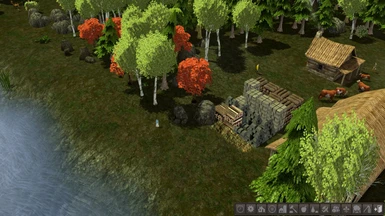
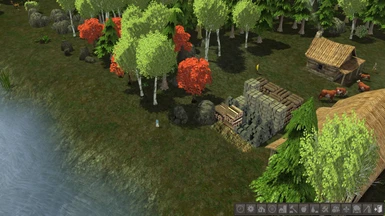
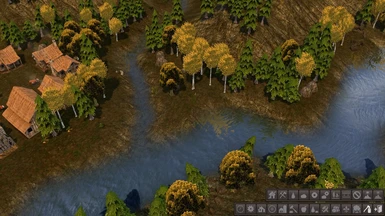
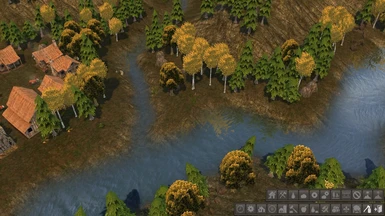
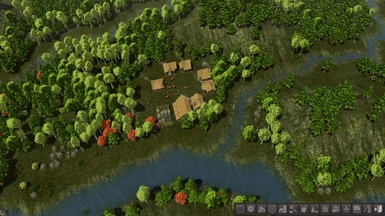
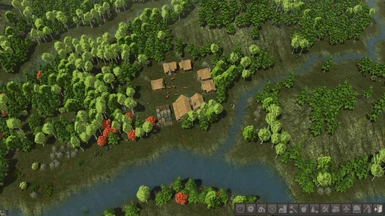
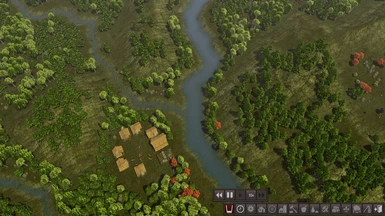
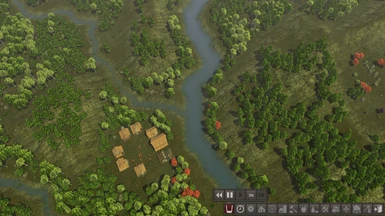
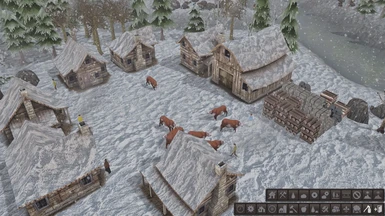
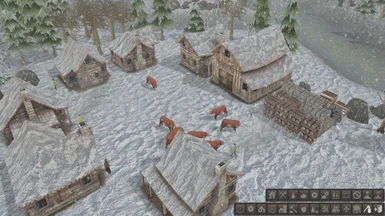
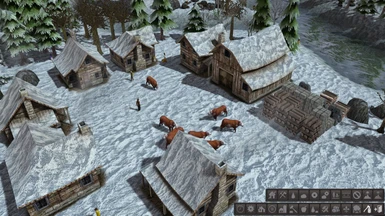
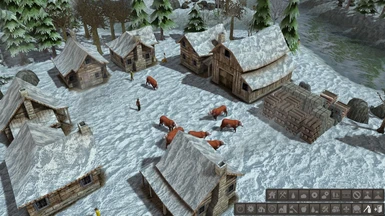
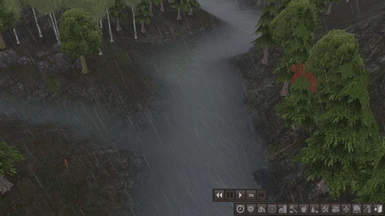
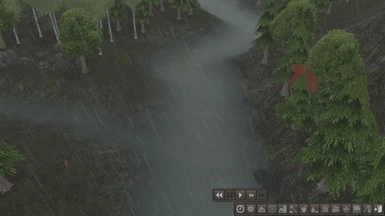
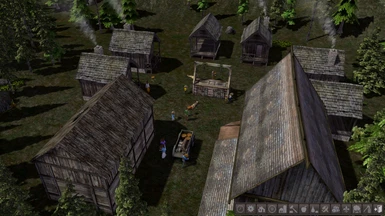
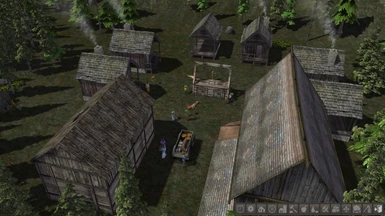
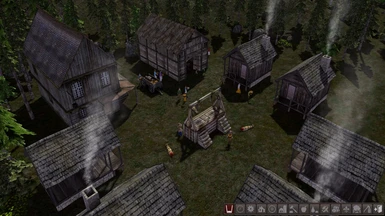
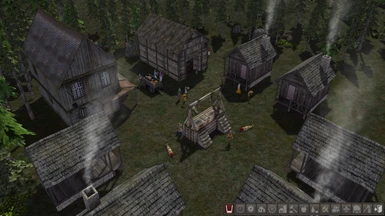
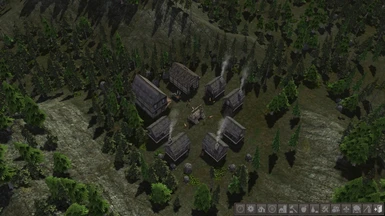
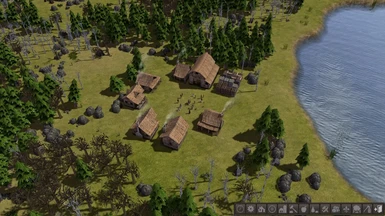
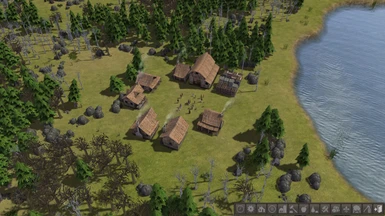
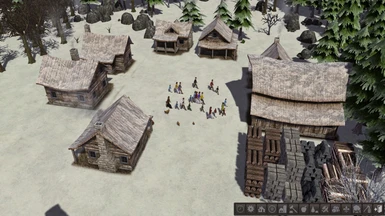
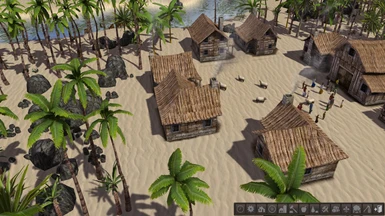
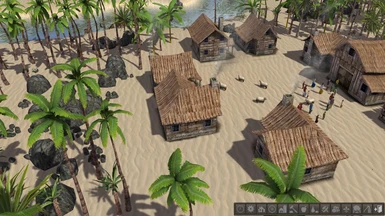
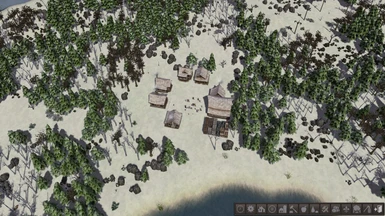
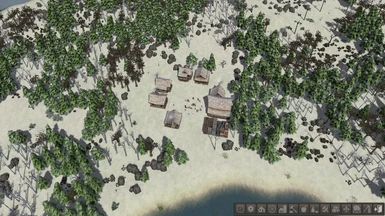
A shader suite preset for a colorful, cleaner, more detailed Banished! Made for CC: Journey and future CC updates.
- Permissions and credits
- Donations
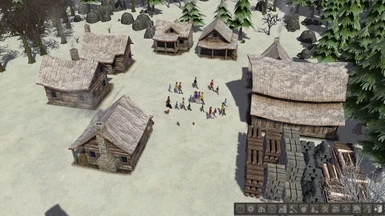
Recommend clicking on screenshot and then clicking on it again after it loads so that you can see the full resolution and get a better idea of the changes.
Reshade is a shader suite which tweaks the visuals and graphical fidelity of a program for a more pleasing image. The trick is finding the right settings because it is easy to over do it or produce a lack luster result. That's what I'm here for! For those of you who have never used a shader suite before, I will walk you through, step by step, the super easy process of installing the shader suite. I have already created a preset that has the setting which produces the result you see in the screenshot, all you have to do is install the shader and then drag and drop my present, select my preset in the shader menu after you start the game, and viola! You have been ReBanished! Read more below for the full walk through. For veterans and newbies alike - please leave feedback if you have any. Creating the best preset is difficult so I will need your help to find what needs to be adjusted for a better looking game.
Couldn't get sweetfx (the original, bees knees shading program) to work, even with aa off and using 32bit exe (a common suggestion to try to make it work) so I decided to make my own reshade preset because I knew it worked with dx11 and because it's a beefier shader suite and much easier for new users to install since Reshade 3.0 came out. And there are virtually no other Banished presets for any shader suite and that's a shame.
I tried to go for a natural but colorful tone. Most importantly though I cleaned up the picture so that you can appreciate the details of the game and CC: Journey and future iterations of CC in particular. Also, it helps you keep a closer eye on your peasants, a for better cruel dictator experience.
You may notice that some textures and buildings and colors are in my screenshots that are not in your game, even after you install Reshade. This is because I'm using a couple of different mods, all of which I highly recommend. The mods I am using are:
(http://blackliquidsoftware.com/index.php?/files/file/158-journey/)
^ You have to create and an account and login to download from that page or you can follow the link in the post and subscribe to it/download it through the steam workshop if you have the steam version. Highly recommend this mod, amazing work and thanks to Black Liquid Software for their work. Donate if you can. This mod gives you a lot more building, resource, product, terrain and game start option types and massively expands the gameplay with intricate production chains and careful rebalancing as well as adding a lot of new and better textures and packaging an assload of decorative pieces and different building designs. There is almost no reason to play Banished without this mod.
*Note: CC: Journey and most updated versions require a new game/save file so keep that in mind.
(http://www.nexusmods.com/banished/mods/59/?)
^ Download and extract the .pkm file from the .zip folder and drop it inside steam/steamapps/common/banished/windata. Download from nexus by going to the files tab below the pictures and from there, download by clicking the "download manually button" or use the nexusmod downloader. Thanks to Vrakyas at nexus mods for his work as well. This mod retextures the terrain types of the base game with high quality/resolution replacements. (does not work with colonial charter terrain types, such as desert, swamp, verdant plains, etc, but is well worth it if you're running a normal terrain type such as valleys like I usually do.)
(https://banishedinfo.com/mods/view/267-SeasonFX)
Same as #2, download by clicking the big blue button on the right side of the screen, then drag the .pkm file into steam/steamapps/common/banished/windata. If you do not know where steam is, it's probably at C:/Program Files or Program Filesx86/Steam. Last but not least, thanks to KrazyKiwi for his excellent mod. This mod simply adjusts some visual affects to reflect season changes.
WARNING: SEASONSFX LOOKS SLIGHTLY GLOWY -SOMETIMES- ON MAPS WHERE HIREZ TERRAIN DOESN'T LOAD. HIREZ TERRAIN DOESN'T LOAD ON COLONIAL CHARTER TERRAIN TYPES, ONLY BASE GAME TYPES. IF YOU'RE PLAYING COLONIAL CHARTER TERRAIN TYPES AND YOU NOTICE SOME GLOW YOU DON'T LIKE, DISABLE SEASONFX.
Load Order (go to the mod button on the main menu and make sure that these mods are activated and are placed in this descending order) :
[1] HiRez Terrain
[2] Colonial Charter Journey/Megamod
[3] SeasonFX
1. Download the latest Reshade package:
(https://reshade.me/)
It's the purple button in the center of the page.
2. Once downloaded, run the program. A little window will pop up and it will have a button in the middle that says "select game. Click it. A browser window will pop up and here you will need to navigate to the banished exe. It's usually located at C:/Program Files or Program Filesx86/Steam/steamapps/common/Banished/.There should be a 64x and a 32x version. Select which ever version you use and if you don't know which one you use, select one, finish the installation instructions, run the program and if an overlay pops up at the top of you're screen, you're good to go. If not, exit the program and repeat the installation instructions, this time selecting the other exe. Overwrite when prompted.
3. After selecting the exe, the file browser will close and at the bottom of the reshade installer window you will see three circles. Select either dx9 or dx10+. Run one and if an overlay pops up in game, you're good. If not, exit and restart the installation instructions, this time selecting the other dx option.
To make this all simpler, if you want to figure out which one you use for both dx and exe version, start the game before installing and navigate to options in the main menu. Under the video tab, the very top option will display what dx version you are using. If you're using dx9, use the 32x exe and select the dx9 option on the reshade installer. If using dx11, select the x64 exe and the dx10+ option on the reshade installer.
4. After selecting your dx version, the reshade installer will handle the rest. A prompt should come up in the middle of the installation asking if you want to download shaders. Select yes. When it finishes, close the installer.
5. Now, download the reshade preset from this page and drag it into Steam/steamapps/common/Banished/. That's it.
6. Launch the game. When the overlay pops up at the top of the screen, it will tell you it's loading. After it is finished loading all of the shaders it will let you know that you can access settings by hitting shift + f2. Hit shift + f2. It will walk you through a tutorial but you can skip it by just clicking. There's really no point in sitting through it but sure to stay on the "home" tab. It will at some point tell you to click the plus button next to the drop down list at the top of the overlay. Don't. Instead, open the drop down list and you should see my preset. Select it.
7. Navigate to the settings tab at the top of the overlay bar. You'll notice after you've selected it that the second option from the top is a blank bar with the description of "toggle effects". Click on the bar and set this to whatever key or button you would like. I recommend home or scroll lock. This will allow you to switch the effects on and off instantaneously without having to go back to the overlay so that you can troubleshoot problems you may have with it or get a better appreciation for what the shaders do and how they change the look of the game.
And you're done. Hit Shift + f2 again to close the overlay and you're good to go!
Enjoy
- CowboyCokie
(Note: I also update the screenshots following each preset update so you get what you see below.)
2.8.17
Did some color/shadow tweaking, fixed bloom problem on snowy maps that cropped up due to SeasonFX/darkness issue during rain. I will further adjust the darkness levels during rain/clouds if requested but I am personally satisfied.
2.8.17 [2]
Toned down contrast and HDR for a less saturated look, pulled back a little on the sharpening to smooth out some of the grainy look, further tweaked shaders to look better during inclement weather.
Comment and I will continue updating.


